
Mustang V8-4.6L (2009)
NOTE: If a side air bag deployment took place, a new seat back foam pad, trim cover, side air bag module, bracket and nuts, U-nuts and bolts must be
installed. The seat back frame should be replaced if necessary.
NOTE: The air bag warning indicator illuminates when the correct Restraints Control Module (RCM) fuse is removed and the ignition switch is ON.
NOTE: The Supplemental Restraint System (SRS) must be fully operational and free of faults before releasing the vehicle to the customer.
1. Depower the SRS. For additional information, refer to Supplemental Restraint System (SRS) Depowering and Repowering See: Air Bag(s)
Arming and Disarming/Service and Repair/Supplemental Restraint System (SRS) Depowering and Repowering.
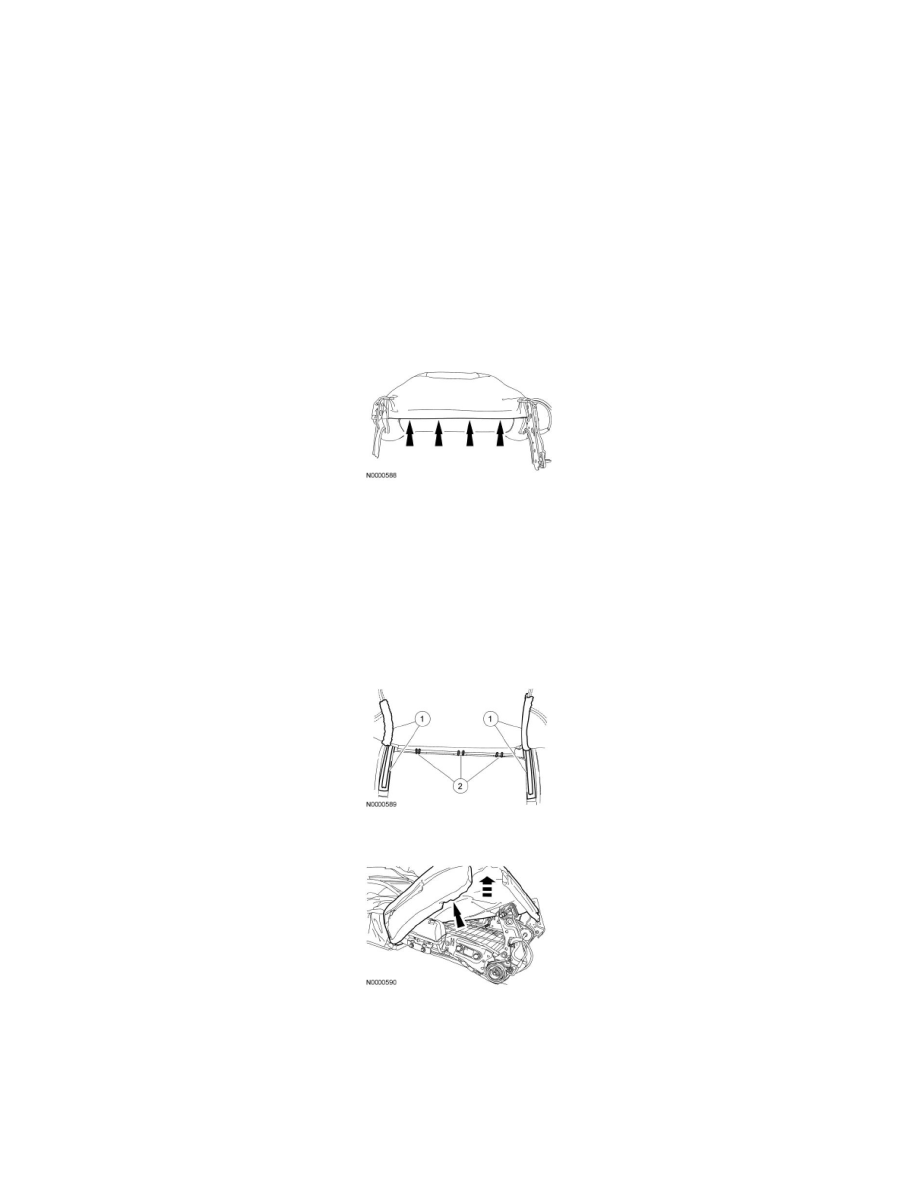
2. Remove the front seat.
3. Remove the front seat backrest.
4. Remove the plastic rivets attaching the backrest trim cover to the inboard and outboard recliners.
5. Release the front seat backrest trim cover J-clip.
6. Remove the seat backrest trim cover inner J-clip.
7. NOTICE: Use care when separating the seat cushion trim cover from the hook-and-loop strips. The hook-and-loop strips may be torn
from the seat cushion foam.
Invert the seat backrest trim cover up.
1. Place a hand between the seat backrest trim cover and foam pad and carefully separate the hook-and-loop strips.
2. Remove the hog rings.
8. Position the seat back foam pad aside.
9. NOTICE: Note the position of the wiring harness, to aid installation. An incorrectly routed wiring harness may become damaged when
the seat is moved.
Detach the wiring pin-type retainers from seat backrest frame.