
Mustang V8-4.6L (2009)
All vehicles
4. NOTICE: Do not support the rear axle at the differential housing or damage to the housing may occur.
Using 2 suitable jackstands, support the rear axle.
Vehicles with a rear stabilizer bar
5. Remove and discard both stabilizer bar link bolts and clip nuts.
6. Position the stabilizer bar to gain access to the shock absorber lower bolt.
All vehicles
7. Remove and discard the shock absorber lower bolt and nut.
8. Remove the brake hose bracket bolt.
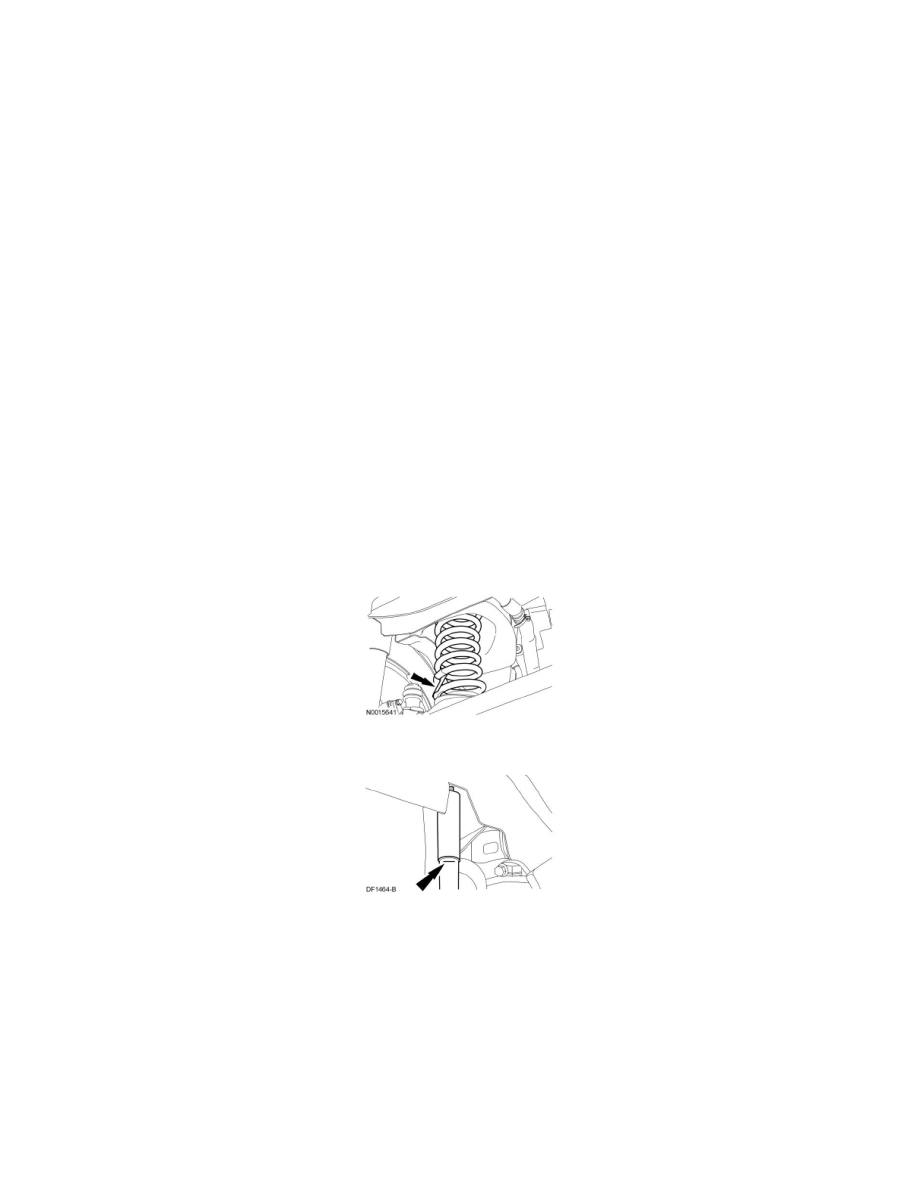
9. Lower the rear axle and remove the spring.
10. Inspect the upper and lower spring insulators for wear or damage. Install new insulators if necessary.
Installation
All vehicles
1. NOTE: The springs are vehicle specific and are marked with a tag indicating the spring code. Make sure the new spring has the same spring code
as the one being replaced. If the tag is not on the spring being replaced, look on the vehicle information label located on the driver's door for the
spring code and compare that to the new spring code.
Position the spring onto the axle with the tag toward the axle assembly.
2. Raise the rear axle so the mark made on the rear shock absorber in Removal Step 1 lines up with the protective sleeve.
3. NOTICE: Tighten the shock absorber lower bolt while the suspension is at curb height or bushing damage and incorrect clamp load may
occur.
Install a new shock absorber lower bolt and nut.
-
Tighten to 115 Nm (85 lb-ft).
4. Install the brake hose bracket bolt.
-
Tighten to 20 Nm (177 lb-in).
Convertible vehicles
5. Install the rear support braces.