
Mustang V8-4.6L SC VIN Y (2004)
Stabilizer Link: Service and Repair
Rear
Link-Stabilizer Bar
Removal
CAUTION: Suspension fasteners are critical parts because they affect performance of vital components and systems and their failure can result in
major service expense. A new part with the same part number must be installed if installation becomes necessary. If substitution is necessary, the part
must be of the same finish and property class. Torque values must be used as specified during reassembly to make sure of correct retention of these
parts.
1. Raise the vehicle on a hoist.
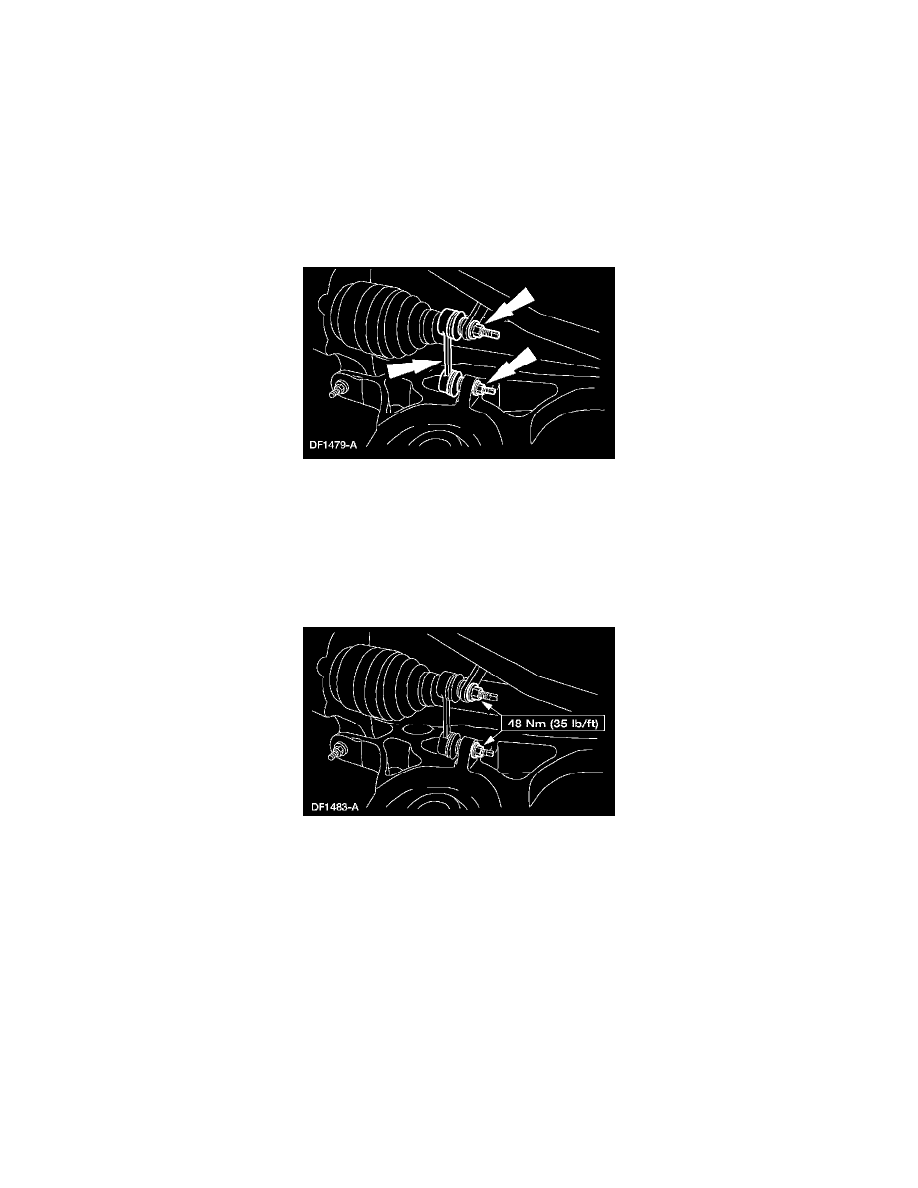
2. NOTE: Spring is removed for clarity.
NOTE: To remove the nuts, first loosen the nut, then use the hex holding feature to prevent the stabilizer bar link ball joint from turning while
removing the nut.
Remove the nuts and the stabilizer bar links. Discard the nuts.
Installation
1. NOTE: The nuts on the stabilizer bar links are of a torque prevailing design. New nuts must be used during installation.
NOTE: To install the nuts, first install the nut until snug using the hex holding feature to prevent the stabilizer bar link ball joint from turning.
Final tighten the nuts using a socket and a torque wrench.
To install, reverse the removal procedure.