
Mustang V8-4.6L VIN H (2005)
Control Arm Bushing: Service and Repair
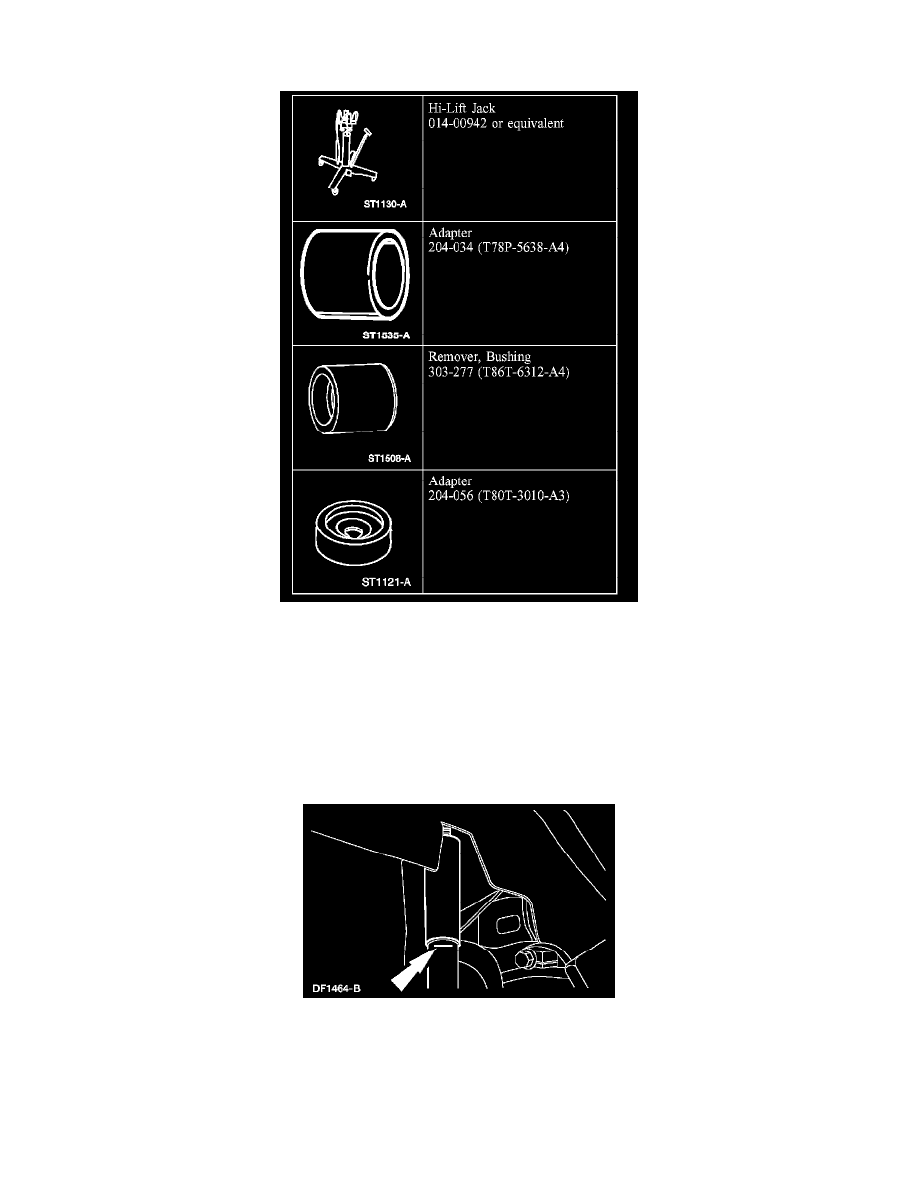
Upper Arm Bushing
Special Tool(s)
Removal
CAUTION: Suspension fasteners are critical parts because they affect performance of vital parts and systems and their failure can result in major
service expense. A new part with the same part number must be installed if installation becomes necessary. Torque values must be used as specified
during reassembly to make sure of correct retention of these parts.
NOTE: To complete the special tool for removal and installation of the bushing, you will need a threaded rod approximately 304 mm (11.96 inch)
long and 12.7 mm (0.5 inch) in diameter, 2 nuts the same thread pitch as the threaded rod and 2 washers.
1. Mark the rear shock absorber relative to the protective sleeve with the vehicle in a static, level ground position (curb height).
2. With the vehicle in NEUTRAL, position it on a hoist.
3. Remove and discard the upper control arm rear nut and flag bolt.