
Mustang V8-5.0L (2011)
Cross-Member: Service and Repair
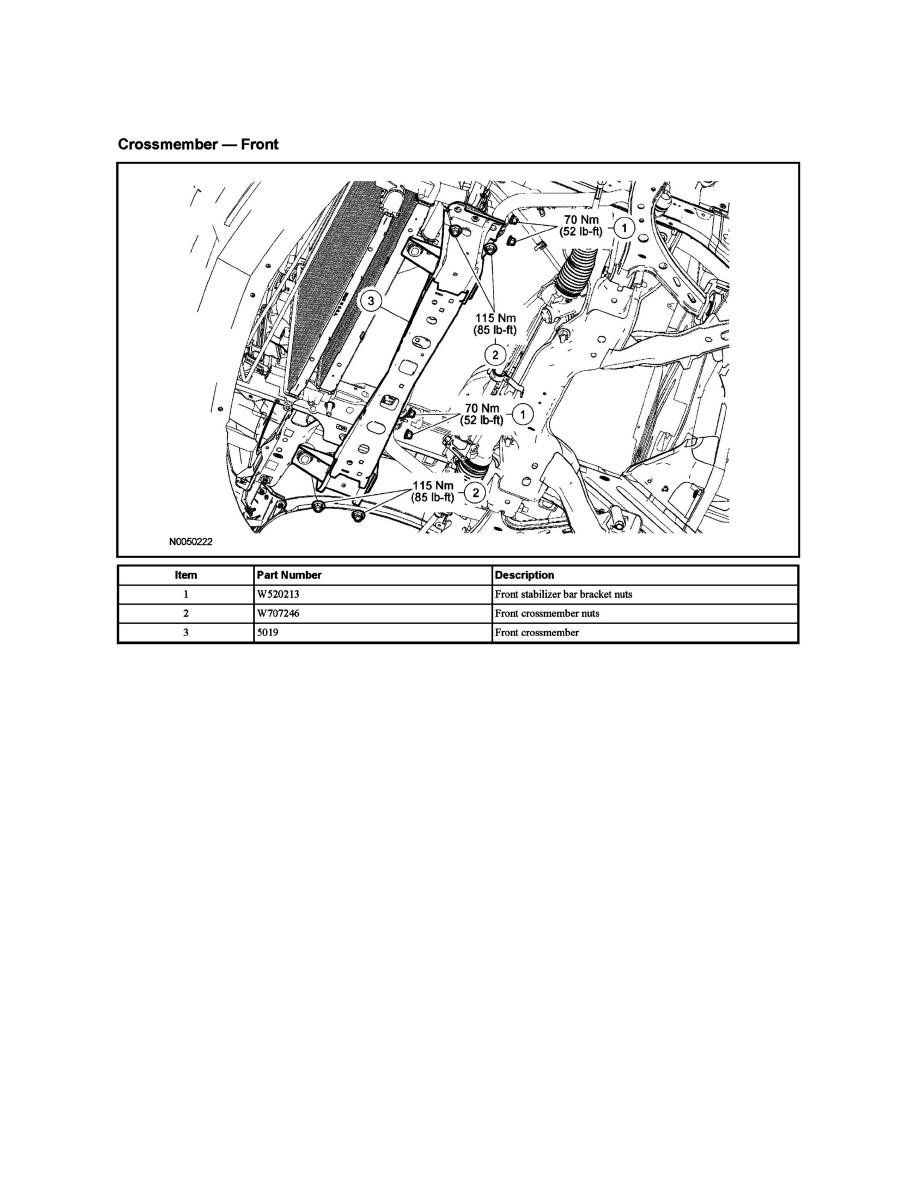
Crossmember - Front
Crossmember - Front
Crossmember - Front
Removal and Installation
1. With the vehicle in NEUTRAL, position it on a hoist.
2. If equipped, remove the crossmember brace. For additional information, refer to Crossmember Brace - Exploded View.
3. Release the brake line from the 2 clips on the front crossmember.
4. Loosen the A/C line bracket nut and release the A/C line bracket from the front crossmember.
-
To install, tighten to 7 Nm (62 lb-in).
5. Release the power steering line locator from the crossmember.
6. Using a suitable tool, support the radiator.
7. Remove the 4 front stabilizer bar bracket nuts.
-
To install, tighten to 70 Nm (52 lb-ft).
8. NOTE:
Two technicians are needed to carry out this step.
Remove the 4 nuts and the front crossmember.
-
To install, tighten to 115 Nm (85 lb-ft).
9. To install, reverse the removal procedure.