
Mustang V8-5.0L (2011)
25. Lower the subframe assembly from the vehicle.
Installation
1. If installing a new subframe, transfer the steering rack and lower control arms to the new subframe.
2. Position the subframe to the vehicle and loosely install the 4 front subframe nuts.
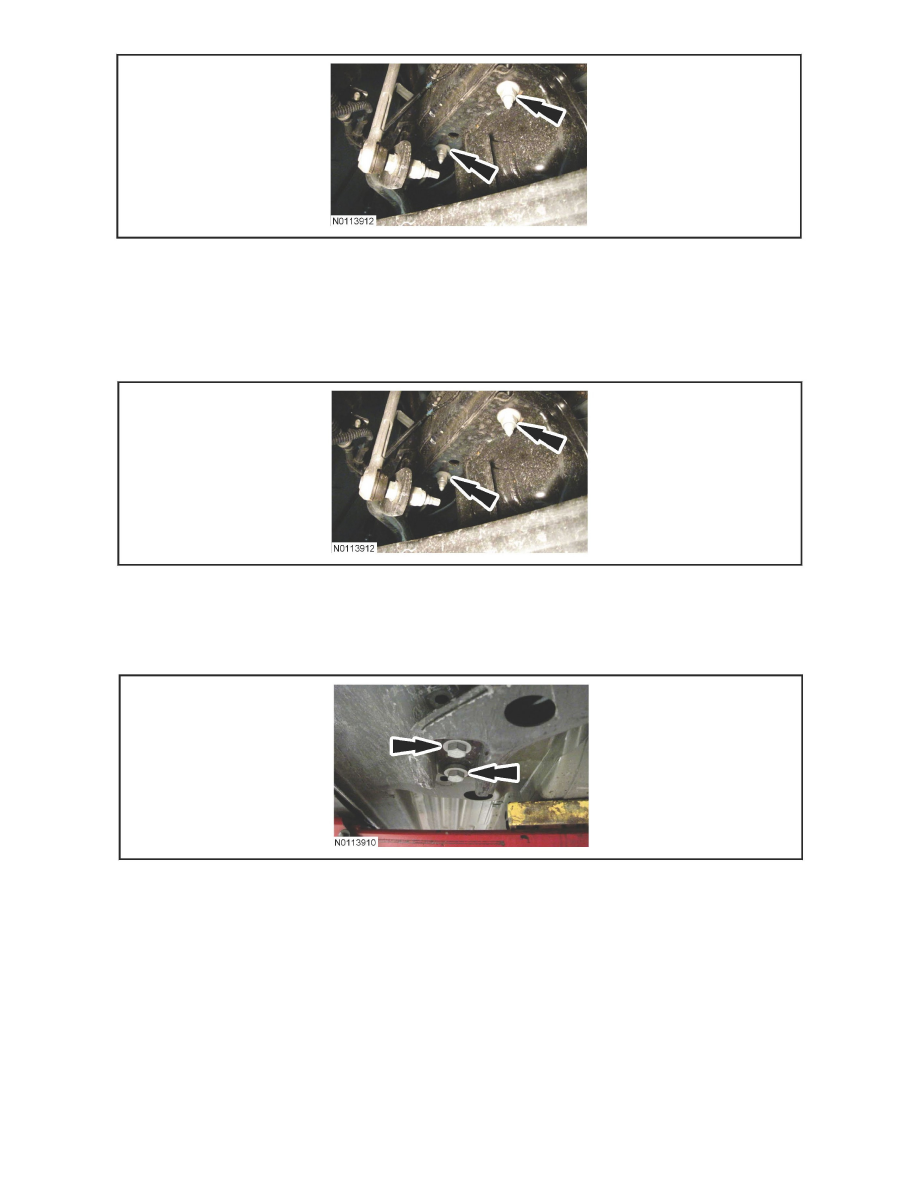
3. NOTE:
RH shown, LH similar.
Loosely install the 4 rear subframe bolts.
4. Use a suitable alignment tool with a 15 mm (0.59 in) OD shaft that is long enough to go through the subframe and body.
-
Align the subframe to the alignment marks made during installation.
5. Tighten the 4 rear subframe bolts to 115 Nm (85 lb-ft).
6. Tighten the 4 front subframe nuts.
-
Tighten to 115 Nm (85 lb-ft).
7. Remove the Powertrain Lift Table or suitable device from the subframe.
8. Connect the lower control arms to the wheel spindles.
-
Install new fasteners.
-
Tighten to 115 Nm (85 lb-ft).
9. Connect the outer LH and RH tie-rod ends.
-
Install new fasteners.
-
Tighten to 80 Nm (59 lb-ft).