
Mustang V8-5.4L SC (2008)
Front Bumper Cover / Fascia: Procedures
TAB REPAIR - BUMPER
1. NOTE:
-
Inspect the bumper cover to determine if part can be repaired to an acceptable level of quality of appearance, fit and durability. Will labor and
material cost of the repair meet or exceed the cost of a new replacement bumper cover? If the bumper cover is determined to be repairable,
proceed to the following steps.
-
The following steps are to be used as a guideline. Depending on what brand of adhesives or patch materials are used, procedures may vary
slightly.
Remove the affected bumper.
2. Clean the broken tab(s) with a plastics wax and grease remover.
3. Hand sand the repair area with 80-grit sandpaper and remove any foreign material with compressed air.
4. Apply a plastics adhesion promoter per label directions to the repair area.
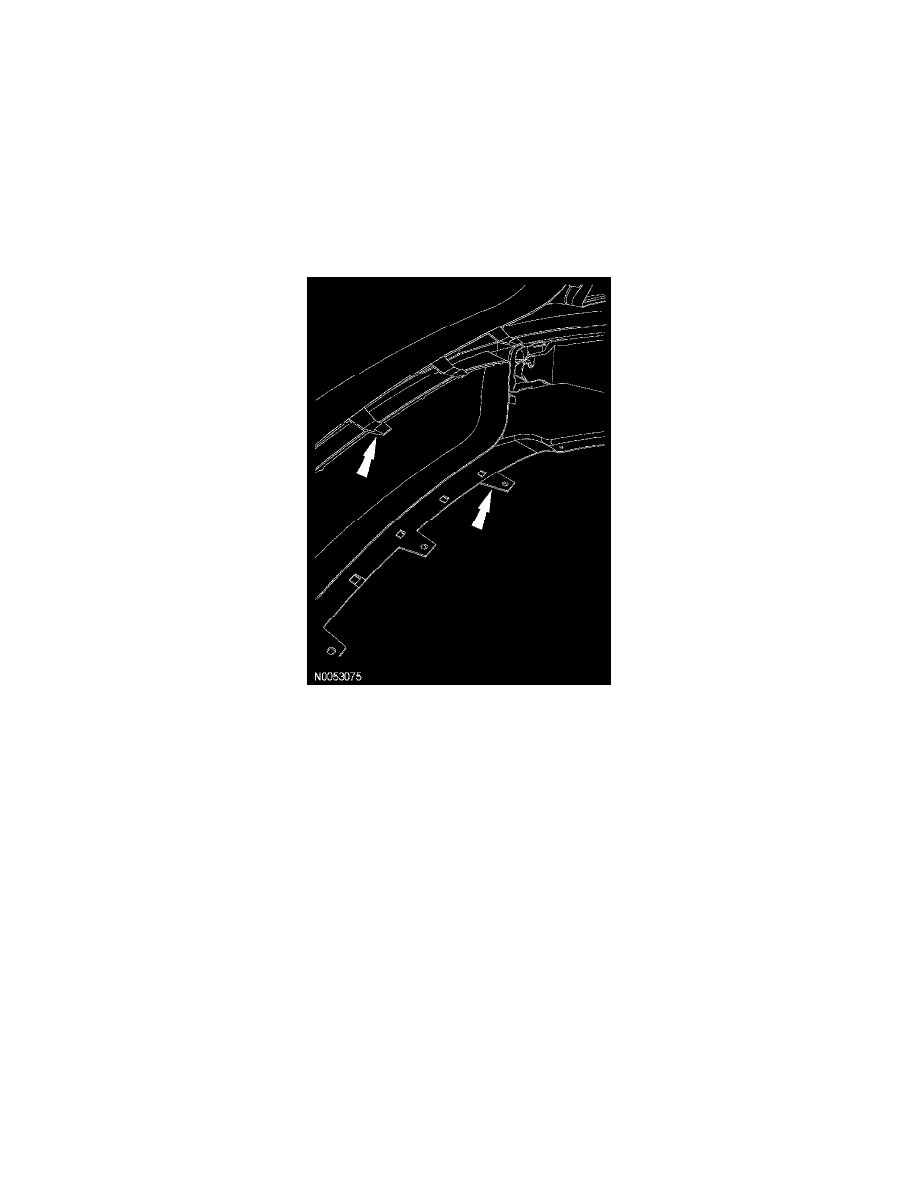
5. Measure and cut a patch of fiberglass cloth or equivalent large enough to form the front of the tab, then slope back in a wedge shape approximately
51 mm (2 in) from original tab.
6. Prepare the repair adhesive cloth patch per manufacturer's instructions and apply to the affected area.
-
Immediately position the plastic repair material patch to form the tab shape.
7. Allow appropriate cure time and shape the repair tab using a small angle sander. Use extreme care to not sand through the exterior surface.
8. Carry out any required paint repair operations to the bumper cover using Ford-approved paint systems.
9. Reassemble and install the bumper cover.