
Mustang V8-5.4L SC (2008)
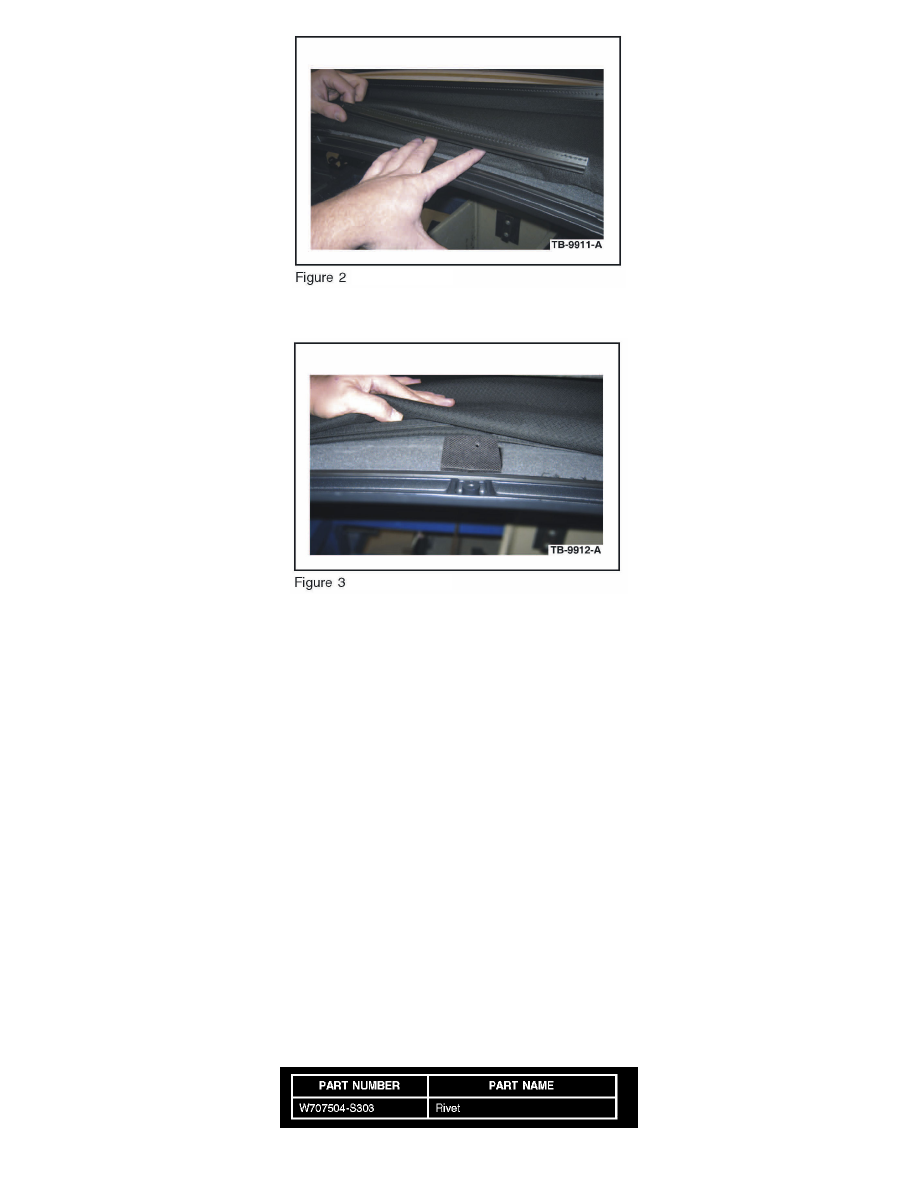
8. Detach the RH/LH header bow listings from the number 1 bow. Revealing the headliner attachment. (Figure 2)
9. The front of the headliner attachment/u-channel should now be visible. The center of the headliner u-channel can be reattached to the groove in the
number 1 bow. The headliner u-channel will need to be firmly seated into the groove on the number 1 bow using a small rubber mallet. (Figure 3)
a. The two (2) pieces of double sided sticky tape present in the number 1 bow groove can be reused.
10. Remove the remainder of the drilled out rivets from Step 4.
11. Reinstall the two header bow listings to the number 1 bow.
12. Install the header form panel. Make sure that the center headliner cloth tab is secured between the number 1 bow and header form panel securing it
with the rear screw. Install the short screw in the forward/center position. Torque header screws to 44 lb-in (5 N.m).
13. Prior to pulling the top cover over the header form panel apply a light mist of water over the double sided sticky tape on the header form panel. This
will allow the top cover enough movement for securing before the tape bonds to the top cover.
14. Pull the top cover over the header form panel and install the top cover rivets to the number 1 bow (2 each side). (Figure 1)
a. Prior to stapling, make sure there are no wrinkles in the convertible top material along the front edge.
15. Install stainless 3/8" (10 mm) staples in the RH/LH front corner locations of the number 1 bow, previously removed from Step 3.
16. Install the compression panel and eleven (11) screws. Torque to 18 lb-in (2 N.m).
17. Install the RH/LH front retaining channels. Torque to 26 lb-in (3 N.m).
18. Firmly press against the header panel to seat the double-sided tape.