Mustang Cobra V8-281 4.6L DOHC VIN V MFI (1997)

Wheels: Service and Repair
Leaks
NOTE: Wheel services that use welding, heating or peening are not approved. An inner tube is not an acceptable service for leaking wheels or
tires.
If the air pressure in an aluminum wheel is low, the following procedure should be performed before considering wheel replacement.
1. Remove the tire and wheel assembly and inspect the wheel for structural damage. If none exists, go to Step 2. If the wheel is damaged, replace it.
2. With the tire mounted on the wheel, locate the air leak using a water bath or equivalent method and mark the location. Check the complete wheel
for possible additional leaks. When leaks are marked, dismount the tire marking valve location on the tire for proper indexing.
3. On the tire side of the wheel, thoroughly clean the leaking area with Professional Choke and Linkage Cleaner E8AZ-19A501-AA or equivalent
meeting Ford specification ESR-M14P10-A or use sandpaper of approximately 80-grit to remove all contamination. Using the sandpaper, score
the surface of the wheel to improve adhesion of the sealer. Adequate area around the leak should be prepared to make sure the leak is covered. If
the valve stem is close to the area, remove it.
4. Use a clean cloth to remove all cleaner or sanding dust.
NOTE: Do not use a torch containing oxyacetylene.
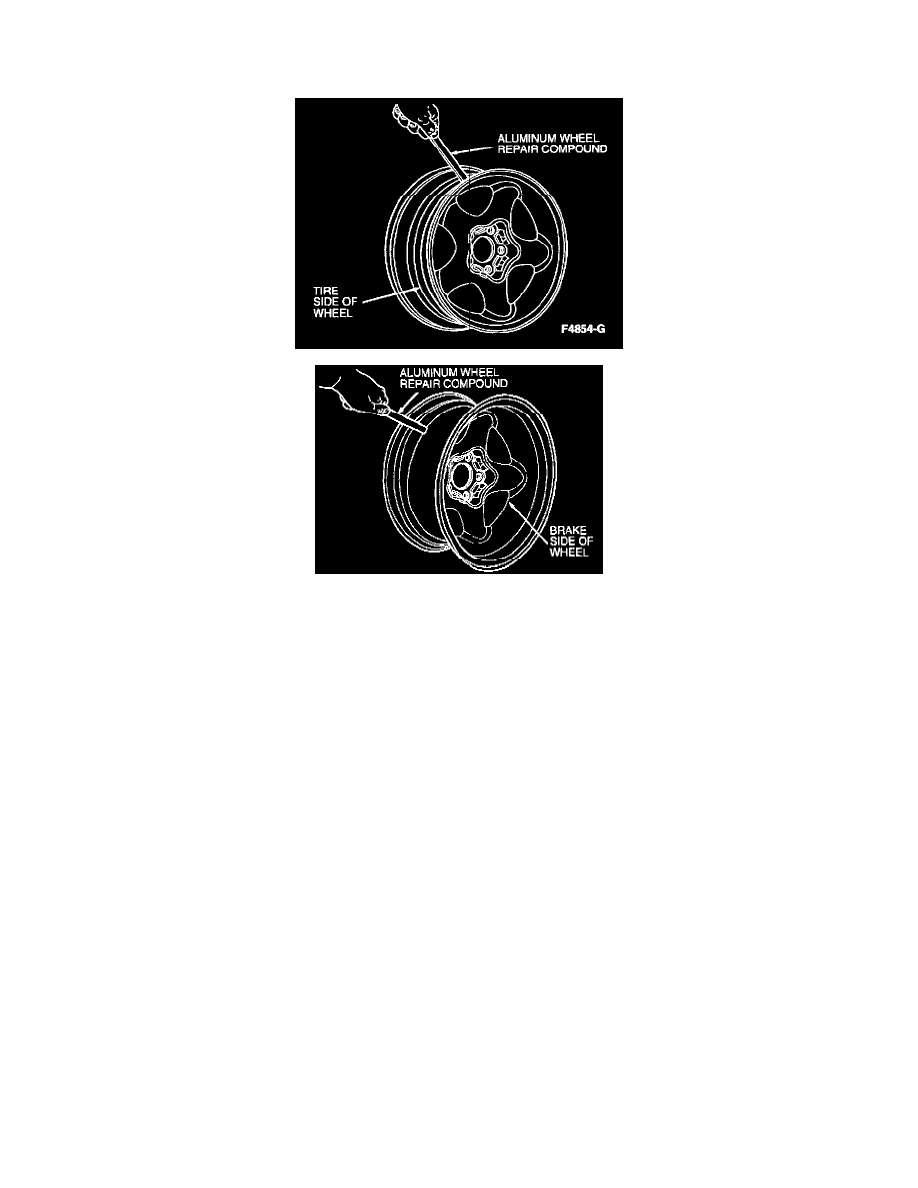
5. Heat the prepared area with Rotunda Heat Gun 107-R0300 or equivalent or propane torch until Aluminum Wheel Repair Compound
E7AZ-19554-A or equivalent meeting Ford specification ESA-M4G280-A flows. Apply the hot melted material over the prepared area using a
liberal flow and wiping action to ensure coverage of the leaking area. Service is most effective when heat is applied to the brake side of the wheel
and sealer is melted by heat in the metal.
6. Apply only enough heat to melt the sealer and then remove heat source. After servicing the leak, allow the wheel to cool until it can be handled
safely.
CAUTION:
^
Use care when mounting the tire so as not to damage the sealer.
^
Make sure tires with an asymmetrical or unidirectional tread pattern are mounted as directed on the tire sidewall markings or it may adversely
affect vehicle handling.
7. Index and assemble tire and wheel. Inflate tire to the recommended pressure as indicated on the tire pressure decal.
8. Repeat Step 2 to verify service.
9. When the service is completed, balance the assembly and install on vehicle.
