
Mustang Cobra V8-4.6L DOHC VIN V (2000)
Drive/Propeller Shaft: Service and Repair
Removal and Installation
Removal
1. Raise and support the vehicle.
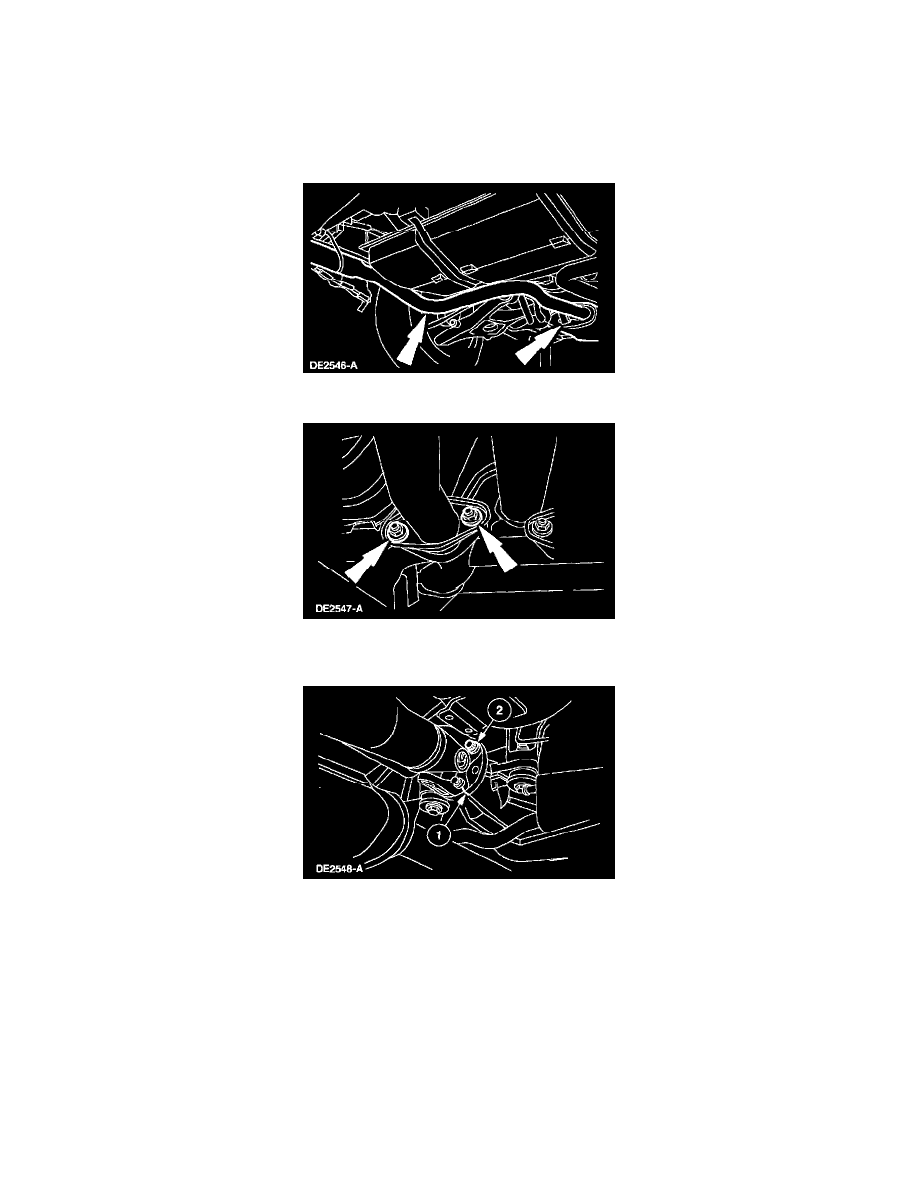
2. Note: In order to aid disassembly and assembly, lubricate the exhaust hangers with Silicone Lubricant D7AZ- 19553- AA or equivalent meeting
Ford specification ESR-M13P4-A.
Remove the 2 exhaust hangers from the rubber mounts.
3. Remove the two attaching nuts on the left side exhaust.
4. Drop the muffler pipe to clear the flange and move the muffler assembly forward to disconnect the third exhaust hanger.
5. Separate the driveshaft centering socket yoke from the rear axle pinion flange.
1. Place an index-mark on the rear axle pinion flange and the driveshaft centering socket yoke.
2. Remove the four bolts.
6. Lower the rear end of the driveshaft to clear the rear axle housing and pull the driveshaft rearward until the driveshaft slip yoke clears the
transmission extension housing.
^
Place a paint index mark on the driveshaft slip yoke and transmission output shaft.
Installation
1. CAUTION: Install new driveshaft attaching bolts. If new bolts are not available, apply Threadlock and Sealer EOAZ-19554AA or equivalent
meeting Ford specification WSK-M2G351-A5 to the threads of the original bolts.