
Mustang GT V8-4.6L SOHC VIN X (1998)
Timing Cover: Service and Repair
REMOVAL
1. Remove cooling fan motor/fan blade and fan shroud assembly.
CAUTION: The valve covers, oil pan and oil pan gasket must be removed prior to the engine front cover or possible engine damage and leakage
may occur upon reassembly.
2. Loosen water pump pulley bolts.
3. Remove drive belt.
4. Remove water pump pulley.
5. Raise vehicle on hoist.
6. Remove bolts retaining power steering pump to cylinder block and engine front cover.
NOTE: The front lower bolt on the power steering pump will not come all the way out.
7. Wire power steering pump out of way.
8. Remove oil pan and oil pan gasket.
9. Remove crankshaft pulley bolt and crankshaft pulley retaining washer from crankshaft.
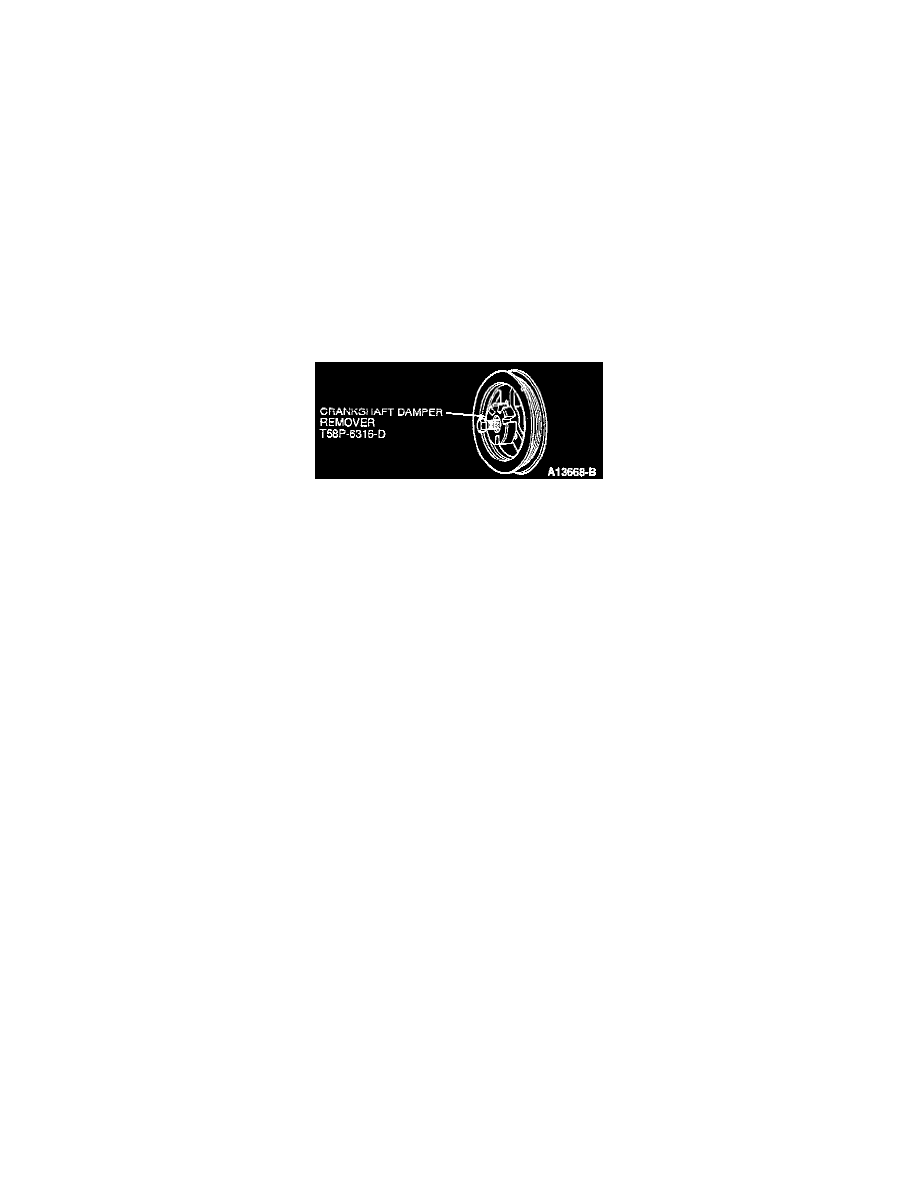
10. Install Crankshaft Damper Remover 303-009 (T58P-6316-D) on crankshaft pulley and pull crankshaft pulley from crankshaft.
11. Lower vehicle.
12. Remove bolts retaining power steering oil reservoir to the LH coil bracket and position power steering oil reservoir out of the way.
13. Remove both RH and LH valve covers.
14. Disconnect the fuel charging wiring from both ignition coils and Camshaft Position sensor (CMP sensor).
15. Remove three bolts retaining RH ignition coil bracket to engine front cover.
16. Remove LH ignition coil from bracket and lay on top of engine.
17. Remove three nuts retaining LH ignition coil bracket to engine front cover.
18. Slide RH ignition coil bracket and ignition wires off mounting studs and lay assembly on top of engine. Remove bolts and retaining belt idler
pulley, then remove pulley.
19. Disconnect fuel charging wiring from Crankshaft Position sensor (CKP sensor).
20. Remove nine stud bolts and six bolts retaining engine front cover to engine.