
Mustang GT V8-4.6L SOHC VIN X (1998)
tube. Make sure flow direction arrow is pointing toward evaporator end of condenser to evaporator tube, and taper of each compression ring is
toward compression nut.
NOTE: The inlet half of the condenser to evaporator tube will be positioned against the A/C evaporator core orifice tabs when correctly
assembled.
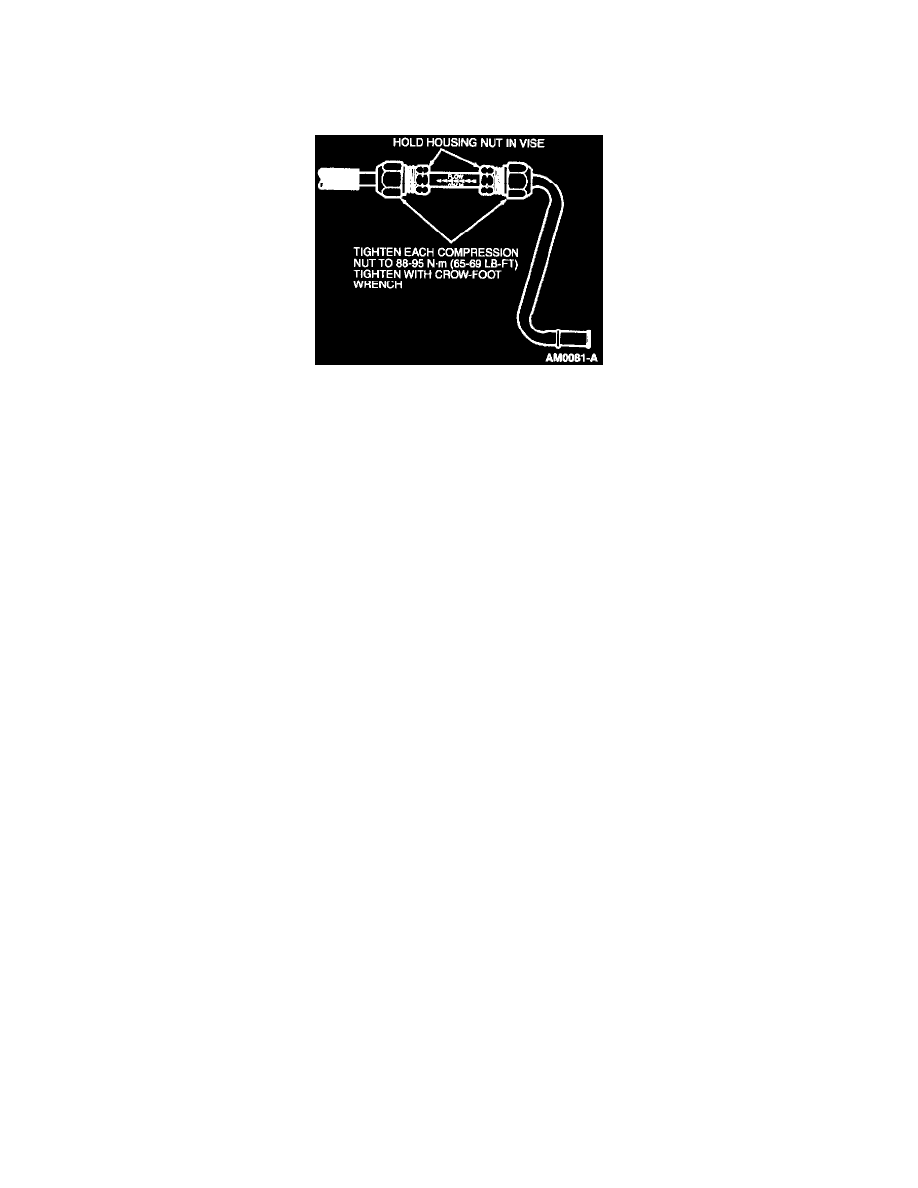
8. While holding hex of tube in a vise, tighten each compression nut to 88-95 N.m (65-69 Lb-Ft) with a crow-foot wrench.
9. Assemble condenser to evaporator tube to vehicle using new green O-ring seals lubricated with clean refrigerant oil. Use only specified green
O-ring seals at spring lock coupling.
10. Following proper procedures, leak-test, evacuate and charge system. See: Service and Repair/Evacuation
11. Check system for proper operation.