
Mustang GT V8-4.6L SOHC VIN X (1998)
Align mark on the rear axle universal joint flange with the mark on the pinion shaft. Install rear axle universal joint flange.
6. Install a new nut on pinion shaft. Apply a small amount of SAE 8OW-90 Premium Rear Axle Lubricant XY-8OW90-KL or QL or equivalent
meeting Ford specification WSP-MC197-A on the washer side of nut.
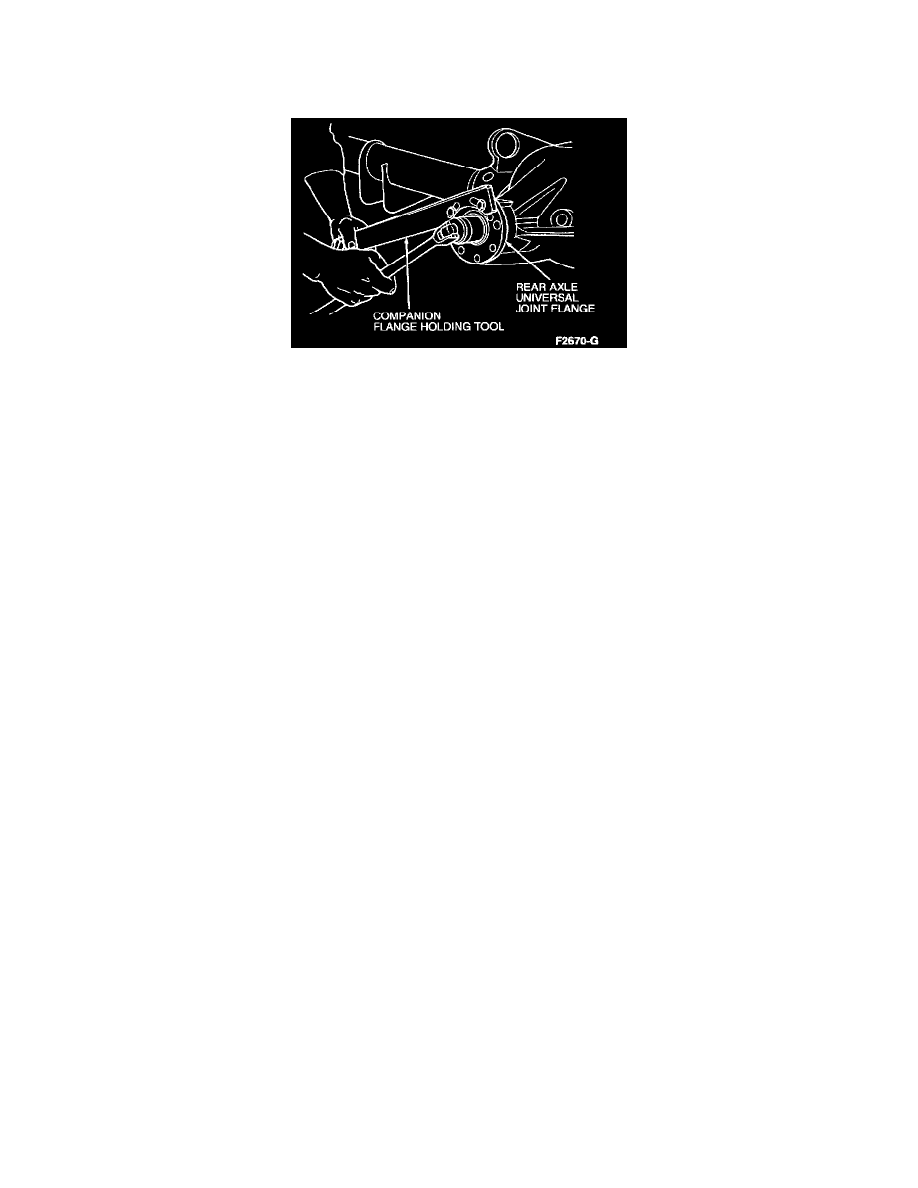
7. Hold the rear axle universal joint flange with Companion Flange Holding Tool 205-126 (T78P-4851-A) while tightening the nut.
8. Rotate pinion occasionally to provide proper bearing seating. Take frequent pinion bearing torque preload readings while tightening until the
original recorded preload reading is obtained.
9. If the original recorded preload is less than specification, tighten to specification. If the preload is higher than specification, tighten to original
reading as recorded.
Never back off the pinion nut to reduce preload. If reduced preload is required, a new differential drive pinion collapsible spacer and pinion nut
should be installed.
10. Remove oil seal replacer tool from the transmission extension housing. Install front end of driveshaft on the transmission output shaft.
11. Connect the rear end of the driveshaft to the rear axle universal joint flange, aligning the scribe marks on the driveshaft and rear axle universal
joint flange. Tighten the four bolts to 95-130 Nm (70-95 ft. lbs.).
12. CAUTION: Overfilling axles may cause seal and axle leakage.
Fill axle lubricant until it is 6-14 mm (1/4-9/16 inch) below the bottom of the fill hole with the axle in operating position. Do not exceed this level.
Install filler plug. Tighten to 20-41 Nm (15-30 ft. lbs.).
13. Make sure rear axle housing vent is not plugged with debris.