
Probe V6-153 2.5L DOHC (1994)
Alternator: Service and Repair
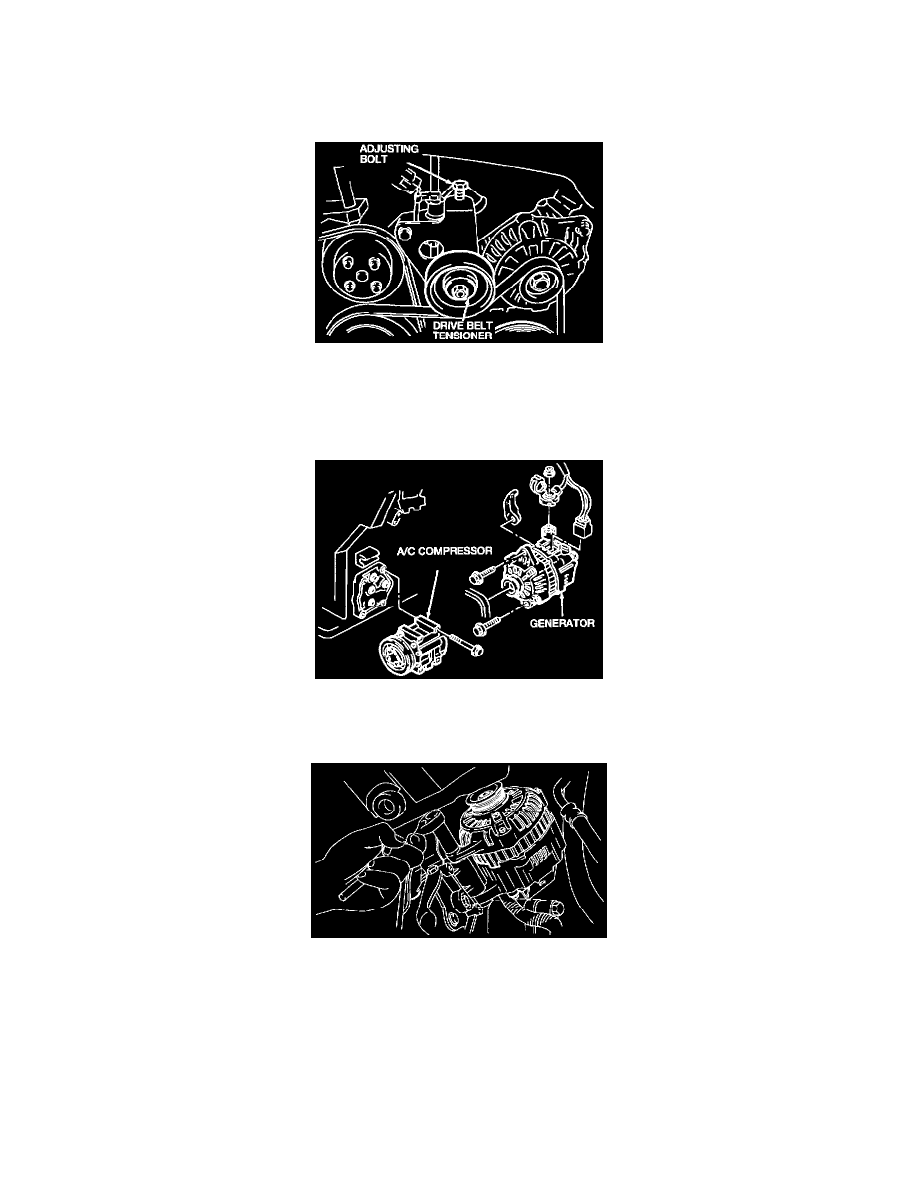
REMOVAL
1. Disconnect the battery ground cable.
2. Disconnect the generator wiring.
3. Loosen the drive belt tensioner center nut and adjusting bolt.
4. Remove the generator upper bolt.
5. Raise and support the vehicle.
6. Remove the ten RH wheel splash guard screws and remove the RH wheel splash guard.
7. Remove the drive belt from the generator pulley.
8. If equipped, remove the four A/C compressor bolts and position the A/C compressor out of the way.
NOTE: It is not necessary to disconnect the refrigerant lines from the A/C compressor.
9. Loosen the generator lower through bolt.
10. Push upon the generator (GEN) so that it lifts out of the saddle mount. Roll the generator down, then lift the generator until the generator lower
through bolt clears the slot and remove the generator from the vehicle.
INSTALLATION
1. To install, reverse the removal procedure.
2. Adjust the drive belt.
3. Tighten the generator lower through bolt to 37-51 N.m (28-38 lb-ft) and the generator upper bolt to 19-25 N-m (14-18 lb-ft).
4. If equipped, tighten the A/C compressor bolts to 24-35 N.m (18-26 lb-ft).