
Probe V6-182 3.0L (1990)
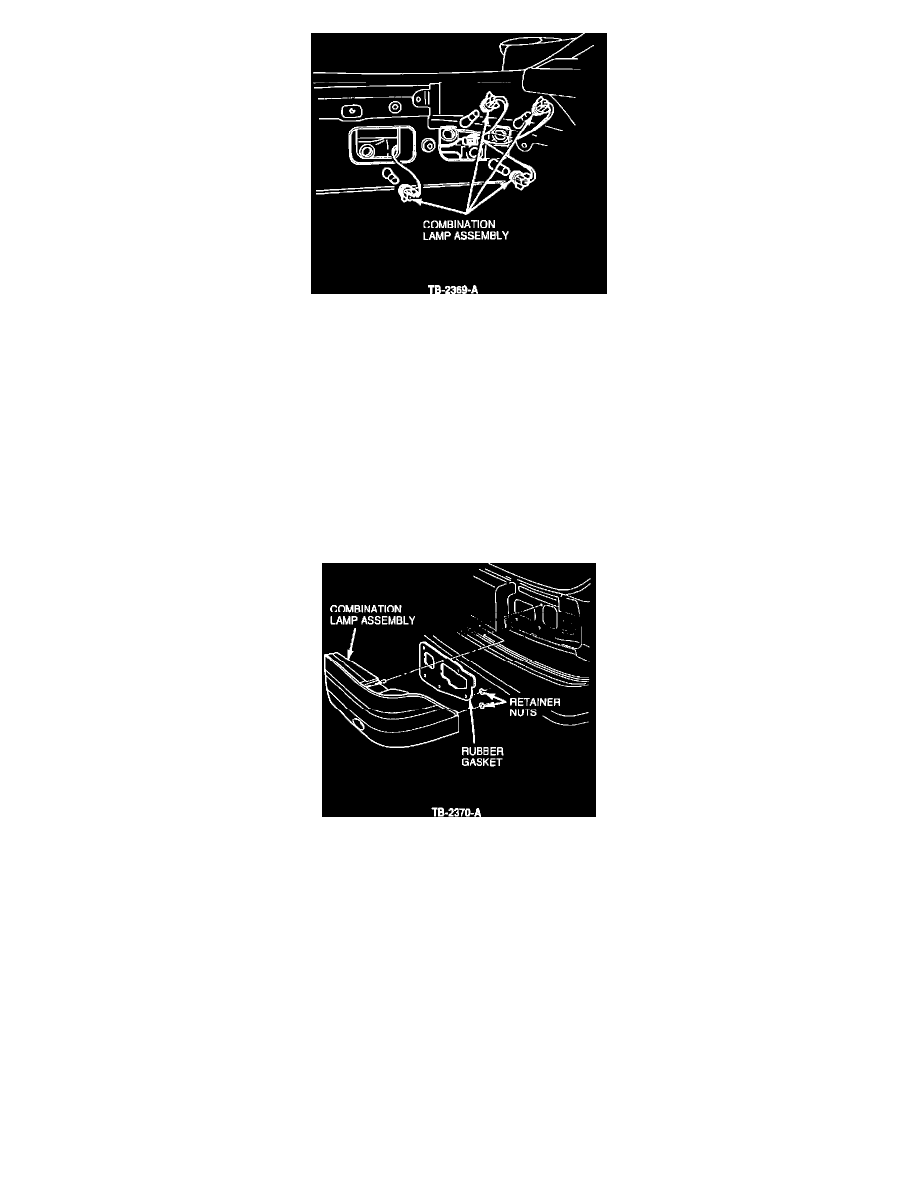
Figure 5
3.
Remove the original gasket(s) from the tail lamp assemblies, remove the five light bulbs from each lamp housing. Refer to figure 5.
4.
Inspect the lamp assemblies for outer lens separation, Refer to TSB 91-11-10 for details.
5.
Drain any water from the lamp through a bulb socket opening, use of compressed air will help dry most moisture from the lens.
NOTE:
USING COMPRESSED AIR OR AN ELECTRIC HOT AIR GUN WILL NOT FULLY DRY THE LAMPS BECAUSE OF THE DOUBLE
REFLECTIVE LENS INTERNAL CAVITIES.
6.
Inspect each light bulb and socket for moisture corrosion, use dielectric grease on the bulb electrical contacts and inside the sockets.
7.
Obtain new gasket(s), (F12Z-13A495-A), right side and (F12Z-13A495-B), left side.
Figure 6
8.
Remove the white protective cover from the gasket adhesive strip, install the gasket with the adhesive strip facing TOWARD the end panel of the
vehicle body.
9.
Install the lamp assemblies to the rear end panel. Lightly tighten all 8 nuts, then tighten the 4 center nuts prior to tightening the 4 outer nuts.
NOTE: TORQUE THE NUTS TO 46-70 LB.IN. (5-8 N-m) FOR EACH LAMP ASSEMBLY. AFTER BOTH LAMPS HAVE BEEN INSTALLED
AND TORQUED, RECHECK THE TORQUE ON THE NUTS, AS THE GASKET WILL SLOWLY COMPRESS AND REDUCE THE
PREVIOUS TORQUE VALUES.
10.
Perform an electrical check of the stop, turn, brake and back-up lamp bulb(s) for proper operation.
11.
Install the trim pieces in the cargo storage area.
PART NUMBER
PART NAME
CLASS
F12Z-13A495-A
Tail Lamp Gasket, RH
B