
Probe V6-182 3.0L (1990)
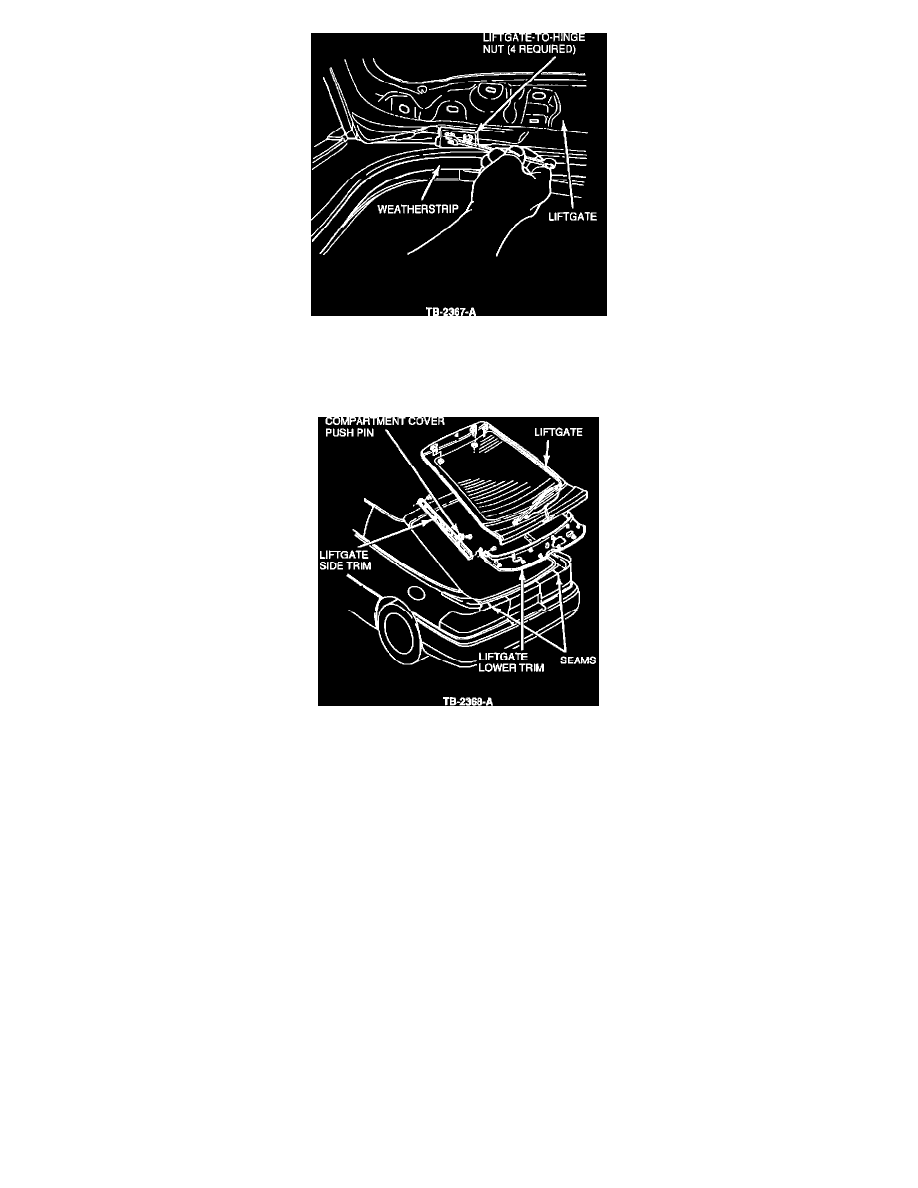
Figure 3
1.
Inspect for water leakage, remove the end panel trim cover. Refer to figure 1. Inspect the weatherstrip for damage such as cut/torn/deformed or out
of position. Refer to figures 2 and 3. Reposition or replace the weatherstrip as needed.
Figure 4
2.
Remove the liftgate storage package tray and the rear liftgate lower trim panel. Refer to figure 4.
NOTE:
THE FOLLOWING STEP WILL REQUIRE TWO PERSONS, ONE INSIDE THE CARGO STORAGE AREA AND ONE PERSON USING
A WATER HOSE.
3.
Close the liftgate, run water down each side of the liftgate from top to bottom, the person inside the cargo storage area should use a light to inspect
for water entry into the upper side trim moldings, weatherstrip and lower panel areas above the tail lamp bulbs, sockets and wiring. Water that
travels down into the end panel will condense inside the tail lamps.
4.
Inspect for water leakage from the end panel seams which may be the results of sealer skips, pin holes or other damage. Refer to figure 4.
5.
If water is observed entering the liftgate side trim panels, weatherstrip or body seams, repair, reseal as needed.
Procedure to Install Modified Tail Lamp Gaskets
1.
Remove the quarter trim panels and upper storage side garnish moldings, refer to the 1991 Probe shop manual, sections 01-05 page 3-6 and
section 17-01 page 14-15 for removal and installation procedures.
2.
With the tail lamp(s) removed from the vehicle, inspect the rear body panel sealing surface for damage that could prevent sealing, also visually
observe the end panel for signs of moisture entry. Clean the end panel with soap and water.