
Probe V6-182 3.0L (1990)
Reinstall Lower Ball Joint.
2. Install the steering knuckle to strut attaching bolts and nuts.
^
Tighten the attaching nuts to 93-117 Nm (69-86 ft lb).
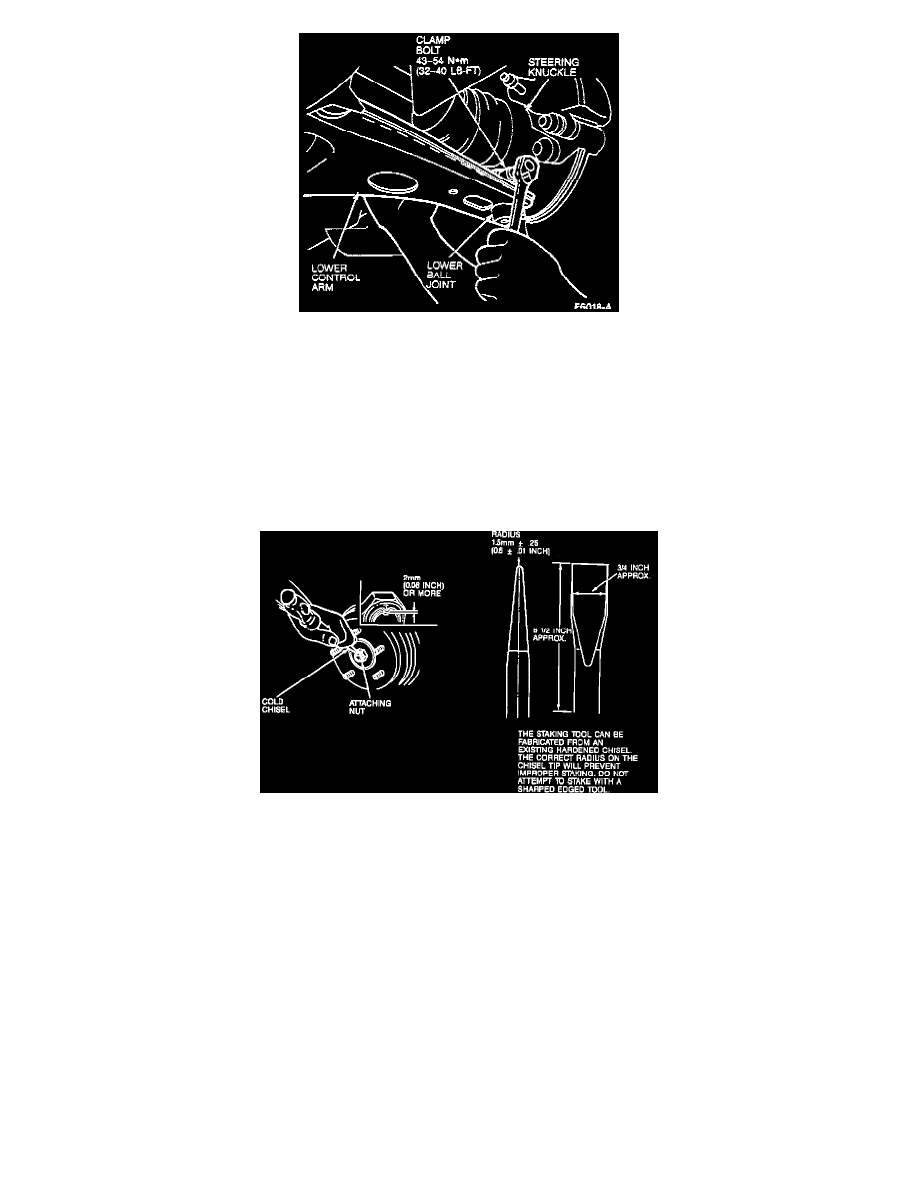
3. Position the lower control arm ball joint through the steering knuckle and install the clamp bolt and nut.
^
Tighten the clamp bolt to 43-54 Nm (32-40 ft lb).
4. Install brake rotor.
5. Install caliper and anchor bracket.
Fig. 5 Staking Halfshaft Attaching Nut
6. Install a new halfshaft attaching nut.
^
Tighten the attaching nut to 157-235 Nm (116-174 ft lb).
7. Stake the halfshaft attaching nut using a cold chisel with the cutting edge rounded.
CAUTION: If the nut splits or cracks after staking, it must be replaced with a new nut.
8. Connect the tie rod to the steering knuckle arm and install the attaching nut.
Tighten the attaching nut to 29-44 Nm (22-33 ft lb) and install a new cotter pin.
NOTE: If the slots in the nut do not align with the cotter pin hole in the ball joint stud, tighten the nut for proper alignment. Never loosen the nut.