
Probe V6-182 3.0L (1990)
Valve Body: Service and Repair
Removal and Installation
REMOVAL
1. Disconnect battery cables, then remove battery and battery carrier.
2. Disconnect main fuse block.
3. Disconnect five transaxle electrical connectors, then separate transaxle wiring harness from transaxle clips.
4. Raise and support vehicle, then drain transaxle fluid.
5. Disconnect oil cooler outlet and inlet hoses.
6. Remove valve body cover and gasket.
7. Disconnect kickdown cable from throttle cam.
8. Disconnect solenoid connector, then pinch tangs of mating connector mounted on transaxle case. Remove by pushing inward.
9. Remove valve body attaching bolts, then the valve body.
INSTALLATION
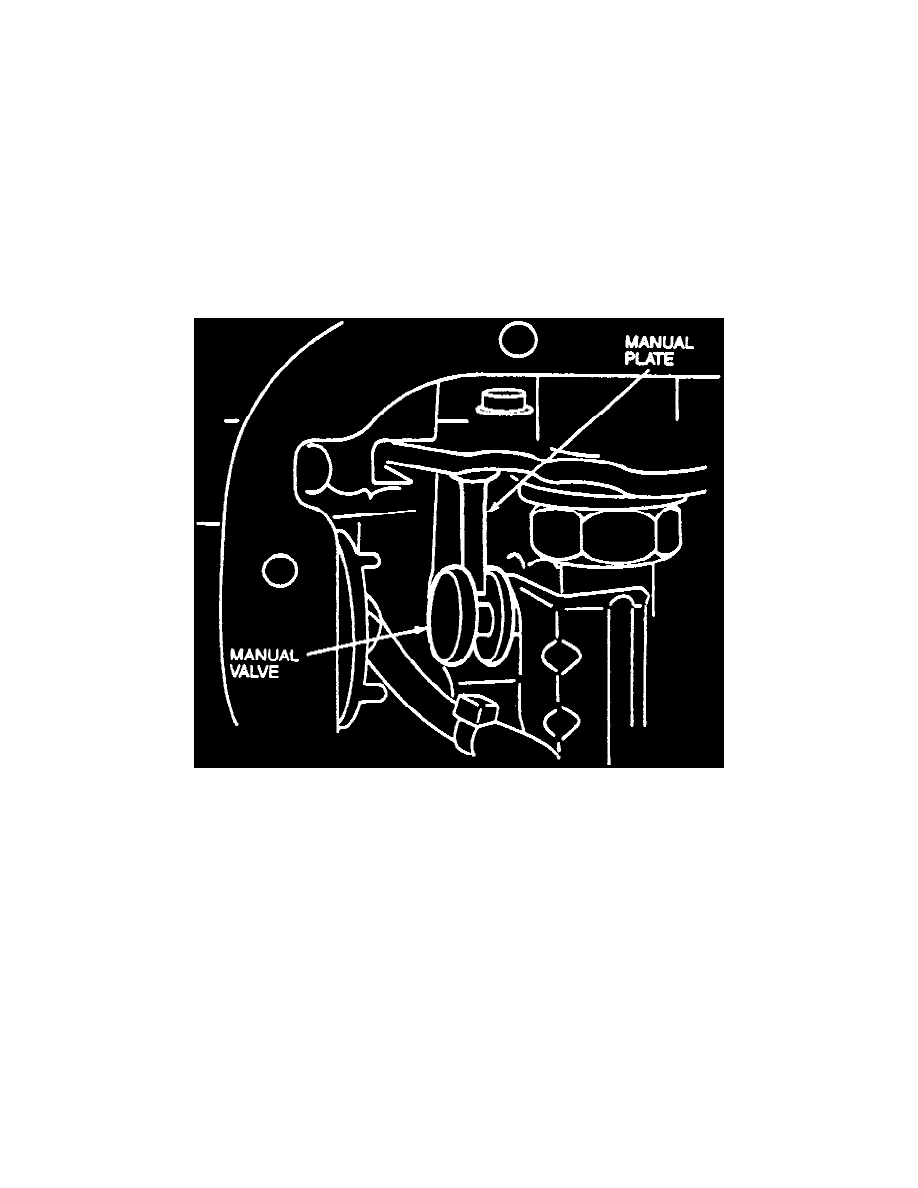
1. Shift transaxle into Reverse to place manual plate in correct position for installation.
Aligning Manual Valve W/Manual Plate
2. Install valve body, using a mirror to align groove of manual valve with manual plate.
3. Torque valve body attaching bolts.
4. Insert solenoid connector into transaxle case hole, then attach mating connector.
5. Attach kickdown cable to throttle cam.
6. Install valve body cover using a new gasket. Torque cover attaching bolts to 69-95 in lbs.
CAUTION: Do not use any type of sealer on cover or gasket.
7. Connect oil cooler hoses.
8. Attach five transaxle electrical connectors, then the transaxle wiring harness to transaxle clips.
9. Connect main fuse block, then install battery carrier and battery. Connect battery cables.
10. Add specified transaxle fluid, check for leaks, and check fluid level.