| | -
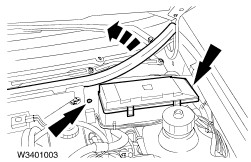
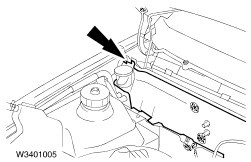
Remove the bulkhead extension. - Unclip the cover of the central junction box (CJB).
|
| | -
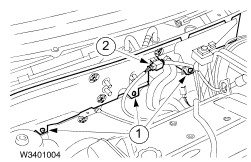
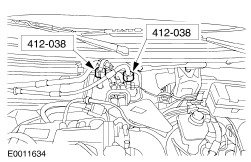
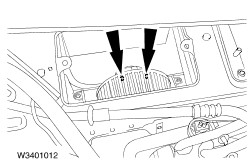
Remove the bulkhead extension (continued). - Remove the bolts.
- Disconnect the plug.
|
| | -
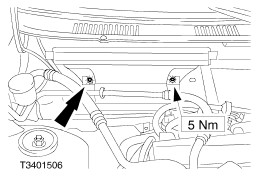
Remove the bulkhead extension (continued). |
Vehicles with air conditioning
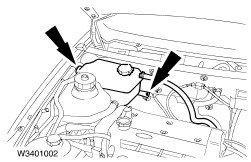
| | -
NOTE:Seal the evaporator and refrigerant lines with plugs. Disconnect the refrigerant lines. |
All vehicles
| | -
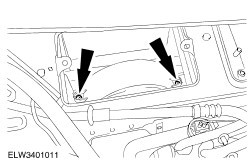
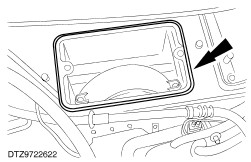
Remove the pollen filter housing. |
| | -
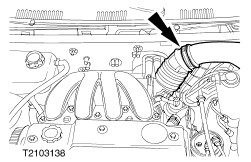
Remove the blower motor cover. |
| | -
Remove the blower motor. - Separate the connector located in the passenger footwell.
- Pull out the grommet together with the wire and the plug.
|
Installation
All Vehicles
| | -
Install the blower motor. |
NOTE:Perform steps 2 and 3 only if water is entering through the pollen filter on the bulkhead.
| | -
Thoroughly clean the area around the pollen filter opening on the bulkhead. |
| | -
Apply a layer of sealer (see "Materials") approx. 10 mm thick to the horizontal top face around the pollen filter opening. |
| | -
Install the remaining components in reverse order. |
Vehicles with air conditioning
| | -
NOTE:Before connecting the refrigerant lines, fit them with new O-rings. Coat the new O-rings with refrigerant oil before fitting them. |
All vehicles
| | -
Check the operation of the heating and air conditioning system (if fitted). |