
Ranger 2WD L4-140 2.3L SOHC (1984)
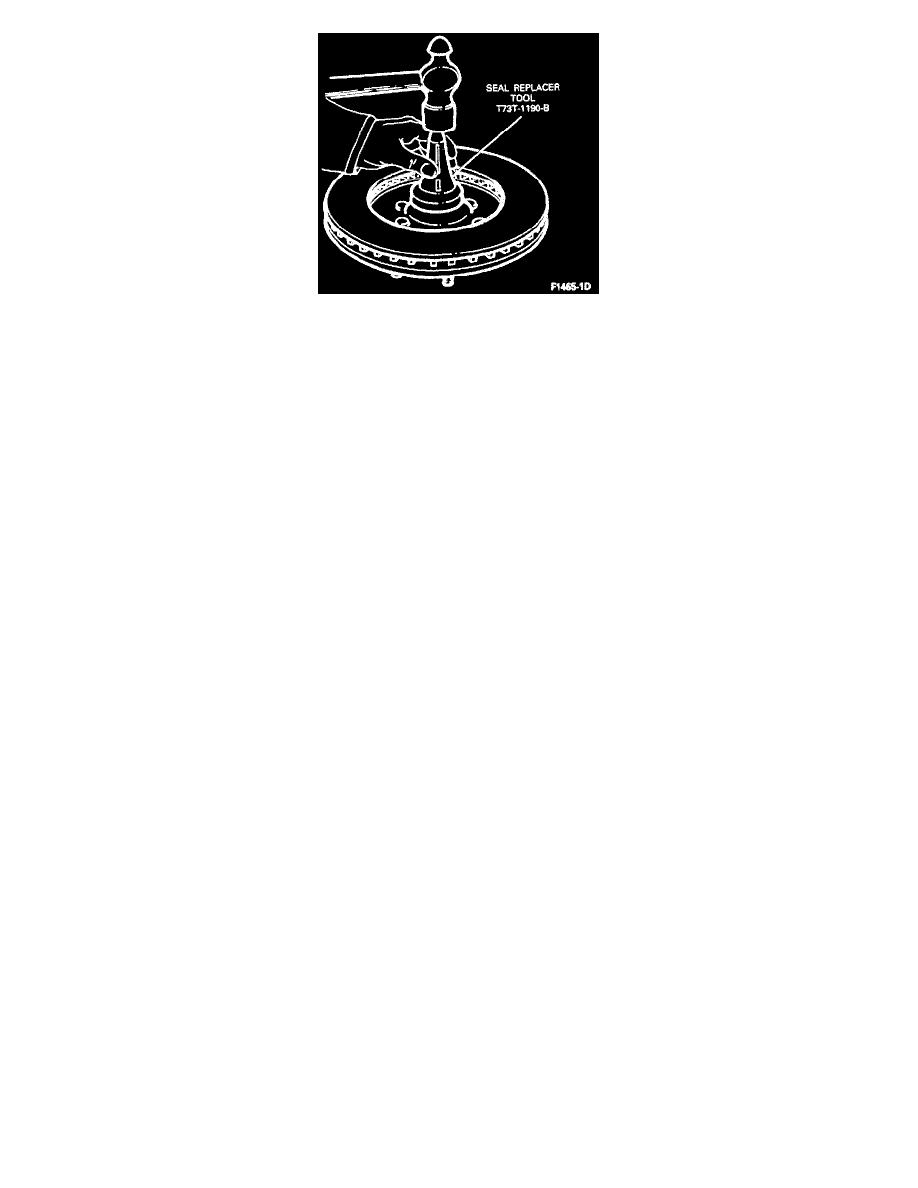
Installing Grease Seal (Typical)
3. Place the inner bearing cone and roller in the inner cup and install the new grease seal. Be sure that the seal is fully seated.
4. Install the hub and rotor on the wheel spindle. Keep the hub centered on the spindle to prevent damage to the grease retainer or the spindle threads.
5. Install the outer bearing cone and roller and the flat washer on the spindle, then install the adjusting nut.
6. Tighten adjusting nut to 23-34 Nm (17-25 ft lb) while turning the rotor in the opposite direction to seat the bearings.
7. Loosen the adjusting nut one half turn.
8. Retighten the nut to 2.0-2.3 Nm (18-20 in lb) using a torque wrench.
9. Place the retainer on the adjusting nut. The castellations on the retainer must be aligned with the cotter pin hole in the spindle.
NOTICE: Do not turn adjuster nut to make castellations line up with hole in spindle.
9. Remove the retainer from the nut and reindex retainer without removing nut. Repeat until castellations line up with hole in spindle.
10. Install a new cotter pin. Bend the cotter pin ends in opposite directions around the castellated flange of the retainer.
11. Check front wheel rotation. If wheel rotates properly, reinstall the grease cap and wheel cover. If rotation is noisy or rough, remove, inspect and
lubricate the bearing cones and cups.
12. Install the caliper.
13. Install wheel and tire assembly.
14. Check brakes for proper operation.
WARNING: Before moving vehicle, pump brake pedal several times to be sure it is firm. Do not move vehicle until a firm pedal is
obtained.
For additional information see Installation Notes.