
Ranger 2WD L4-2.3L (2009)
NOTICE: If present, the orientation of the vent tubes must be noted so the boots and vent tubes may be installed in their original locations.
Incorrect venting may lead to internal component damage.
Coil spring suspension vehicles
1. Remove the wheel and tire.
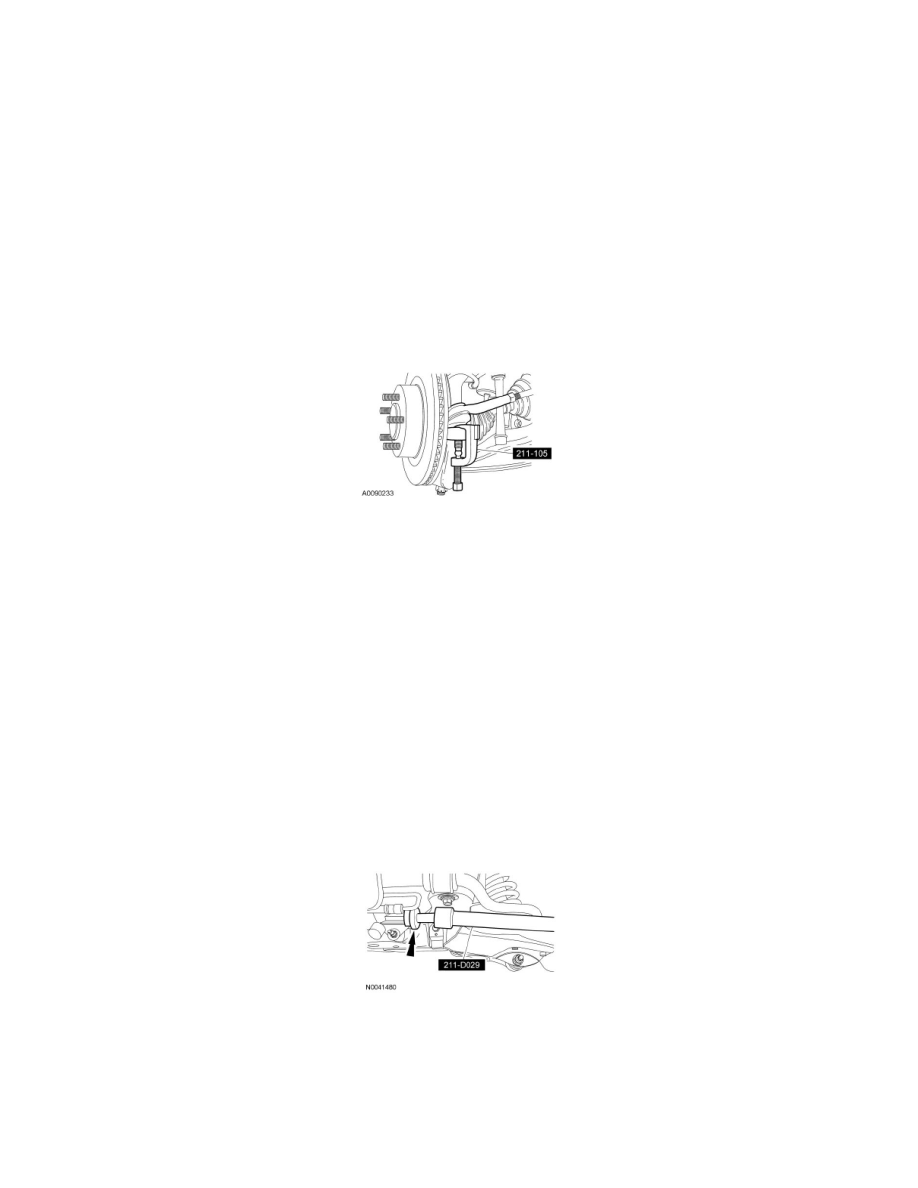
2. Loosen the tie-rod jam nuts.
-
To install, tighten to 80 Nm (59 lb-ft).
3. Remove and discard the outer tie-rod end cotter pin and nut.
-
To install, tighten the new nut to 80 Nm (59 lb-ft).
-
Install a new cotter pin.
4. NOTICE: Do not damage the tie-rod end boot when installing the Tie-Rod End Separator.
Using the Tie-Rod End Separator, disconnect the outer tie-rod end.
5. NOTE: Count and record the number of times the outer tie-rod end turns for assembly reference.
Remove the outer tie-rod end.
6. Remove the tie-rod jam nut.
7. NOTE: If repairing the RH side, it will be necessary to pull back the LH inner bellows boot to hold the steering gear.
Remove the inner and outer bellows boot clamps.
8. Remove the bellows boot.
9. NOTICE: Place the steering gear at the center position. Use a 21 mm (0.82 in) crowfoot on the flat of the rack gear to resist rotation and
to prevent damage during removal and installation of the inner tie rod.
NOTE: The help of an assistant may be needed for removal of the RH inner tie rod.
Using the Inner Tie-Rod Socket Tool, remove the inner tie rod.
-
To install, tighten to 100 Nm (74 lb-ft).
Torsion bar suspension vehicles
10. Loosen the tie-rod jam nut.
-
To install, tighten to 80 Nm (59 lb-ft).
11. Remove the steering gear. For additional information, refer to Steering Gear - Rear Wheel Drive (RWD) See: Steering Gear/Service and Repair or
Steering Gear - Four Wheel Drive (4WD) .