Ranger 2WD V6-245 4.0L VIN X SFI (1997)

Camshaft Bearing: Service and Repair
Rear Bearing Cover
REMOVAL
1. Remove transmission.
2. If equipped with manual transmission, remove clutch.
3. Remove flywheel-to-crankshaft bolts and remove flexplate and flywheel reinforcing plate or flywheel.
4. Using a sharp chisel or punch and hammer, cut a hole in the center of the camshaft rear bearing cover.
5. Remove the camshaft rear bearing cover using Impact Slide Hammer T59L-1OO-B or T50T-100-A. The camshaft rear bearing cover can also be
pried from the bore using a large punch. Use care to prevent damage to the plug bore.
INSTALLATION
Prior to installing camshaft rear bearing cover, the plug bore should be inspected for any damage that would interfere with the proper sealing of the
plug. If the bore is damaged it will be necessary to true the surface by boring for the next specified oversize plug. Oversize (OS) plugs are identified
by the OS stamped in the flat located on the cup side of the plug.
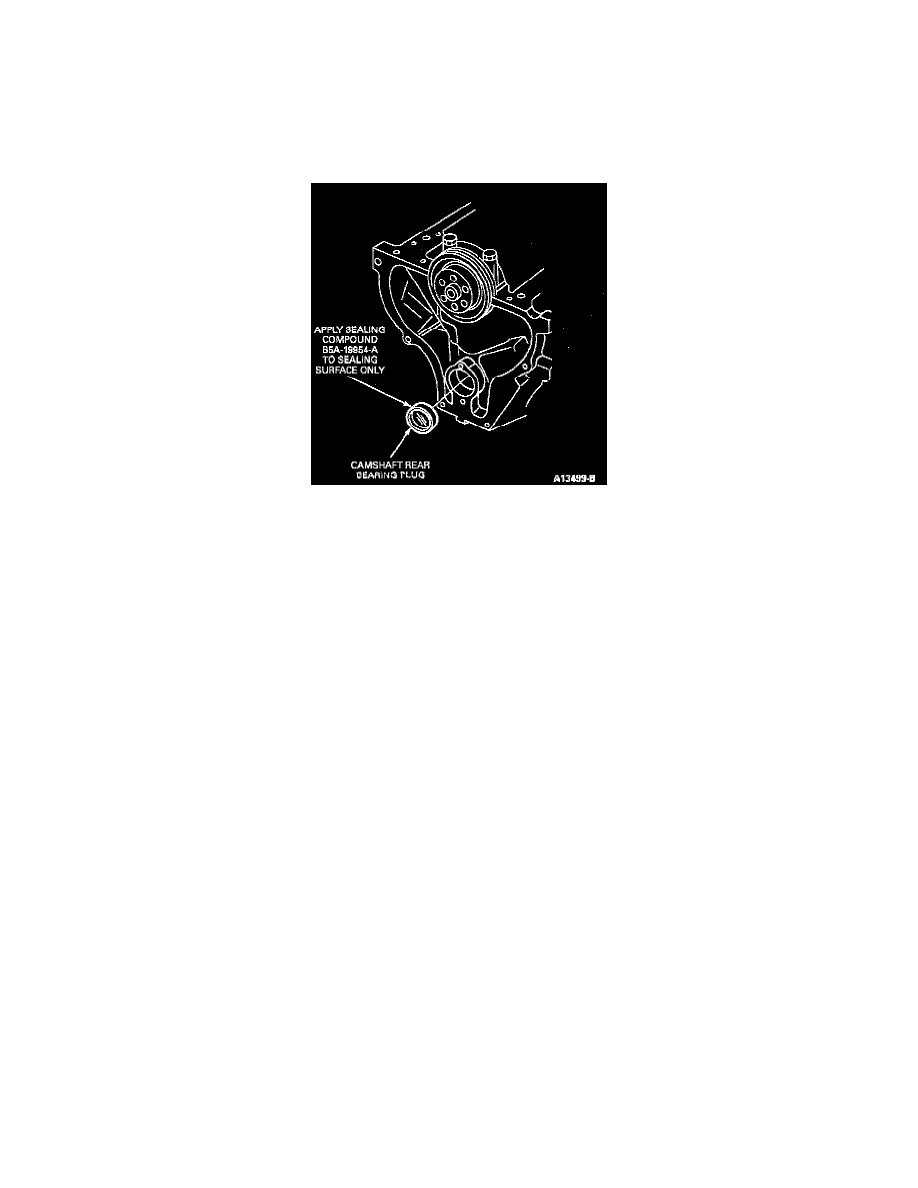
1. Apply a light coating of Perfect-Seal Sealing Compound B5A-19554-A meeting Ford specifications ESR-M18P2-A and ESE-M4G115-A or
equivalent to the sealing edge of the camshaft rear bearing cover before installation. Install bore camshaft rear bearing cover using a suitable
driver.
2. Install flywheel or flexplate and flywheel reinforcing plate. Tighten flywheel-to-crankshaft bolts as follows:
a. First stage 12-15 Nm (9-11 ft. lbs.).
b. Second stage 68-74 Nm (50-55 ft. lbs.).
3. If equipped, install clutch.
4. Install transmission.
