
Ranger 2WD V6-245 4.0L VIN X SFI (1997)
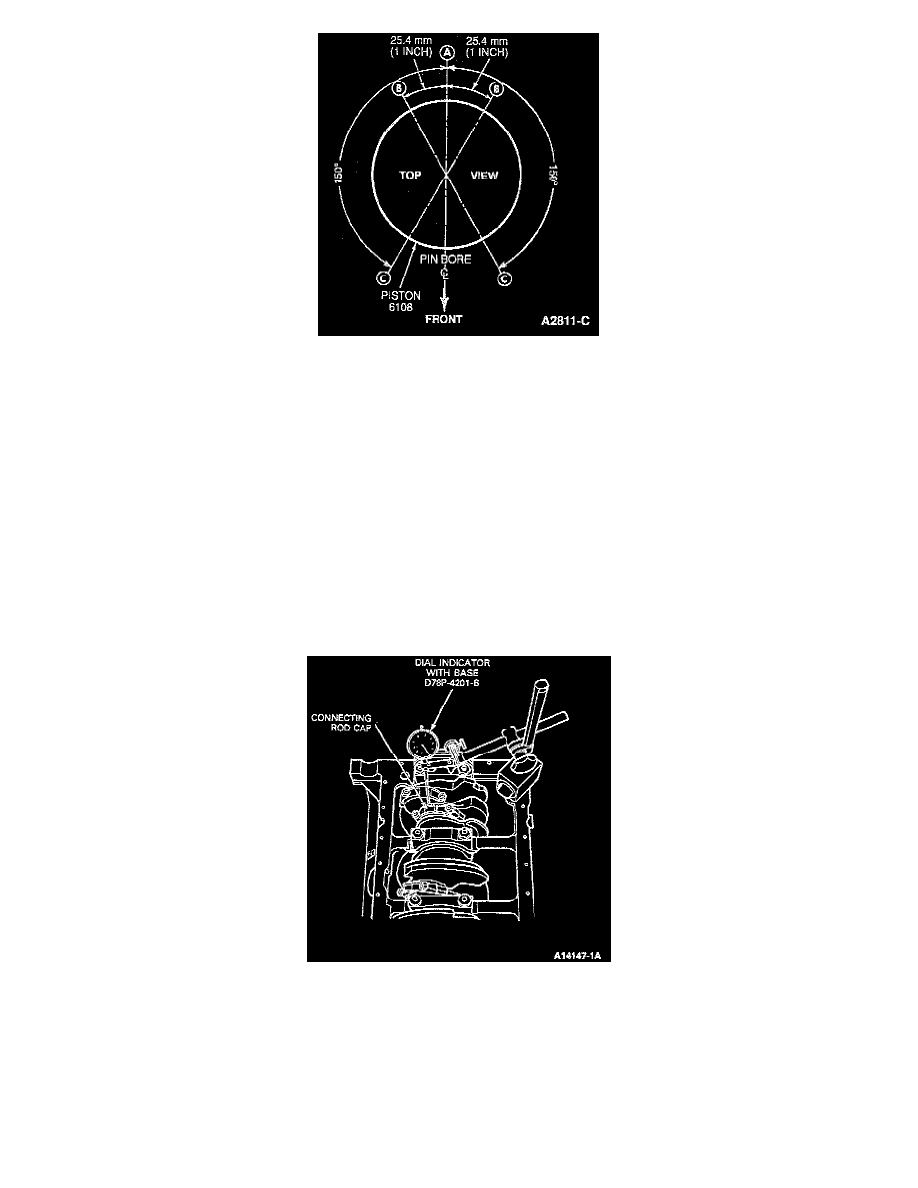
NOTE: Connecting rod and cap are not identified from the factory as to cylinder position. Lightly oil all attaching bolt and stud threads before
installation except those specifying special sealant. Make sure piston ring gaps are spaced as shown.
1. Lubricate cylinder wall and piston with Engine Assembly Lubricant D9AZ-19579-D or equivalent meeting Ford specification ESR-M99C80-A or
SAE 50 Service SO or equivalent oil meeting Ford specification ESE-M2C39-F.
2. Remove connecting rod cap and install spark plug boots on the connecting rod studs.
3. Install piston using Piston Ring Compressor. D81 L-6002-C or equivalent.
NOTE: Be sure to install the pistons in the same cylinders from which they were removed or to which they were fitted. The connecting rod and
bearing caps are identified with matching correlation letters. Letters on the connecting rod and bearing cap must be on the same side when
installed in the cylinder bore. If a connecting rod is transposed from one block or cylinder to another, new bearings should be fitted.
4. As piston is tapped into bore with a hammer handle, guide connecting rod onto crankshaft journal to avoid damage to bearing surfaces.
5. Check connecting rod bearing clearance.
6. Lubricate bearing surfaces with Engine Assembly Lubricant D9Z-19579-D or equivalent meeting Ford specification ESR-M99C80-A or SAE 50
Service SO or equivalent oil meeting Ford specification ESE-M2C39-F oil.
7. Make sure connecting rod is seated on crankshaft journal and install connecting rod cap. Tighten the attaching nuts to 25-32 Nm (18-24 ft. lbs.).
8. If necessary, check connecting rod side clearance.