
Ranger 2WD V6-245 4.0L VIN X SFI (1997)
damage, dirt or improper alignment. Install thrust bearing and align the faces. Recheck end play
13. Seal and assemble the rear main cap to the cylinder block.
a. Clean all oil off of rear main bearing cap and block mating surface using Extra Strength Spot and Stain Remover, B7A-19521-AA or
equivalent meeting Ford specification ESR-M5B197-A.
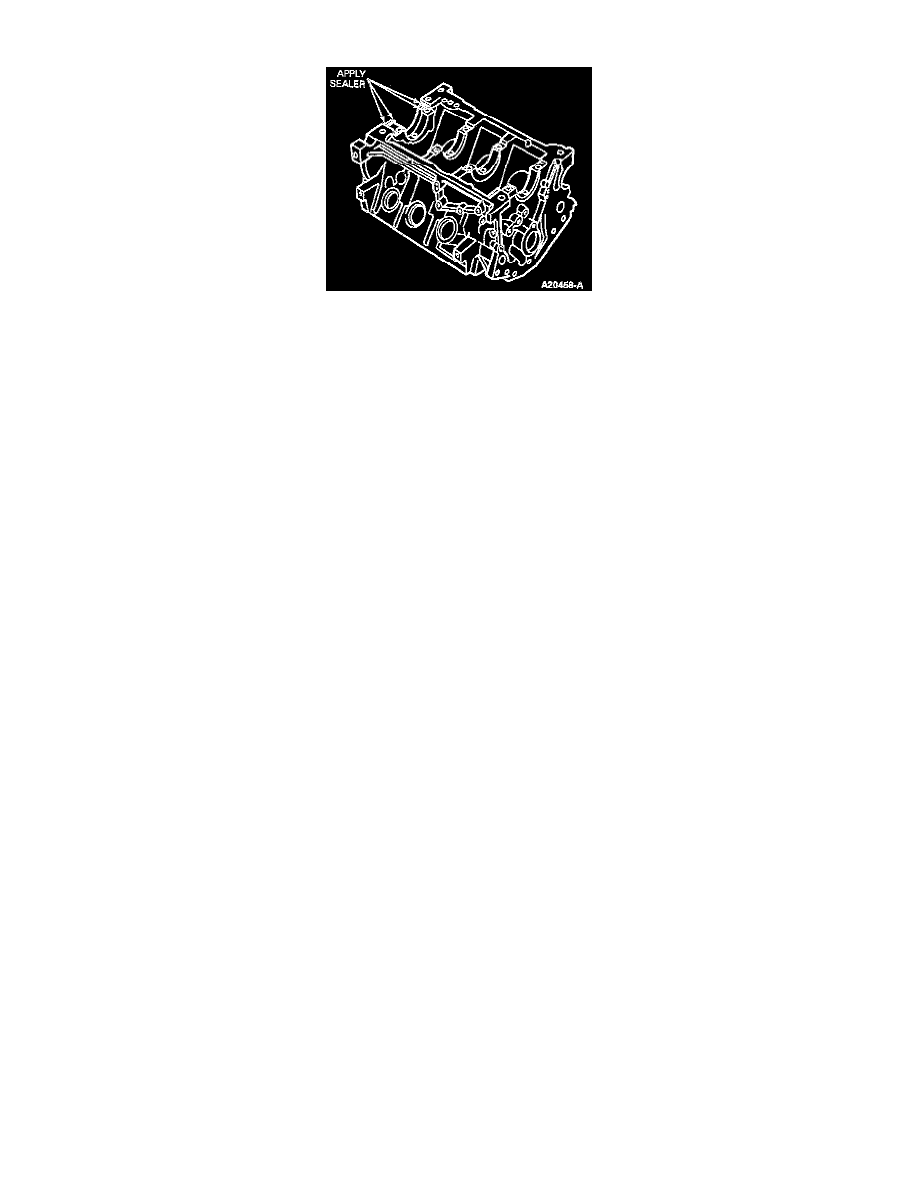
b. Place a bead of Gasket Eliminator E1FZ-19562-A or Loctite 515 sealer or equivalent meeting Ford specification WSK-M2G343-A4 to the
block along the corners of the rear main bearing cap joint area and on the joint face, approximately 13 mm (1/2 inch) from the rear of the
cylinder block as illustrated.
c. Verify that the lower rear main bearing insert is in place. Install the rear main bearing cap and snug the bolts.
NOTE: New bolts must be used during assembly.
d. Align the rear main bearing cap to block by moving the bearing fore or aft (approximately 13 mm [1/2 inch] inward in the rear oil seal bore) so
that the rear seal stop of the block and cap line up. This will ensure that the rear . main oil seal will seat squarely when installed in the bore.
e. Torque the rear main cap bolts to 90-104 Nm (66-77 ft. lbs.).
f.
Fill the cavities on both sides of the rear main cap with Gasket Eliminator E1FZ-19562-A or Loctite 515 sealer or equivalent meeting Ford
specification WSK-M2G348-A4.
14. Install crankshaft rear oil seal.
15. Install new connecting rod bearings in the connecting rods and caps. Check the clearance of each bearing.
16. Check clearances for each connecting rod bearing.
17. If bearing clearances are to specification, apply a light coat of SAE 50 Service SO oil to the connecting rod journals and bearings.
18. Turn the crankshaft throw to the bottom of the stroke. Push the piston all the way down until the connecting rod bearings seat on the crankshaft
journal.
19. Install connecting rod cap.
20. After piston and connecting rod assemblies have been installed, check connecting rod side clearance.
21. Turn engine on the work stand so that the front end is up. Install timing chain, camshaft sprockets, crankshaft sprocket, engine front cover,
crankshaft front seal and crankshaft vibration damper and pulley.
Turn engine on the work stand so that the rear end is up. Install rear oil seal.
22. Clean oil pan, oil pump and oil pump screen cover and tube assembly.
23. Prime oil pump by filling the inlet opening with XO-5W30-QSP meeting Ford specification ESE-M2C153-E or SAE 5W-30 Service SO oil and
rotating the pump shaft until oil emerges from the outlet opening. Install oil pump, crankshaft oil windage baffle and oil pan.
24. Position flywheel on the crankshaft.
25. Turn engine on the work stand so that the engine is in the normal upright position.
26. Install engine in vehicle.