Ranger 2WD V6-245 4.0L VIN X SFI (1997)

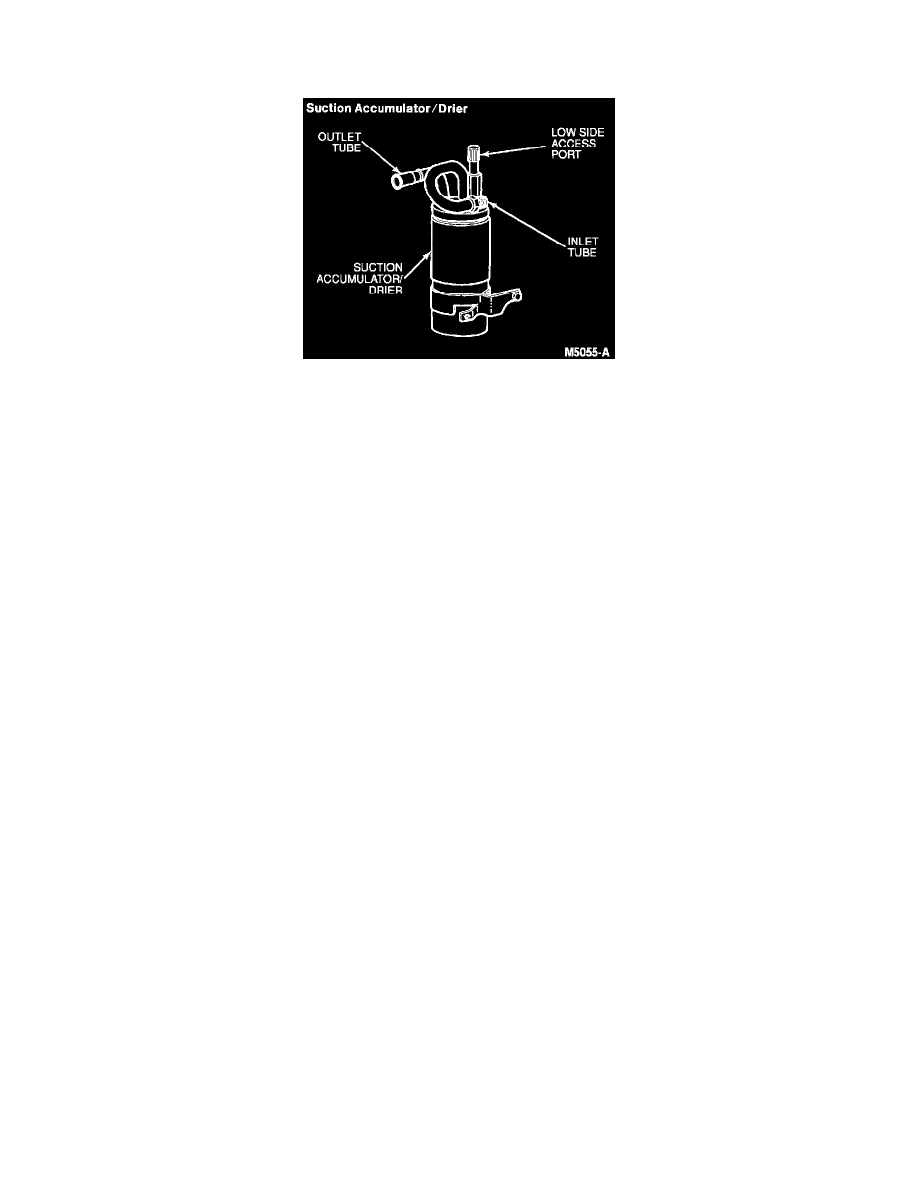
Receiver Dryer: Service and Repair
Removal and Installation
NOTE: The suction accumulator/drier should be replaced whenever a major component of the refrigerant system is replaced.
REMOVAL
1. Disconnect battery ground cable.
2. Recover the refrigerant from the A/C system. Observe all safety precautions. See: Service and Repair/Refrigerant Recovery
3. Disconnect the electrical connector from the A/C cycling switch.
4. Remove the A/C cycling switch by unscrewing it from the suction accumulator/drier.
5. Disconnect the suction accumulator/drier, using Spring Lock Coupling Disconnect Tool, and cap the openings to prevent the entry of dirt and
moisture.
6. Loosen the fitting connecting the suction accumulator/drier to the A/C evaporator core. Use a backup wrench to prevent component damage.
7. Remove the three screws from the bracket, and the screw holding the inlet tube to the accumulator bracket.
8. Disconnect the suction accumulator/drier from the A/C evaporator core and remove the bracket from the suction accumulator/drier.
INSTALLATION
1. Position the bracket on the new suction accumulator/drier loosely.
2. Using a new O-ring lubricated with clean refrigerant oil, connect the suction accumulator/drier to the tube while aligning the bracket to the
evaporator housing.
3. Tighten the suction accumulator/drier to fitting to 35-42 Nm (26-31 lb-ft) using a backup wrench. Install the bracket to the evaporator housing.
Tighten the bracket on the accumulator, and reinstall the clip that holds the inlet tube to the accumulator bracket.
4. Connect the suction hose to suction accumulator/drier after checking for a missing or a damaged garter spring and replacing the spring. Install two
new specified (special material) O-rings, lubricated with clean refrigerant oil, onto the male fitting.
5. Use a new O-ring lubricated with clean refrigerant oil on the nipple of the suction accumulator/drier. Then, install the A/C cycling switch and
tighten the A/C cycling switch to 7-13 Nm (62-115 lb-in) if A/C cycling switch has metal base and hand-tighten only if A/C cycling switch has
plastic base.
6. Connect the electrical connector to the A/C cycling switch.
7. Connect the battery ground cable.
NOTE: When the battery has been disconnected and reconnected, some abnormal drive symptoms may occur while the Powertrain Control
Module (PCM) relearns its adaptive strategy. The vehicle may need to be driven 16 km (10 miles) or more to relearn the strategy.
8. Leak test, evacuate and charge the system. Observe all safety precautions. See: Service and Repair
9. Check the system for proper operation.
