
Ranger 2WD V6-245 4.0L VIN X SFI (1997)
Headlamp Dimmer Switch: Service and Repair
REMOVAL
WARNING: THE ELECTRICAL CIRCUIT FOR AIR BAG DEPLOYMENT IS POWERED DIRECTLY FROM THE BATTERY AND
BACKUP POWER SUPPLY. TO AVOID ACCIDENTAL DEPLOYMENT AND POSSIBLE PERSONAL INJURY, THE BATTERY
POSITIVE CABLE MUST BE DISCONNECTED FOR A MINIMUM OF ONE MINUTE TO DE-ENERGIZE THE BACKUP POWER
SUPPLY.
1. Disconnect battery to starter relay cable and wait at least one minute for air bag backup power supply to discharge before beginning work.
2. Remove upper and lower steering column shrouds.
3. Remove two self-tapping screws retaining multi-function switch to steering column tube casting. Disengage multi-function switch from casting.
4. Disconnect the three electrical connectors.
INSTALLATION
1. Install three electrical connectors to full engagement.
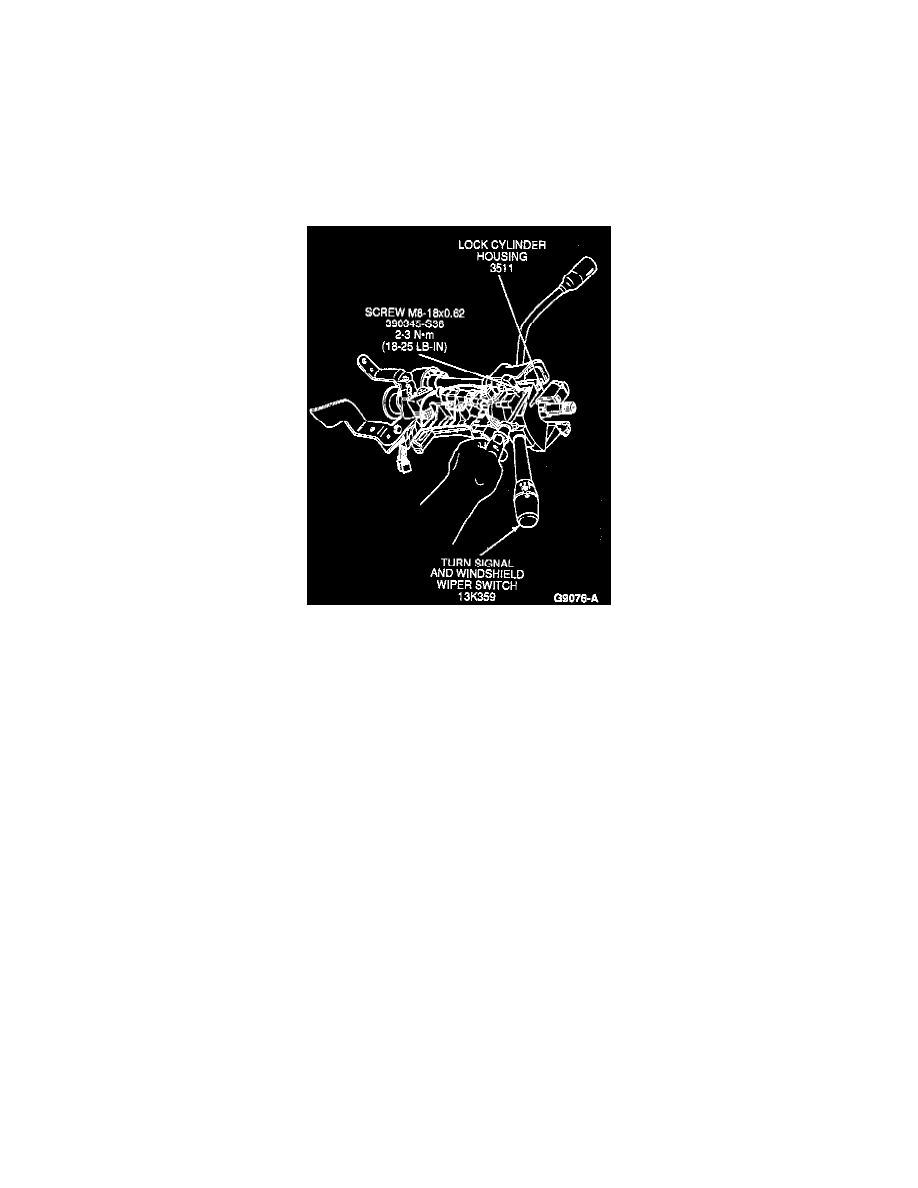
2. Align turn signal and windshield wiper switch mounting holes with corresponding holes in steering column tube casting. Install two self-tapping
screws, making sure to start screws in the previously tapped holes. Tighten to 2-3 Nm (18-25 inch lbs.).
3. Install upper steering column shroud and lower steering column shroud with screws. Tighten to 0.7-1.1 Nm (7-9 inch lbs.).
4. Connect battery to starter relay cable.
NOTE: When the battery has been disconnected and reconnected, some abnormal drive symptoms may occur while the powertrain control
module (PCM) relearns it adaptive strategy. The vehicle may need to be driven 16 km (10 miles) or more to relearn the strategy.
5. Check tilt lock lever and multi-function switch for proper operation.