
Ranger 2WD V6-245 4.0L VIN X SFI (1997)
Synchronizer Ring: Testing and Inspection
1. Inspect gear teeth on synchronizer blocking ring. if there is evidence of chipping or excessively worn teeth, replace with new parts.
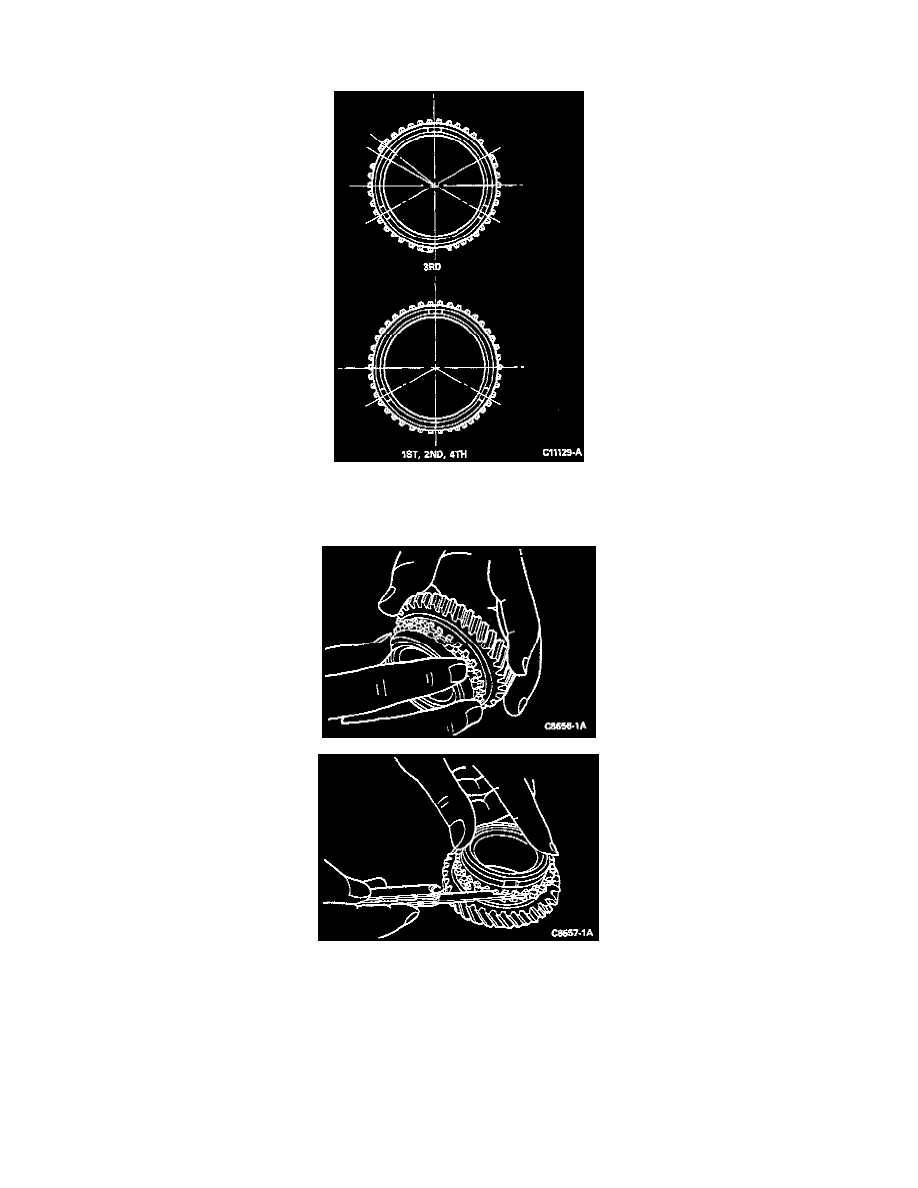
NOTE: Make note of the differences between the 3rd gear synchronizer blocking ring and the 1st, 2nd and 4th gear synchronizer blocking rings.
The 3rd gear synchronizer blocking ring has three teeth cut out 120 degrees apart from each other. Directly adjacent to one side of the missing
teeth, two teeth have been bridged together. This is to help eliminate any upshift "crunch" that may occur.
2. Inspect synchronizer blocking ring for wear. To check the wear, fit synchronizer blocking ring evenly to gear cone. Measure clearance between
side faces of synchronizer blocking ring and gear with a feeler gauge. If clearance is less than 0.8 mm (0.031 inch), replace synchronizer blocking
ring or gear.
NOTE: First/second ,third/fourth and fifth reverse synchronizer-to-gear clearance specifications are the same.
3. Inspect contact between inner surface of synchronizer blocking ring and cone surface of gear. To inspect, apply a thin coat of Prussian Blue or
equivalent on cone surface of gear and fit it into the synchronizer blocking ring. If the contact pattern is poor, correct this by applying compound
and lapping surfaces together.
4. Make sure clutch sleeve slides easily onto clutch hub.
5. Check synchronizer hub inserts, inner surface of clutch sleeve, and insert groove on clutch hub for wear.