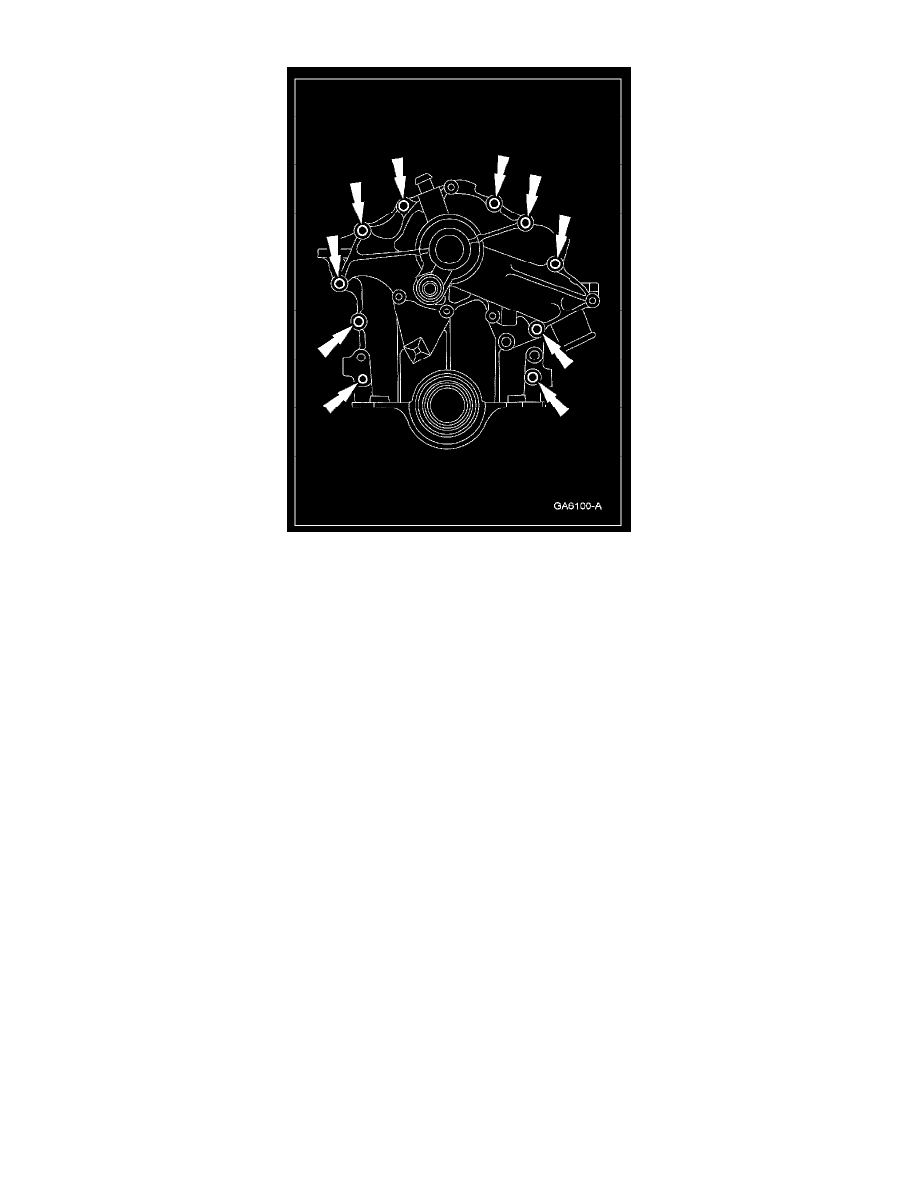
Ranger 2WD V6-3.0L (2008)

^
Tighten to 25 Nm (18 lb-ft).
5. Position the CKP and install the 2 bolts.
^
Tighten to 10 Nm (89 lb-inch).
6. Connect the CKP sensor electrical connector.
7. Install the oil pan.
8. Install the crankshaft front seal.
9. Connect the lower radiator hose assembly at the coolant pump outlet and lower intake manifold.
10. Connect the heater hose at the coolant pump.
11. Position the A/C compressor and power steering bracket. Install the bolts.
^
Tighten to 47 Nm (35 lb-ft).
12. Install the accessory drive belt tensioner and install the bolt.
^
Tighten to 27 Nm (20 lb-ft).
13. Install the stud bolts to the A/C compressor mounting bracket.
^
Tighten to 47 Nm (35 lb-ft).
14. Position the A/C hose and bracket assembly and install the nut.
^
Tighten to 11 Nm (8 lb-ft).
15. Position the wiring harness bracket and install the nut.
^
Tighten to 10 Nm (89 lb-inch).
16. Install the coolant pump pulley and the bolts.
^
Tighten to 25 Nm (18 lb-ft).
17. Install the fan and shroud assembly.
18. Install the accessory drive belt.
19. Fill and bleed the cooling system.
