
Ranger 2WD V6-3.0L (2008)
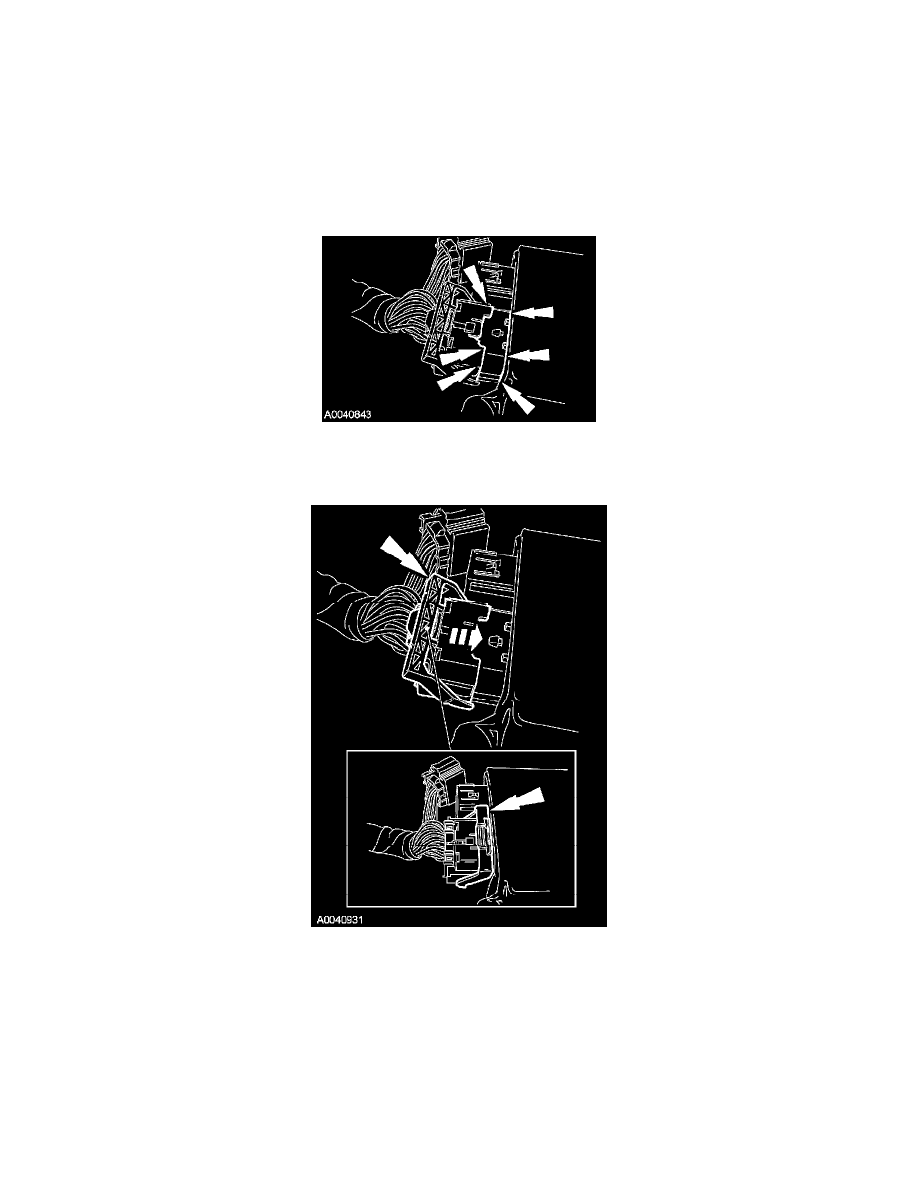
NOTE: The RCM has been removed for clarity.
Position the large RCM electrical connector into the RCM.
-
CAUTION: Do not push the connector to the point where the lever pivots and seats itself. Light pressure is needed to get the
connector into position on the restraints control module (RCM), before using the lever to fully seat the connector. Damage to the
connector or component may occur.
With the large RCM electrical connector uniformly aligned to the RCM, lightly push in until a subtle audible click is heard and slight
resistance is felt.
4. Connect the large RCM electrical connector.
-
Using the connector position assurance lever, pivot it toward the RCM, drawing the connector into the RCM.
-
Make sure the thumb tab is engaged to the retainer on the RCM and locked in place.
5. Connect the small RCM electrical connector.
Vehicles with a consolette
6. Install the consolette tray and the 4 screws.
7. Install the consolette tray mat.
Vehicles with high-series floor console
8. Install the floor console.
All vehicles
9. Repower the SRS. Do not prove out the SRS at this time.
10. When installing a new RCM, carry out the steps necessary to complete PMI.