
Ranger 2WD V6-4.0L (2010)
15. Install the dual converter Y-pipe. For additional information, refer to Exhaust System &/or Catalytic Converter.
All vehicles
16. If equipped, position the A/C tube bracket and install the nut.
-
Tighten to 20 Nm (177 lb-in).
17. Position the transmission fluid cooler tube and install the bolt.
-
Tighten to 47 Nm (35 lb-ft).
18. Lower the engine and remove the Engine Support Bar and the 2 Adapters for 303-209A.
19. Remove the Engine Lifting Bracket and install the coolant tube bolt.
-
Tighten to 28 Nm (21 lb-ft).
20. Install the RH engine support insulator nuts.
-
Tighten to 110 Nm (81 lb-ft).
21. Remove the Engine Lifting Bracket and install the power steering and A/C compressor bracket bolt.
-
Tighten to 42 Nm (31 lb-ft).
22. Install the 2 LH engine support insulator nuts.
-
Tighten to 110 Nm (81 lb-ft).
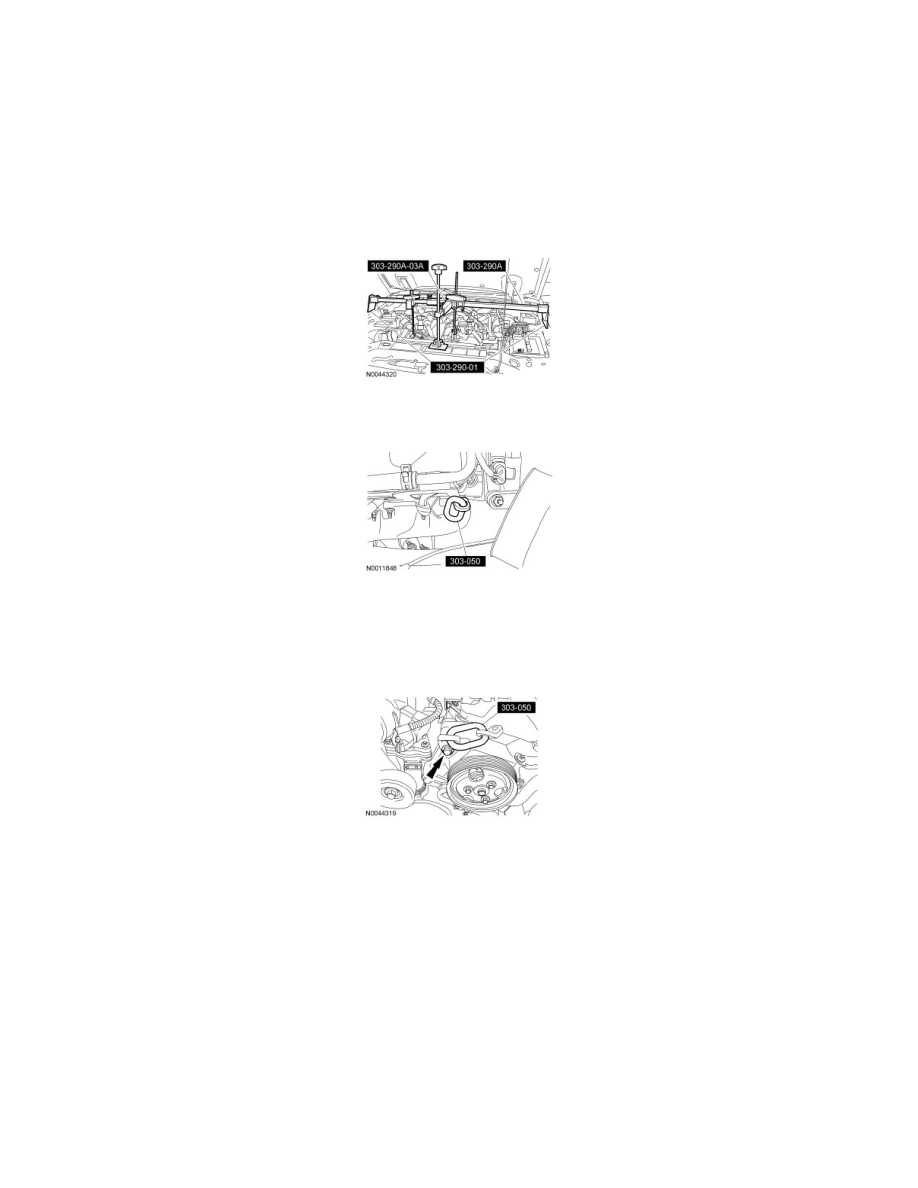
23. Install the oil level indicator.
24. Position the fan shroud and install the 2 bolts.
-
Tighten to 10 Nm (89 lb-in).
25. Install the oil pan. For additional information, refer to Oil Pan See: Engine Lubrication/Oil Pan/Service and Repair/Oil Pan.
26. Install the starter. For additional information, refer to Starting System.
27. Install the ACL outlet pipe. For additional information, refer to Fuel Delivery and Air Induction.
28. Connect the battery ground cable. For additional information, refer to Battery.
Engine Support Insulators