
Ranger 2WD V6-4.0L (2010)
-
Discard the nuts.
Installation
NOTICE: Do not use oil or grease-based lubricants on the isolators. These lubricants may cause deterioration of the rubber. This can lead to
separation of the isolator from the exhaust hanger bracket during vehicle operation.
NOTICE: Prior to Installation, inspect the Heated Oxygen Sensor (HO2S) and the Catalyst Monitor Sensor (CMS) wiring harness for damage.
NOTE: Clean all the mating surface of the exhaust Y-pipe.
1. Position the RH side of the exhaust Y-pipe into the vehicle and loosely install the 2 new RH side of the exhaust Y-pipe-to-exhaust manifold nuts.
2. Install a new LH side of the exhaust Y-pipe-to-RH side of the exhaust Y-pipe gasket.
3. Position the LH side of the exhaust Y-pipe into the vehicle and loosely install the 2 new LH side of the exhaust Y-pipe-to-exhaust manifold nuts.
4. Loosely install the 2 new LH side of the exhaust Y-pipe-to-RH side of the exhaust Y-pipe nuts.
5. Install the transmission mount and isolator-to-transmission bolt.
-
Tighten to 90 Nm (66 lb-ft).
6. Install a new RH side of the exhaust Y-pipe-to-muffler and tail pipe assembly gasket.
7. Loosely install the 2 RH side of the exhaust Y-pipe-to-muffler and tail pipe assembly bolts and 2 new flagnuts.
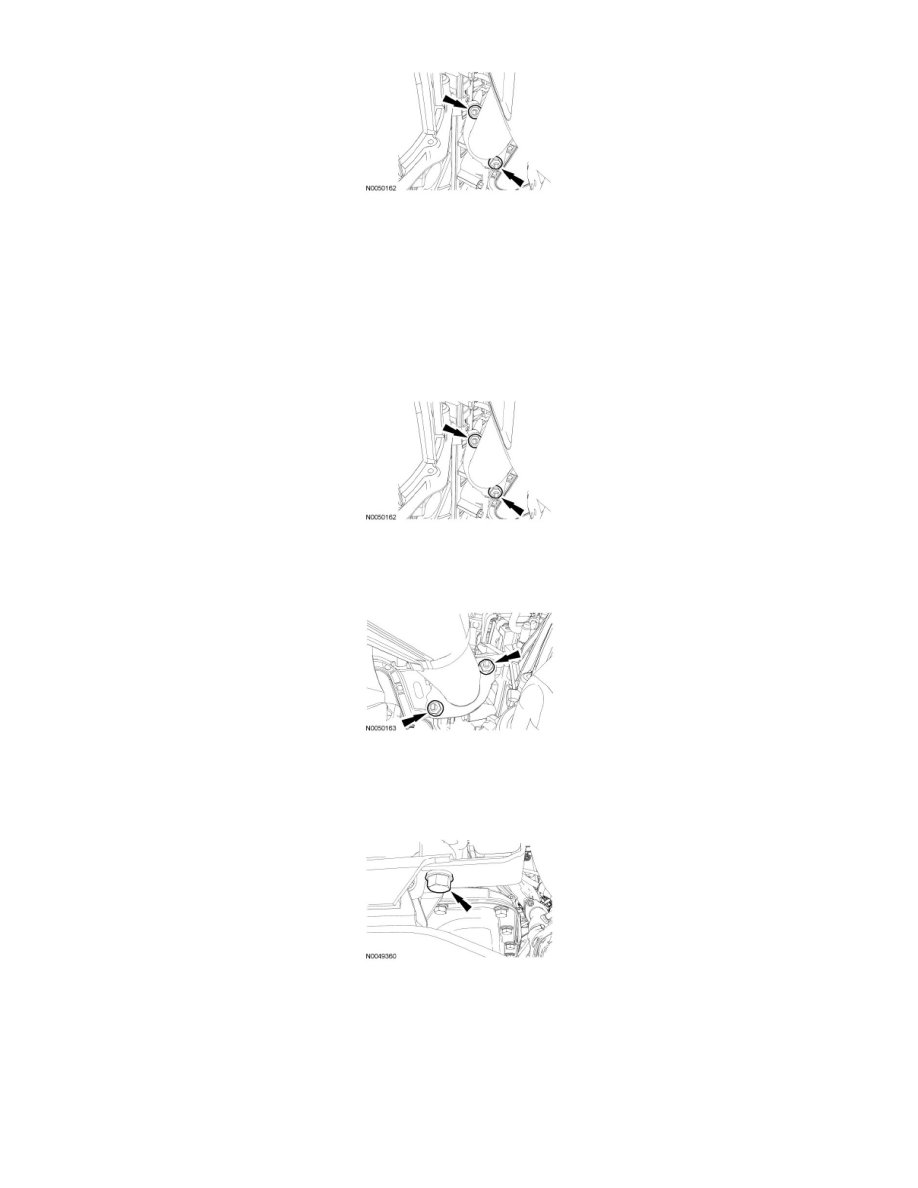
8. NOTE: RH side shown, LH side similar.
Tighten the 4 exhaust Y-pipe assembly-to-exhaust manifold nuts.
-
Tighten to 40 Nm (30 lb-ft).