
Ranger 4WD V6-182 3.0L (1994)
Air Bag(s) Arming and Disarming: Service and Repair
Deactivation Procedure
1. Disconnect positive battery cable.
NOTE: When the battery has been disconnected and reconnected, some abnormal drive symptoms may occur while the powertrain control
module relearns its adaptive strategy. The vehicle may need to be driven 16 km (10 mi) or more to relearn the strategy.
2. Wait one minute. This is the time required for backup power supply in air bag diagnostic monitor to deplete its stored energy.
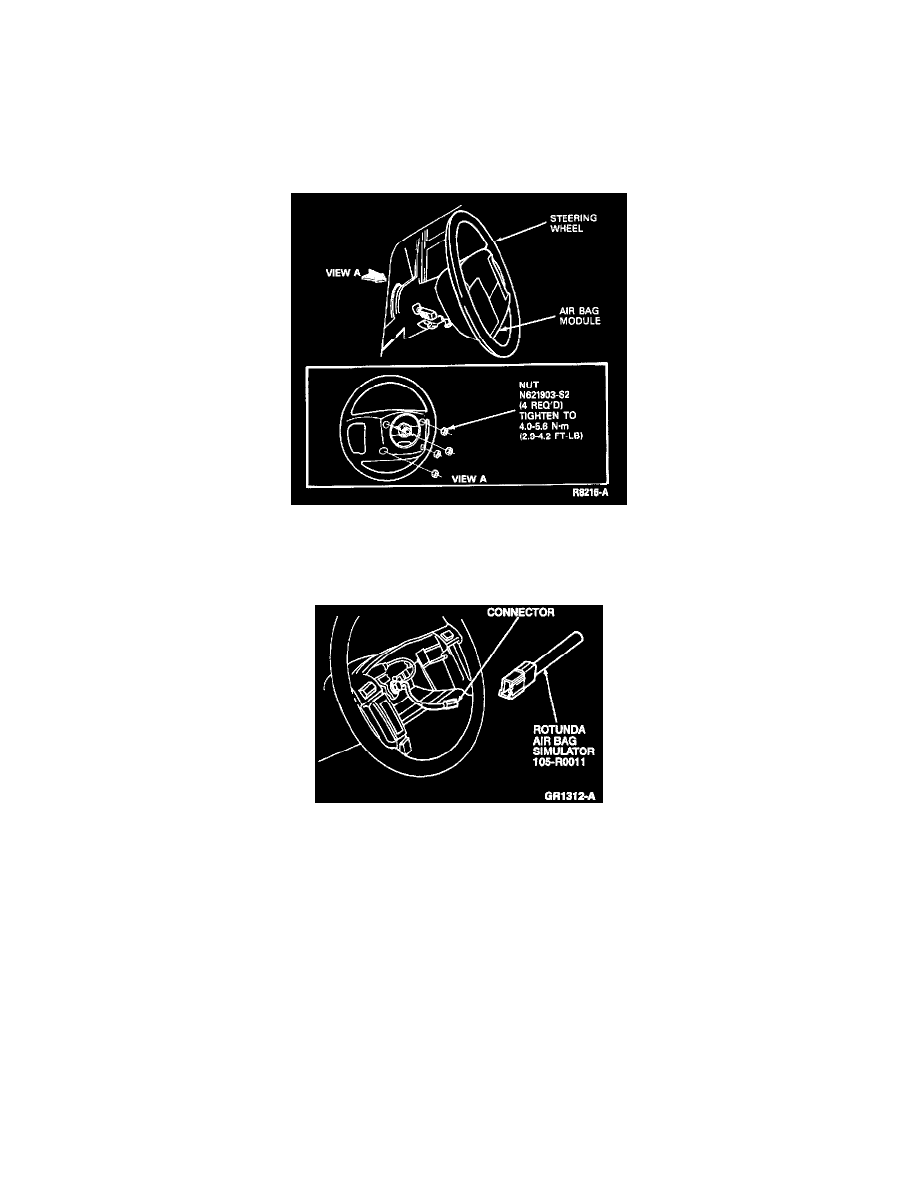
3. Remove four nut and washer assemblies retaining driver side air bag module to steering wheel.
4. Disconnect driver air bag connector. Remove driver side air bag module from vehicle.
WARNING: Place air bag module on bench with trim cover facing up.
5. Connect Rotunda Air Bag Simulator or equivalent to vehicle harness at top of steering column.
6. Reconnect positive battery cable.
Reactivation Procedure
1. Disconnect positive battery cable.
2. Wait one minute for backup power supply in air bag diagnostic monitor to deplete stored energy.
3. Remove Rotunda Air Bag Simulator or equivalent from vehicle harness connector at top of steering column. Reconnect driver side air bag module.
WARNING: The air bag simulator must be removed and the air bag reconnected when the system is reactivated.
4. Position driver side air bag module on steering wheel and secure with four nut and washer assemblies (10 mm). Tighten screw and washer
assemblies to 4.0-6.0 Nm (36-53 lb in).
5. Reconnect positive battery cable.
6. Prove out system.