
Ranger 4WD V6-183 3.0L (1993)
Clutch Slave Cylinder: Service and Repair
Clutch Slave Cylinder to Clutch Master Cylinder Tube
Removal and Installation
1. Raise vehicle on a hoist and position suitable safety stands under vehicle.
2. Disconnect the line from the plastic clip at the floor flange.
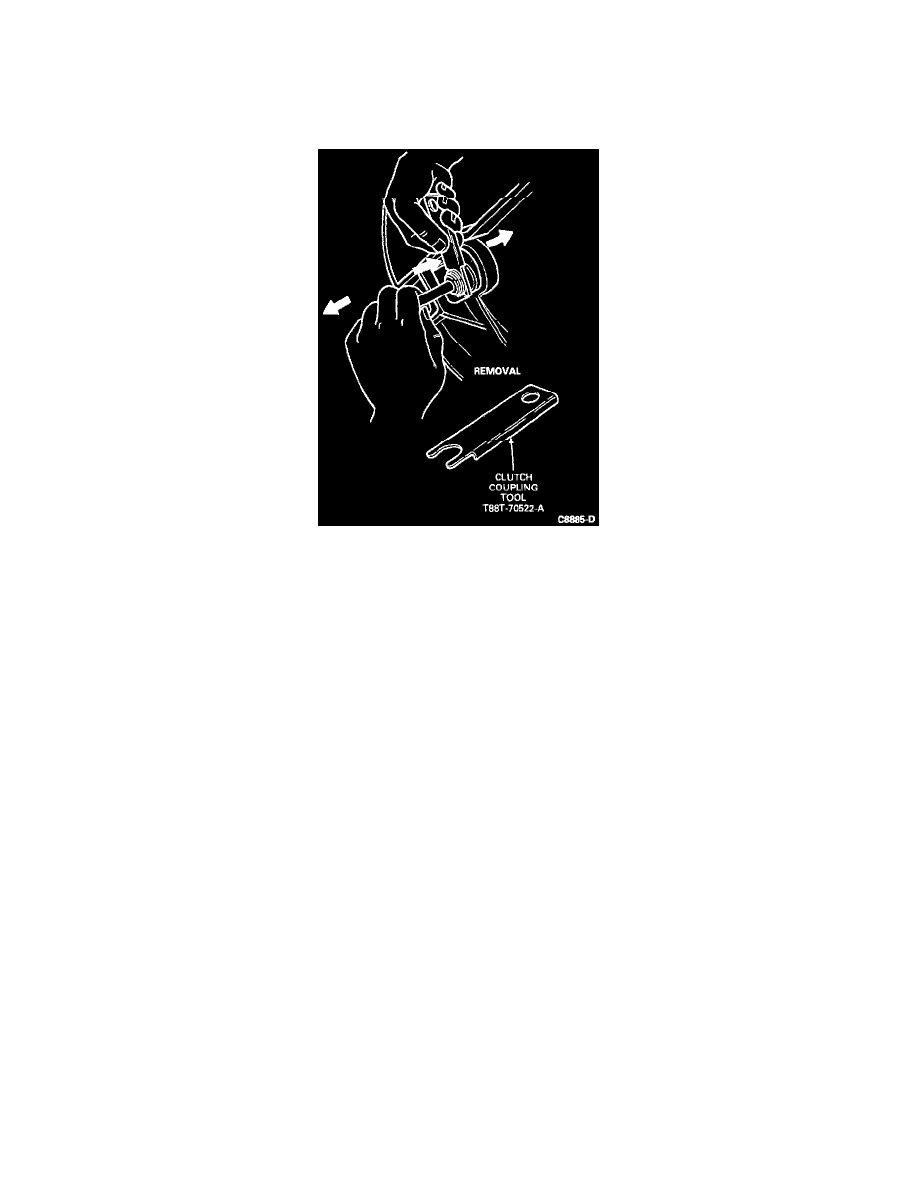
Clutch Coupling Tool T88T-70522-A
3. Uncouple the lower end of the line from the clutch slave cylinder using Clutch Coupling Tool T88T-70522-A by sliding the white plastic sleeve
toward the clutch slave cylinder while pulling the line away from the clutch slave cylinder.
4. If a new line is installed, remove the yellow rubber protective cap and check that the O-ring is in place. Insert the male coupling end into the
female coupling of the slave cylinder.
NOTE: Once the line is attached to the slave cylinder, check that the connection is secure by applying a slight tug to the clutch tube.
5. Connect the line to the metal clip at the floor flange.
6. Remove the safety stands and lower the vehicle.
7. Remove clutch master cylinder (7A543) and line assembly.
8. Remove and discard the roll pin holding the line to the clutch master cylinder.
9. Disconnect the line from the clutch master cylinder by applying a slight tug on the line pulling away from the clutch master cylinder.
10. Check to be sure the O-ring is still in the outlet port of the clutch master cylinder. If not, replace.
11. Insert the new line into the clutch master cylinder outlet port.
12. Install a new roll pin to secure the line in place at the clutch master cylinder. Check installation by pulling the line away from the clutch master
cylinder outlet port.
13. Bleed the system. See: Service and Repair/Clutch System Bleed