
Ranger 4WD V6-183 3.0L (1993)
NOTE:
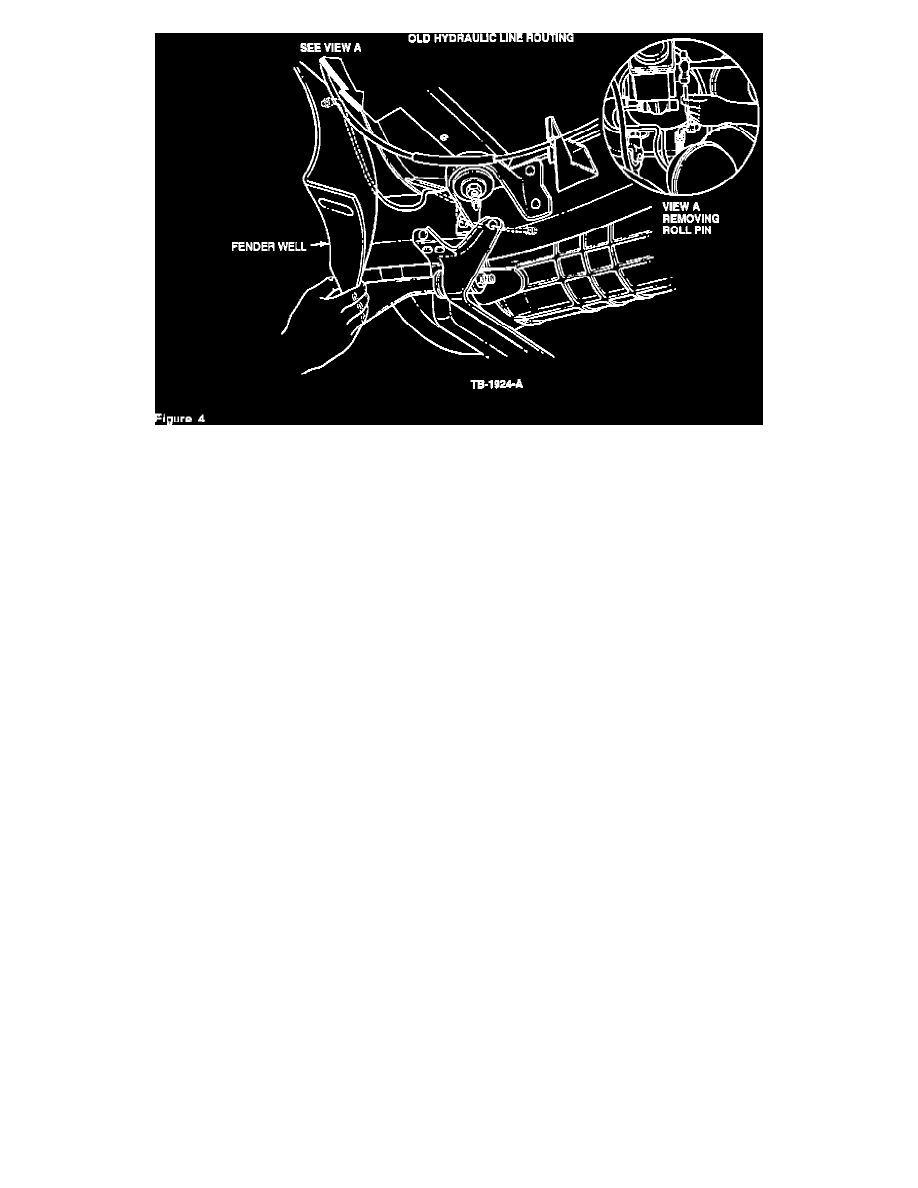
THIS ROUTING IS DIFFERENT THAN THE PRIOR HYDRAULIC LINE ROUTING WHICH IS SHOWN IN FIGURE 4 FOR REFERENCE.
6.
Make sure that the heat shield is at the lower end of the hydraulic line (opposite end of rubber damper), Figure 3, View A.
7.
Remove the red rubber protective cap from the lower end of the hydraulic line, a. Check to be sure that the O-ring is in place.
b.
Insert the male coupling into the female coupling on the slave cylinder.
c.
After the couplings are connected, pull on the line (away from the slave cylinder) to be sure that the connection is secure.
8.
Connect the new hydraulic line to the metal retainer clip as follows:
a.
If the vehicle is equipped with a metal retaining clip, the clip may be reused on the new hydraulic line. Secure the line to the metal retainer
clip.
b.
If the vehicle is not equipped with a retainer clip, use the new clip provided in the service kit. Insert the new clip to the floor flange and
secure the line as shown in Figure 3, View A.
9.
Lower the vehicle from the hoist.
HYDRAULIC LINE REPLACEMENT - UPPER END (MASTER CYLINDER END)
1.
Raise the hood.
2.
Remove and discard the roll pin.
a.
Locate the roll pin on the clutch master cylinder, Figure 4, View A.
b.
Use a fine punch and a hammer to knock the roll pin out of its hole.
3.
Disconnect the hydraulic line from the clutch master cylinder.
a.
Apply a slight tug on the hydraulic line away from the master cylinder outlet port.
b.
Remove the hydraulic line from the vehicle.
4.
Check to see that the O-ring is inside the clutch master cylinder outlet port.
^
If the existing O-ring is inside the clutch master cylinder outlet port, it may be reused.