
Ranger 4WD V6-3.0L (2008)
7. Install the 2 steering gear studs.
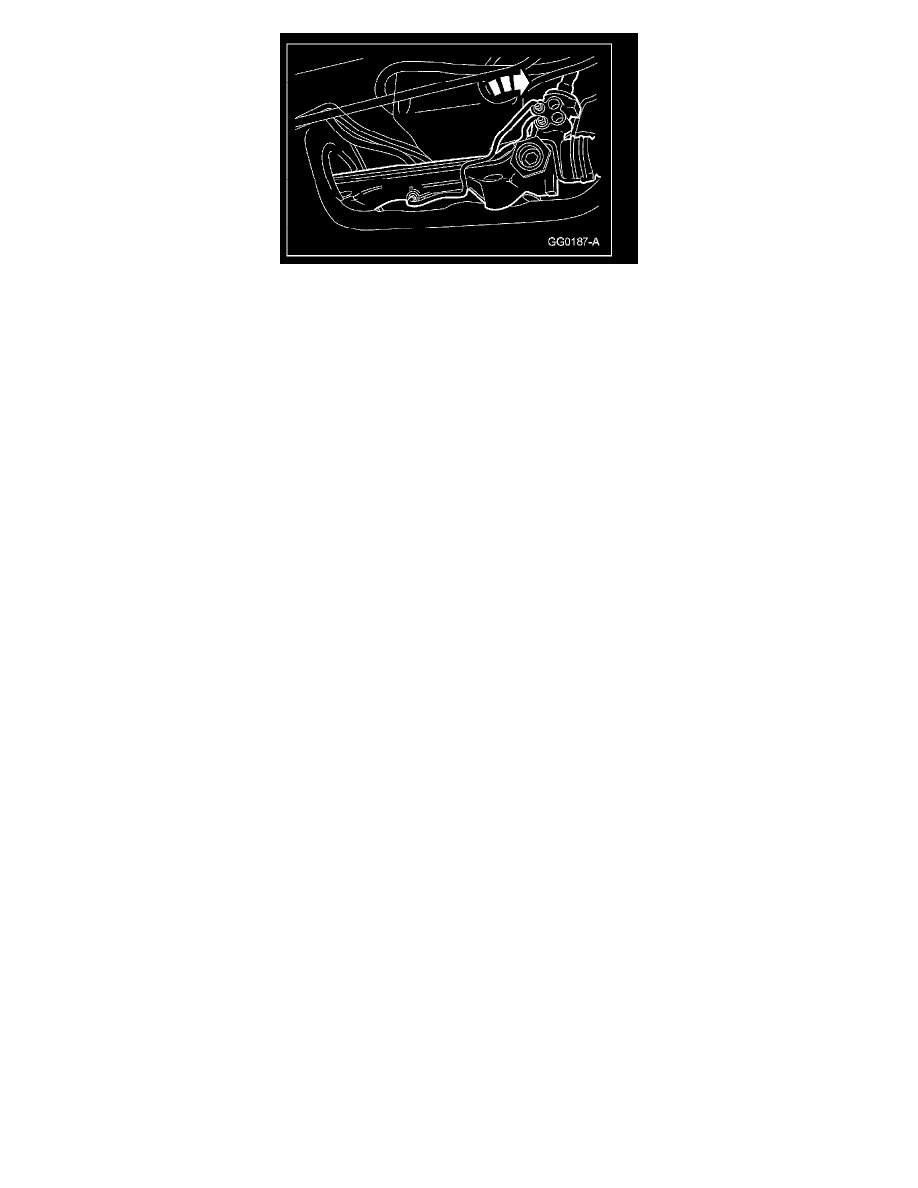
8. CAUTION: Hold the tops of the steering gear studs to avoid damaging the steering gear fluid transfer tubes.
Install the 2 steering gear nuts.
^
Tighten to 150 Nm (111 lb-ft).
9. CAUTION: New O-rings must be installed any time the lines are disconnected from the steering gear or a fluid leak may occur.
Position the pressure and return lines and install the steering line clamp plate nut.
^
Tighten to 35 Nm (26 lb-ft).
10. CAUTION: Do not allow the steering column to rotate while the steering column shaft is disconnected from the steering gear or damage
to the clockspring may result. If there is evidence that the steering column has rotated, the clockspring must be removed and re-centered.
Connect the steering column shaft to the steering gear and install a new bolt.
^
Tighten to 55 Nm (41 lb-ft).
11. Install the stabilizer bar and link.
12. Install the outer tie-rod ends.
^
Rotate the outer tie-rod ends the number of turns recorded during removal.
13. Position the outer tie-rod ends and install the nuts and new cotter pins.
^
Check that the brake disc shields are not bent and are not in contact with the outer tie-rod end boots.
^
Tighten to 80 Nm (59 lb-ft).
(3.0L) and 4.0L) engines
14. Install the power steering fluid cooler.
All vehicles
15. Tighten the tie-rod jam nuts.
^
Tighten to 80 Nm (59 lb-ft).
16. Fill the power steering system.
17. Check and, if necessary, adjust the front toe.