
Ranger 4WD V6-3.0L VIN U (1997)
Brake Bleeding: Service and Repair
Manual Bleeding
WARNING: Brake fluid contains polyglycol ethers and polyglycols. avoid contact with eyes. Wash hands thoroughly after handling. If brake
fluid contacts eyes, flush with running water for 15 minutes. Get medical attention if irritation persists. If taken internally, drink water and
induce vomiting. Get medical attention immediately.
CAUTION: DO NOT allow the brake master cylinder reservoir to run dry during the bleeding operation. Keep the master cylinder reservoirs filled with
the specified brake fluid. Never reuse the fluid that has been drained from the hydraulic system.
NOTE: Bleed the primary and secondary hydraulic brake systems separately.
1. On the brake master cylinder reservoir, loosen the master cylinder-to-hydraulic line fittings.
2. Wrap a shop cloth around the tubing below the fitting to absorb escaping brake fluid.
3. Push the brake pedal down slowly to the floor of the cab. This will force air trapped in the brake master cylinder to escape at the fitting.
4. Hold the brake pedal down and tighten the fitting. Release the brake pedal. Do not release the brake pedal until the fitting is tightened or air will
re-enter the brake master cylinder reservoir.
5. Repeat this procedure until air ceases to escape at the fitting.
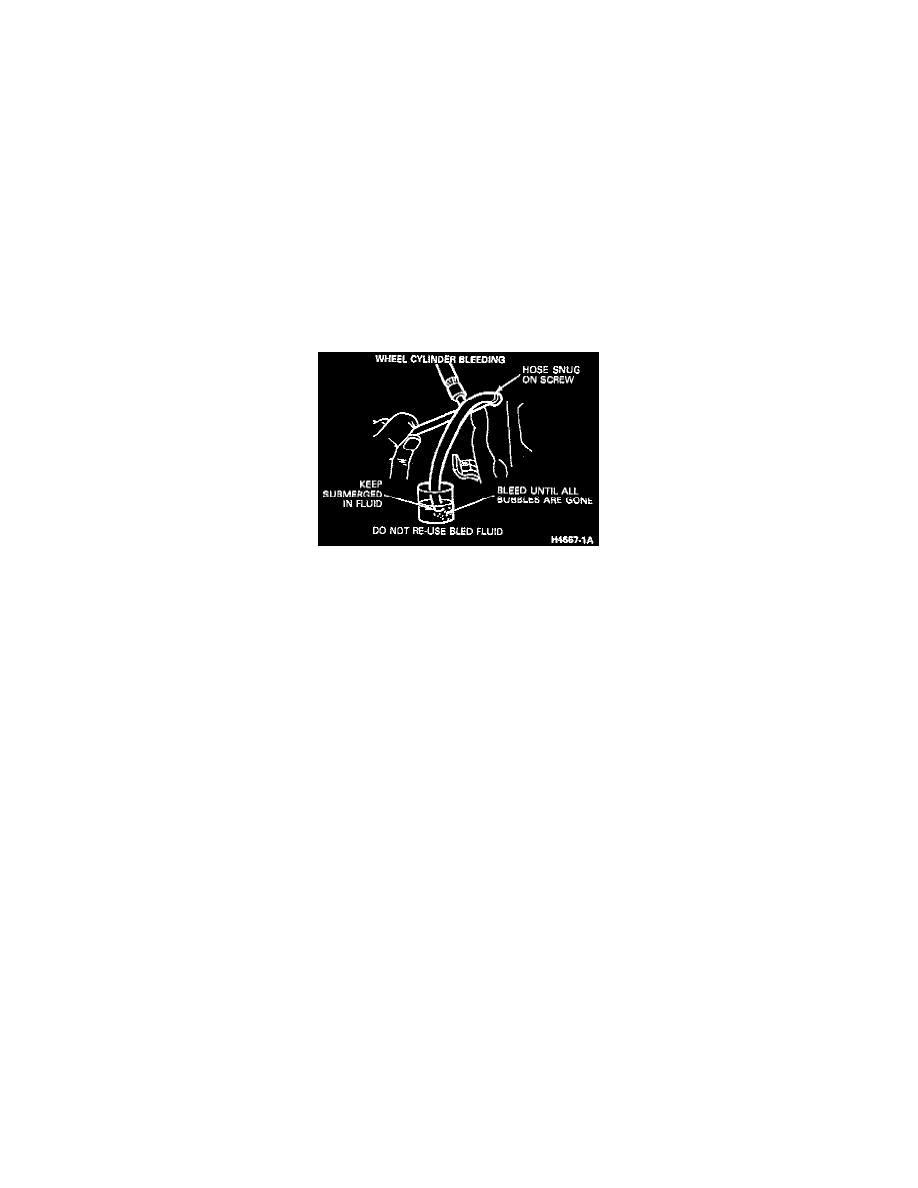
Wheel Cylinder Bleeding
6. Place a box wrench on the bleeder screw on the rear anti-lock brake (RABS) system valve (if equipped). Attach a rubber drain tube to the bleeder
fitting making sure the end of the tube fits snugly around the bleeder screw.
a. Submerge the free end of the tube in a container partially filled with clean brake fluid. Loosen the bleeder screw approximately three-quarters
of a turn.
b. Slowly press the brake pedal all the way down. Close the bleeder screw, and return the brake pedal to the fully-released position. Repeat this
operation until air bubbles no longer appear at the submerged end of the bleeder tube.
c. When the fluid being expelled is completely free of air bubbles, close the bleeder screw and remove the bleeder tube.
7. Place a box wrench on the RH rear bleeder screw. Attach a rubber drain tube to the bleeder screw making sure the end of the tube fits snugly
around the bleeder screw.
8. Submerge the free end of the tube in a container partially filled with clean brake fluid. Loosen the bleeder screw approximately three-quarters of a
turn.
9. Slowly push the brake pedal all the way down. close the bleeder screw, and return the brake pedal to the fully released position. Repeat this
operation until air bubbles no longer appear at the submerged end of the bleeder tube.
10. When the fluid being expelled is completely free of air bubbles, close the bleeder screw and remove the bleeder tube.
11. Repeat this procedure at the LH rear bleeder screw. Refill the brake master cylinder reservoir after each wheel location is bled.
12. Bleed the front brakes starting with the right front brake and then the left front brake as described in Steps 7-11 of this procedure.
13. When the bleeding operation is complete, fill the brake master cylinder reservoir to the maximum level line.