
Ranger 4WD V6-3.0L VIN U (1997)
Temperature Sensor (Gauge): Service and Repair
WARNING: NEVER REMOVE THE RADIATOR CAP UNDER ANY CONDITIONS WHILE THE ENGINE IS OPERATING. FAILURE
TO FOLLOW THESE INSTRUCTIONS COULD RESULT IN DAMAGE TO THE COOLING SYSTEM OR ENGINE AND/OR PERSONAL
INJURY. TO AVOID HAVING SCALDING HOT COOLANT OR STEAM BLOW OUT OF THE RADIATOR, USE EXTREME CARE
WHEN REMOVING THE CAP FROM A HOT RADIATOR. IF POSSIBLE, WAIT UNTIL THE ENGINE HAS COOLED, THEN WRAP A
THICK CLOTH AROUND THE RADIATOR CAP AND TURN IT SLOWLY TO THE FIRST STOP. STEP BACK WHILE THE
PRESSURE IS RELEASED FROM THE COOLING SYSTEM. WHEN YOU ARE SURE ALL THE PRESSURE HAS BEEN RELEASED,
PRESS DOWN ON THE CAP (STILL WITH A CLOTH), TURN AND REMOVE IT.
1. Remove radiator cap to relieve any pressure and then replace cap. This reduces coolant loss during sender replacement.
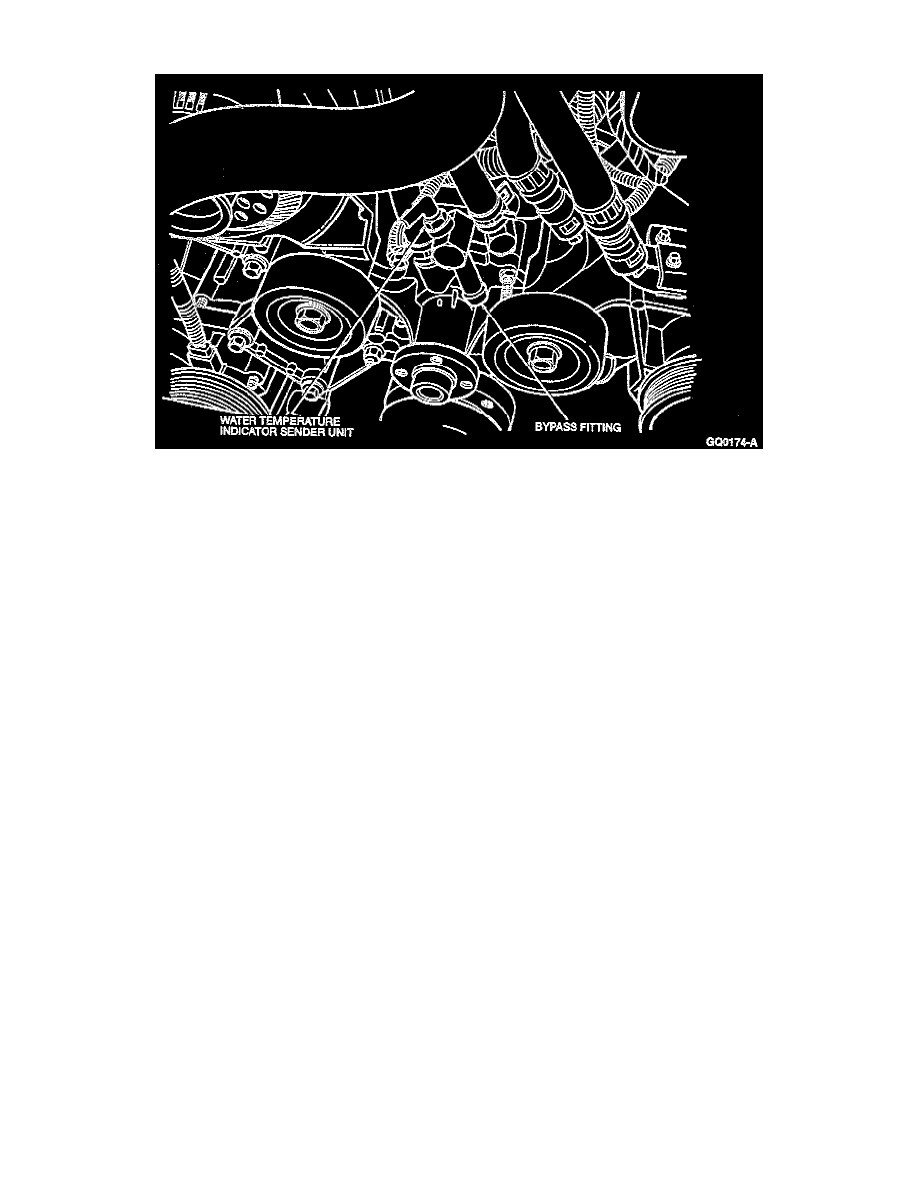
2. Disconnect the temperature sending unit wire at the water temperature indicator sender unit.
3. Prepare the new water temperature indicator sender unit for installation by applying Ford Pipe Sealant with Teflon D8AZ- 1 9554-A or equivalent
meeting Ford specification WSK-M2G350-A2 or a small amount of electrically conductive sealer to the threads.
4. Remove the water temperature indicator sender unit and immediately install the new water temperature indicator sender unit. Tighten to 11-24 Nm
(8-18 ft. lbs.).
5. Connect the temperature sending wire to the water temperature indicator sender unit.
6. Refill cooling system to replace lost coolant.
7. Start the engine. Check the water temperature indicator sender unit operation.