
Ranger 4WD V6-3.0L VIN U (1997)
Refrigerant Filter: Service and Repair
A/C REFRIGERANT SYSTEM FILTERING
CAUTION: Follow all refrigerant system safety and service precautions.
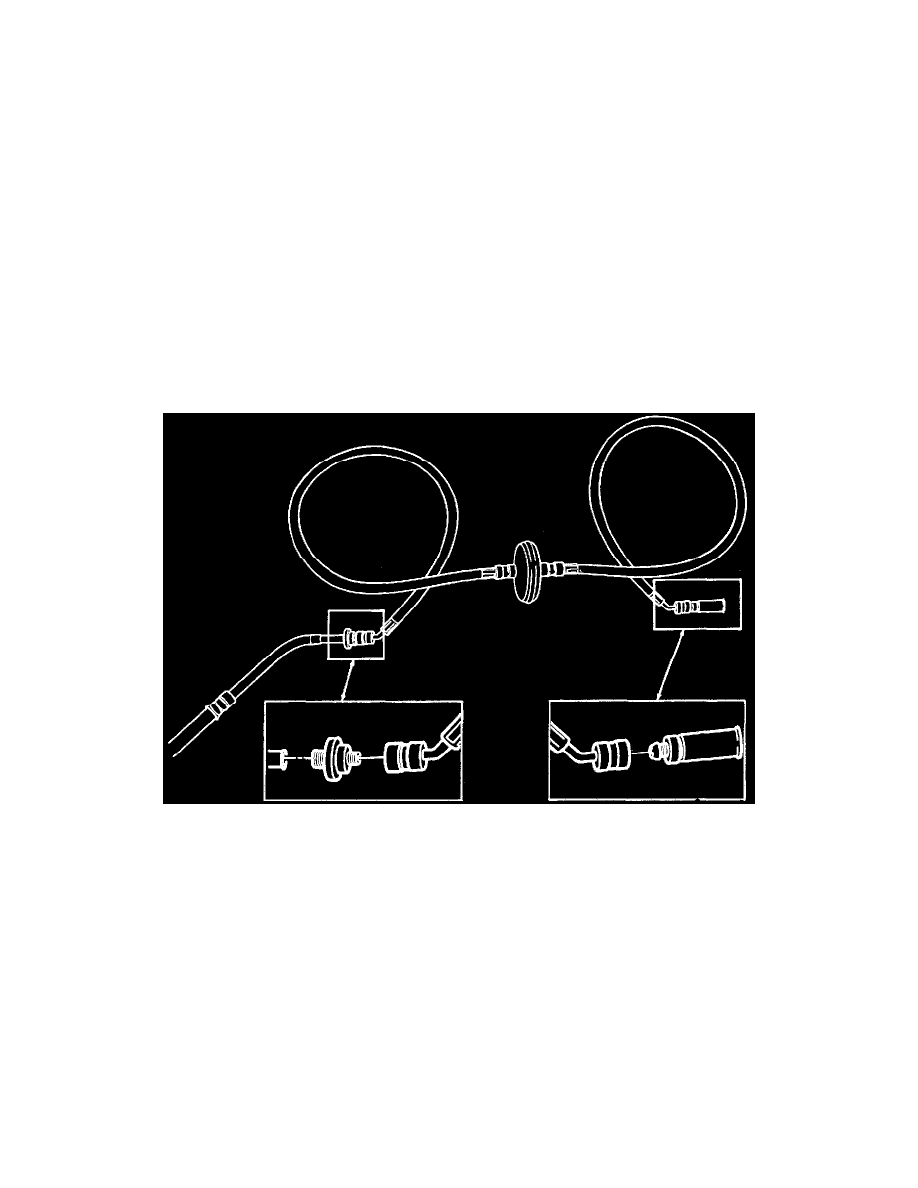
A Filter Kit should be installed in the refrigerant system prior to the installation of the replacement A/C compressor. The pancake filter, supplied
with each kit, should be temporarily installed in the liquid line between the A/C condenser core the A/C evaporator core orifice. The suction filter,
supplied with each kit, should be installed in the suction line between the suction accumulator/drier and the A/C compressor. Install the
replacement A/C compressor and the filters. Filter Kit for systems with nylon lined suction hose is Ford part number F2VY-19E773-C.
1. Before removing any refrigerant system components, recover the system refrigerant following the approved recycling methods. See: Service
and Repair/Refrigerant Recovery
2. Remove the suction accumulator/drier and drain the oil into a calibrated container.
3. Install a new suction accumulator/drier and add new Motorcraft YN-12b refrigerant oil or equivalent meeting Ford specification
WSH-M1C231-B to replace the old oil. The quantity of new oil to be added is the amount to match that drained from the old accumulator plus
60 ml (2 oz.).
NOTE: Due to the internal design of the suction accumulator/drier, it will be necessary to drill two 13 mm (0.5 inch) holes in the suction
accumulator/drier cylinder to drain the oil from the suction accumulator/drier.
4. Install a new A/C evaporator core orifice. If the A/C evaporator core orifice is located in the condenser to evaporator tube between the A/C
condenser core and the A/C evaporator core, replace the condenser to evaporator tube assembly.
5. Temporarily install the pancake filter in the condenser to evaporator tube between the A/C condenser core and the A/C evaporator core orifice.
Be sure the filter inlet is toward the A/C condenser core. Connections can be made using A/C Test Adapter Set, D93L-19703-B, and flexible
refrigerant hose of 2500 psi burst rating. Individual fittings are also available.
6. Remove the old A/C compressor and drain the oil into a calibrated container.
7. Drain the oil from the replacement A/C compressor into a clean calibrated container.
8. A new service replacement FS-10 A/C compressor may or may not contain 207 ml (7 oz.) of refrigerant oil. If the amount of oil drained from
the removed A/C compressor is between 90 and 148 ml (3 to 5 oz.), pour the same amount of clean refrigerant oil into the new A/C
compressor. If the amount of oil drained from the old A/C compressor is greater than 148 ml (5 oz.), add an equivalent of clean refrigerant oil
into the new A/C compressor. If the amount of refrigerant oil drained from the old A/C compressor is less than 90 ml(3 oz.), pour 90 ml (3 oz.)
of clean refrigerant oil into the new A/C compressor. Use Motorcraft YN-12b Refrigerant Oil or equivalent meeting Ford specification
WSH-M1C231-B.
9. Install the new A/C compressor. Be sure all mounting bolts are tightened properly. Check the tension of the A/C compressor drive belt.