
Ranger 4WD V6-3.0L VIN U (1997)
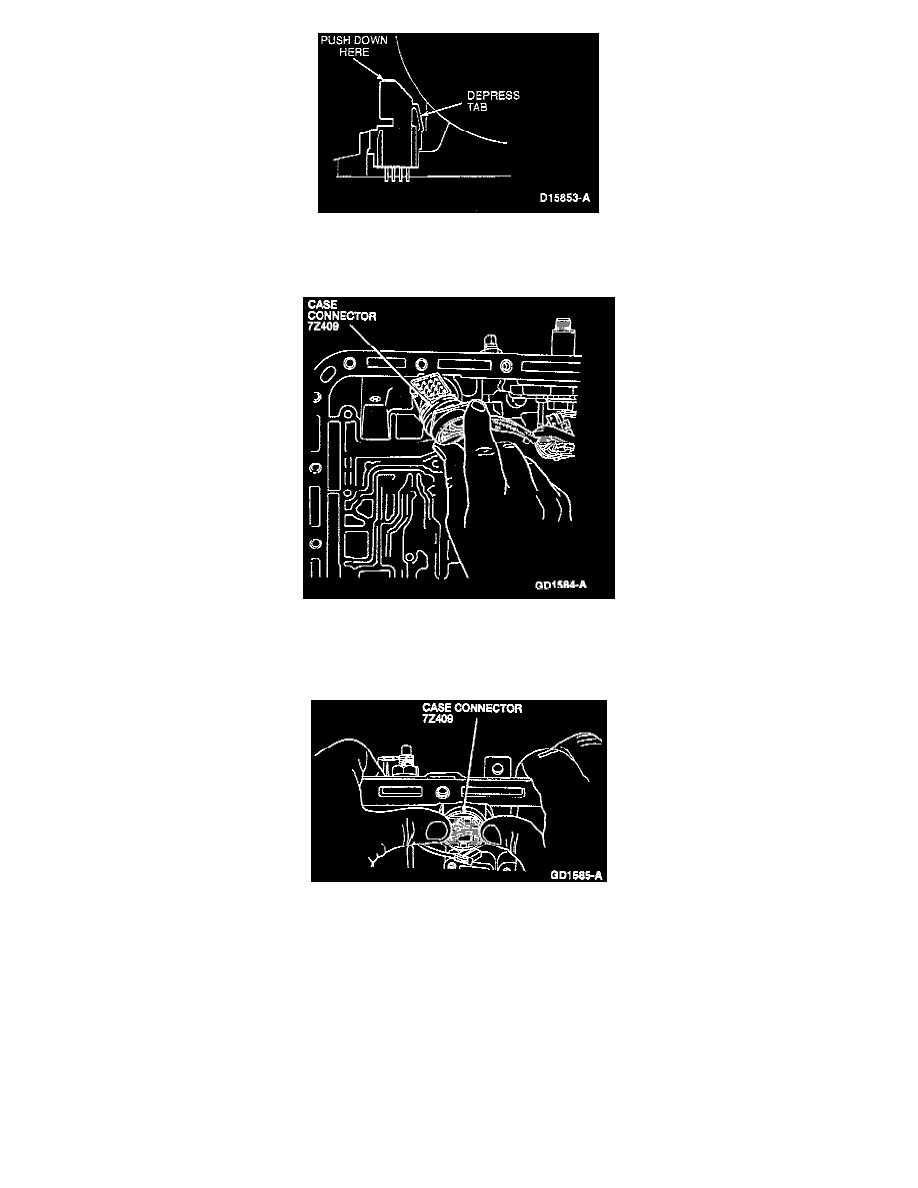
7. Carefully push down on the top of the connector until it stops. Depress the tab on the back side of the connector and push down on the connector.
CAUTION: Do not damage the connector or harness.
8. Remove the connector and harness through the bottom of the case.
INSTALLATION
1. Replace O-rings (W703015-S300) on connector.
2. Install the case 16-pin connector through the case until a click is heard.
NOTE: Make sure the tab is in the lock position.