
Ranger 4WD V6-3.0L VIN U (1997)
bracket, make sure they are reinstalled.
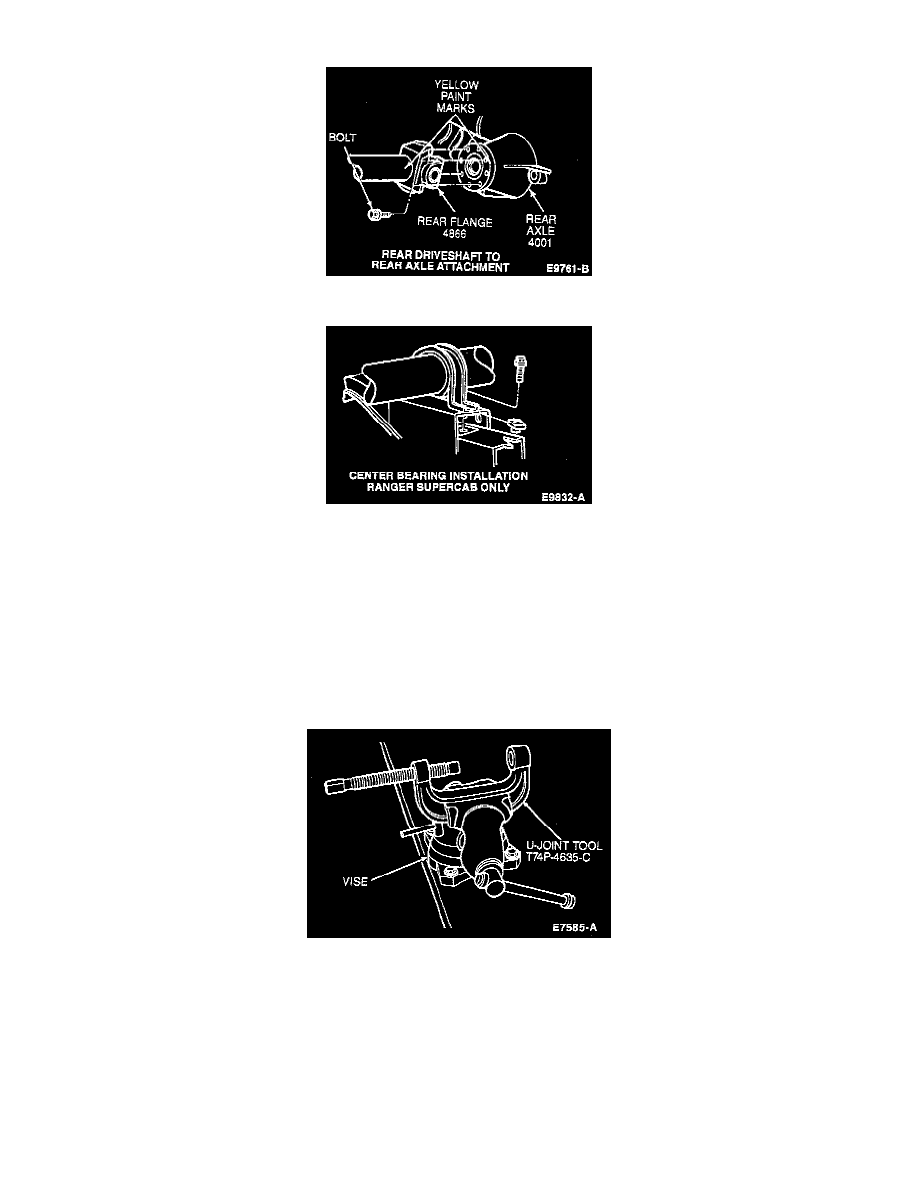
3. Install the bolts that retain the driveshaft to the rear axle companion flange. Tighten to 95-129 Nm (70-95 ft. lbs.).
4. Install the bolts that retain the driveshaft center bearing bracket to the frame crossmember. Tighten to 37-50 Nm (27-37 ft. lbs.).
W/ Single Cardan Universal Joint
WARNING: UNDER NO CIRCUMSTANCES IS THE DRIVESHAFT TO BE CLAMPED IN THE JAWS OF A VISE OR SIMILAR
HOLDING FIXTURE. DENTING OR LOCALIZED FRACTURE OF THE TUBE MAY RESULT, WHICH COULD CAUSE DRIVESHAFT
FAILURE DURING VEHICLE OPERATION.
DISASSEMBLY
1. Place the driveshaft on a suitable workbench, being careful not to damage the tube.
2. Prior to disassembly, mark the positions of the driveshaft components relative to the driveshaft tube. All components must be reassembled in the
same relationship to maintain proper balance.
3. Clamp U-joint Tool T74P-4635-C in vise.