
Ranger 4WD V6-4.0L (2009)
Brake Shoe: Adjustments
Brake Shoe Adjustment
Brake Drums Removed
WARNING: Do not breathe dust or use compressed air to blow dust from storage containers or friction components. Remove dust using
government-approved techniques. Friction component dust may be a cancer and lung disease hazard. Exposure to potentially hazardous
components may occur if dusts are created during repair of friction components, such as brake pads and clutch discs. Exposure may also cause
irritation to skin, eyes and respiratory tract, and may cause allergic reactions and/or may lead to other chronic health effects. If irritation
persists, seek medical attention or advice. Failure to follow these instructions may result in serious personal injury.
NOTE: After adjusting the rear brake shoes and linings, check the parking brake for correct operation. Make sure the parking brake cable equalizer
operates freely.
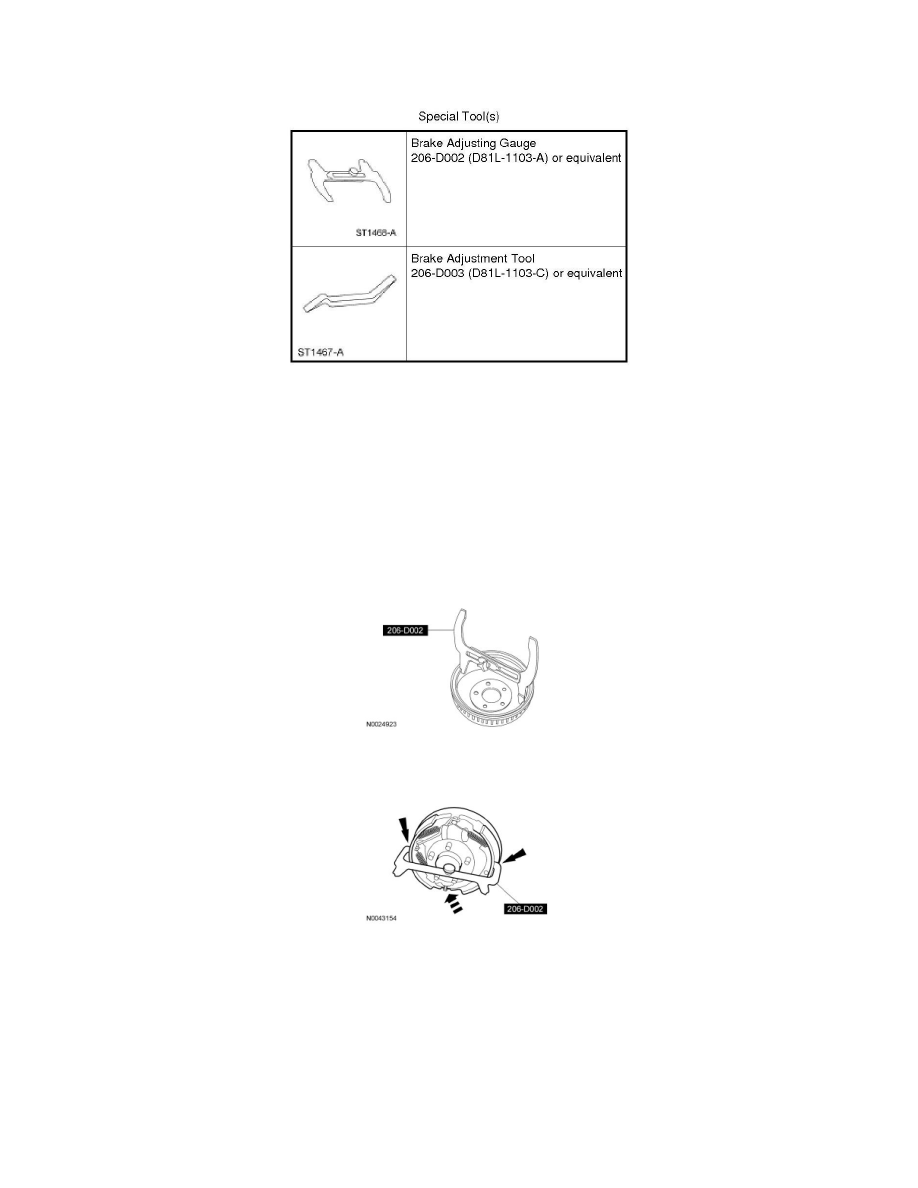
1. Using the Brake Adjustment Gauge or equivalent, measure the brake drum ID.
2. Adjust the rear brake shoes and linings.
-
Rotate the brake adjusting screw until the brake shoes and linings touch the Brake Adjustment Gauge.
Brake Drums Installed
1. With the vehicle in NEUTRAL, position it on a hoist.
2. At the back of the brake backing plate, remove and discard the brake adjusting hole cover.
3. Rotate the brake shoe adjusting screw.
1. Move the brake shoe adjusting lever off the brake shoe adjusting screw.
2. Using the Brake Adjustment Tool or equivalent, turn the adjusting screw until the brake drum begins to drag. Then loosen the brake adjusting
screw until the brake drum rotates freely.