Ranger 4WD V6-4.0L (2009)

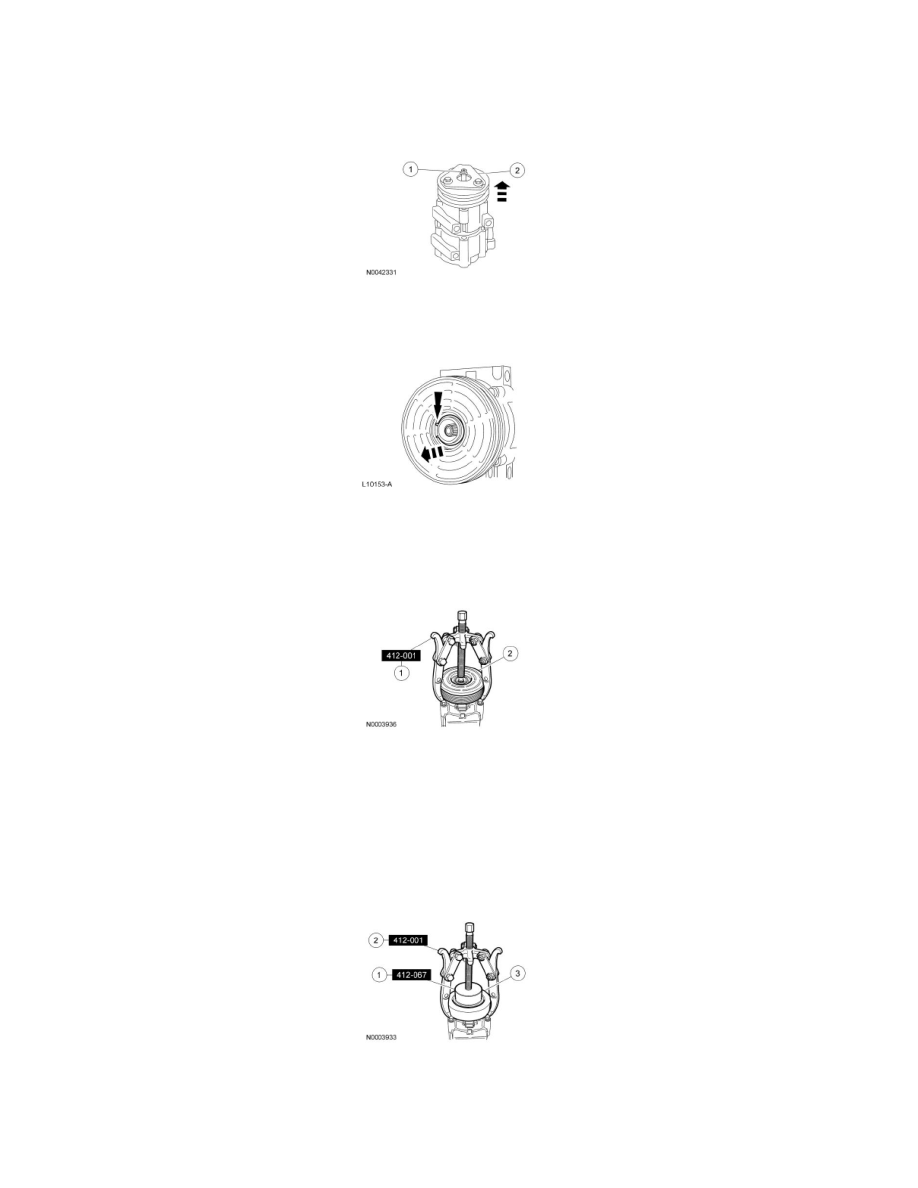
5. Remove the A/C clutch disc and hub and the A/C clutch hub spacer.
1. Thread an 8 x 1.25 mm bolt into the A/C clutch disc and hub to force it from the compressor shaft.
2. Lift the A/C clutch disc and hub and the A/C clutch hub spacer from the compressor shaft.
All vehicles
6. Remove the A/C clutch pulley snap ring.
7. Remove the A/C clutch pulley.
1. Install the Compressor Pulley Remover.
2. Remove the A/C clutch pulley.
8. NOTICE: Do not use air tools. The Air Conditioning (A/C) compressor clutch field coil can be easily damaged.
Remove the A/C compressor clutch field coil.
1. Install the A/C Compressor Field Coil Remover on the nose opening of the A/C compressor.
2. Install the Compressor Pulley Remover.
3. Remove the A/C compressor clutch field coil.
Installation
All vehicles
1. NOTE: A new A/C compressor may come equipped with a clutch and pulley. If not, the A/C clutch components should be reused unless obvious
