Ranger 4WD V6-4.0L (2009)

Fuel Rail: Service and Repair
Fuel Rail
Fuel Rail
Removal
WARNING: Do not smoke, carry lighted tobacco or have an open flame of any type when working on or near any fuel-related component.
Highly flammable mixtures are always present and may be ignited. Failure to follow these instructions may result in serious personal injury.
WARNING: Always disconnect the battery ground cable at the battery when working on an evaporative emission (EVAP) system or
fuel-related component. Highly flammable mixtures are always present and may be ignited. Failure to follow these instructions may result in
serious personal injury.
NOTICE: If used as a leverage device, the fuel rail may be damaged.
1. Remove the intake manifold.
2. Disconnect the fuel supply tube spring lock coupling.
3. Disconnect the 6 fuel injector electrical connectors.
4. Remove the 4 bolts and the fuel rail and fuel injectors as an assembly. Discard the bolts.
-
To install, tighten to 23 Nm (17 lb-ft).
5. If necessary, remove the 4 fuel rail supply tube-to-fuel rail bolts and the fuel rail supply tube. Discard the O-ring seals.
-
To install, tighten to 6 Nm (53 lb-in).
6. If necessary, remove the fuel injectors from the fuel rail.
7. NOTICE: Use O-ring seals that are made of special fuel-resistant material. The use of ordinary O-ring seals may cause the fuel system to
leak.
NOTICE: Do not reuse O-ring seals. The reuse of O-ring seals may cause the fuel system to leak.
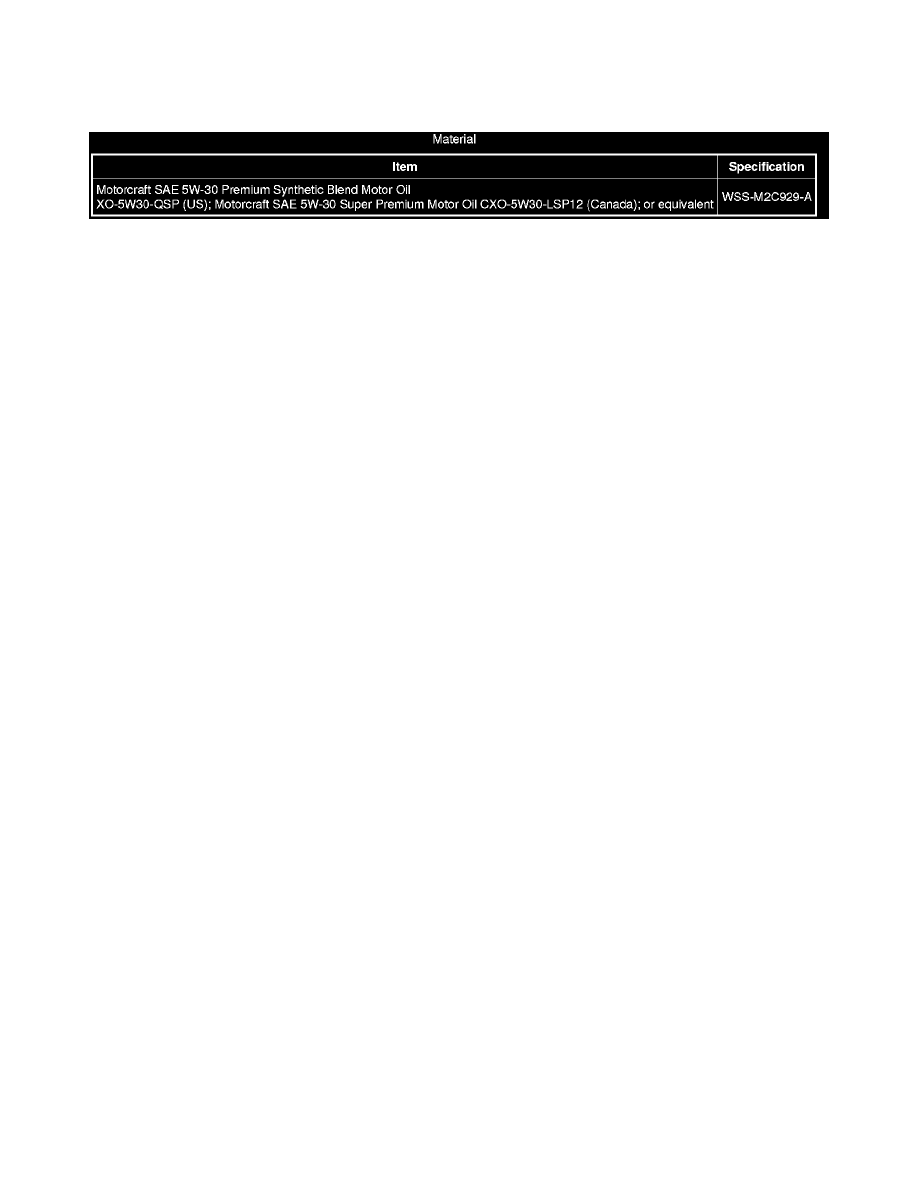
NOTE: Lubricate the new O-ring seals with clean engine oil.
NOTE: Use new fasteners to attach the fuel rail.
To install, reverse the removal procedure.
