
Ranger 4WD V6-4.0L (2009)
Alignment: Service and Repair
Lean Correction - Rear
Lean Correction - Rear
NOTE: A side-to-side lean may be adjusted by 6 mm (0.25 in). This is accomplished by placing a shim (D7TZ-5742-A) between the rear spring and the
axle on the low side of the vehicle.
1. With the vehicle in NEUTRAL, position it on a hoist.
2. Using a suitable jack, support the rear axle.
3. Remove and discard the 4 U-bolt nuts and U-bolts.
-
Remove the spring plate.
-
To install, tighten the new TORSEN(R) axle U-bolt nuts in 4 stages.
-
Stage 1: Tighten in a cross pattern to 25 Nm (18 lb-ft).
-
Stage 2: Tighten in a cross pattern to 50 Nm (37 lb-ft).
-
Stage 3: Tighten in a cross pattern to 75 Nm (55 lb-ft).
-
Stage 4: Tighten in a cross pattern to 103 Nm (76 lb-ft).
-
To install, tighten the new standard axle U-bolt nuts in 4 stages.
-
Stage 1: Tighten in a cross pattern to 30 Nm (22 lb-ft).
-
Stage 2: Tighten in a cross pattern to 60 Nm (44 lb-ft).
-
Stage 3: Tighten in a cross pattern to 90 Nm (66 lb-ft).
-
Stage 4: Tighten in a cross pattern to 115 Nm (85 lb-ft).
4. Using the jack, lower the rear axle approximately 13 mm (0.51 in).
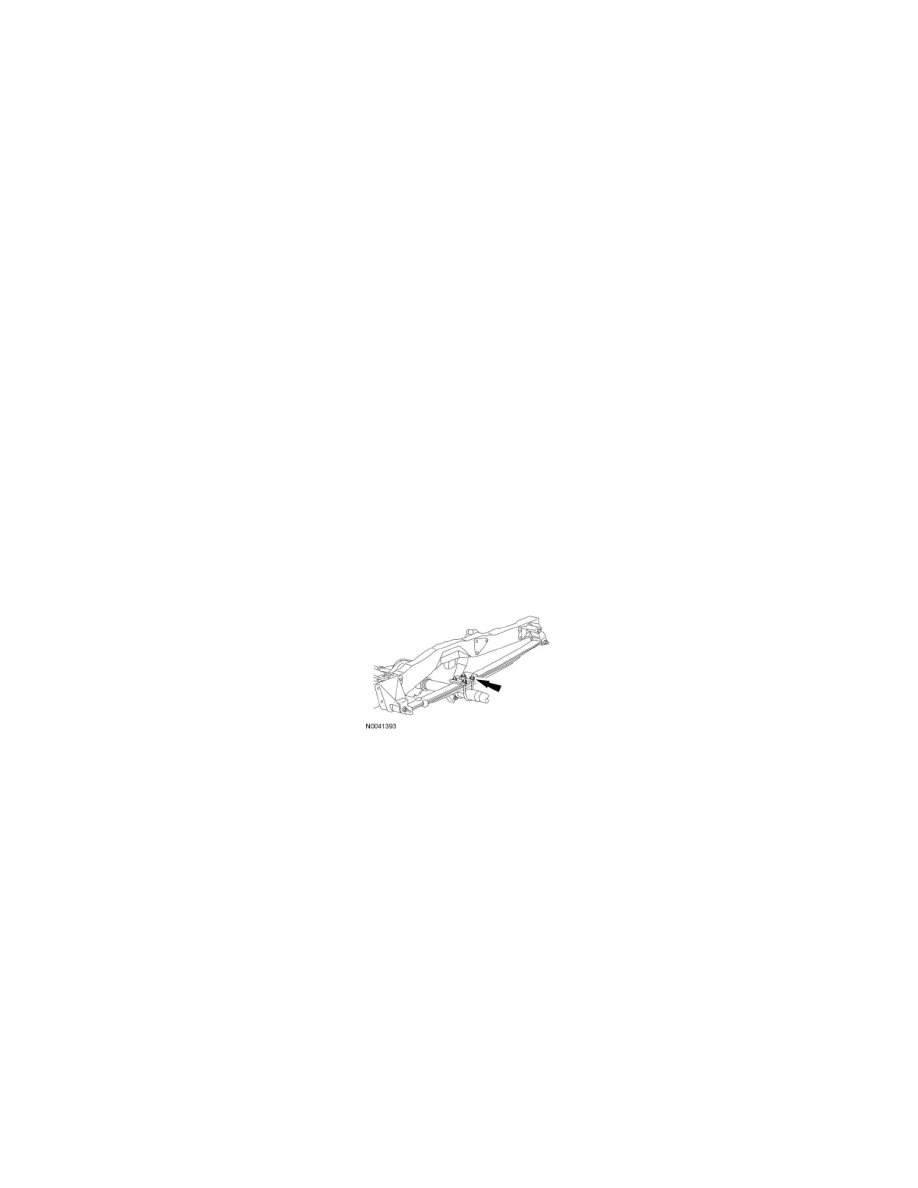
5. NOTE: Make sure that the spring locator bolt is centered in the spacer hole.
NOTE: On vehicles equipped with a spring spacer block, place the shim between the rear spring and the axle spacer.
Install the spacer (D7TZ-5742-A) between the spring and the axle.