
Taurus V6-182 3.0L FF (1995)
Brake Master Cylinder: Service and Repair
Installation
With Antilock Brakes
CAUTION: Brake fluid will damage electrical connections and painted surfaces. Use shop cloths, drip pans and fender covers to prevent brake fluid
from contacting these areas.
1. Bench bleed the master cylinder. Refer to Brake Bleeding.
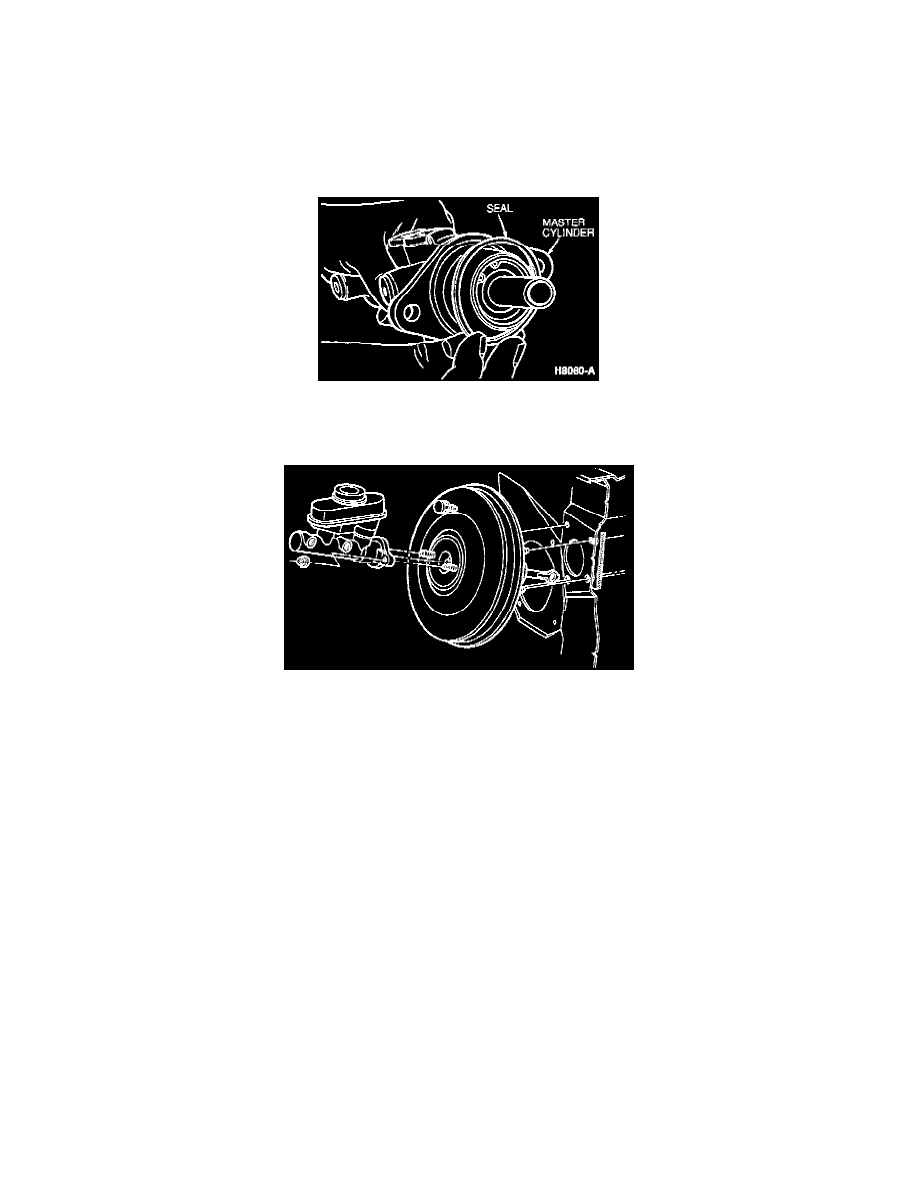
Removing/Installing Master Cylinder Seal.
2. Install a new seal in groove in master cylinder mounting face.
Master Cylinder
3. Position master cylinder over booster push rod and onto two studs on booster assembly.
4. Install master cylinder mounting nuts and tighten to 21-29 Nm (16-21 ft lb).
5. Install brake tubes to master cylinder and pressure control valve (wagon only) outlet ports. Tighten the tube nuts to 16-20 Nm (12-15 ft lb).
6. Install Hydraulic Control Unit (HCU) supply hose to master cylinder fitting and secure with hose clamp.
7. Connect brake warning indicator connector.
8. Fill master cylinder with DOT 3 brake fluid to MAX line on side of reservoir.
9. Perform system brake bleeding procedures.
10. Operate brakes several times, then check for external hydraulic leaks.
Without Antilock Brakes
CAUTION: Brake fluid will damage electrical connections and painted surfaces. Use shop cloths, drip pans and fender covers to prevent brake fluid
from contacting these areas.
1. Bench bleed the master cylinder. Refer to Brake Bleeding.