
Taurus V6-182 3.0L FF (1995)
11. Tilt radiator rearward approximately 25mm (1 inch) and lift directly upward, clear of radiator support.
12. If lower radiator hose or upper radiator hose is to be replaced, loosen clamp at engine end and slip hose off connections with a twisting motion.
13. Remove radiator lower support rubber pads, if pad replacement is necessary.
Installation
1. Position radiator lower support rubber pads to lower radiator support, if necessary.
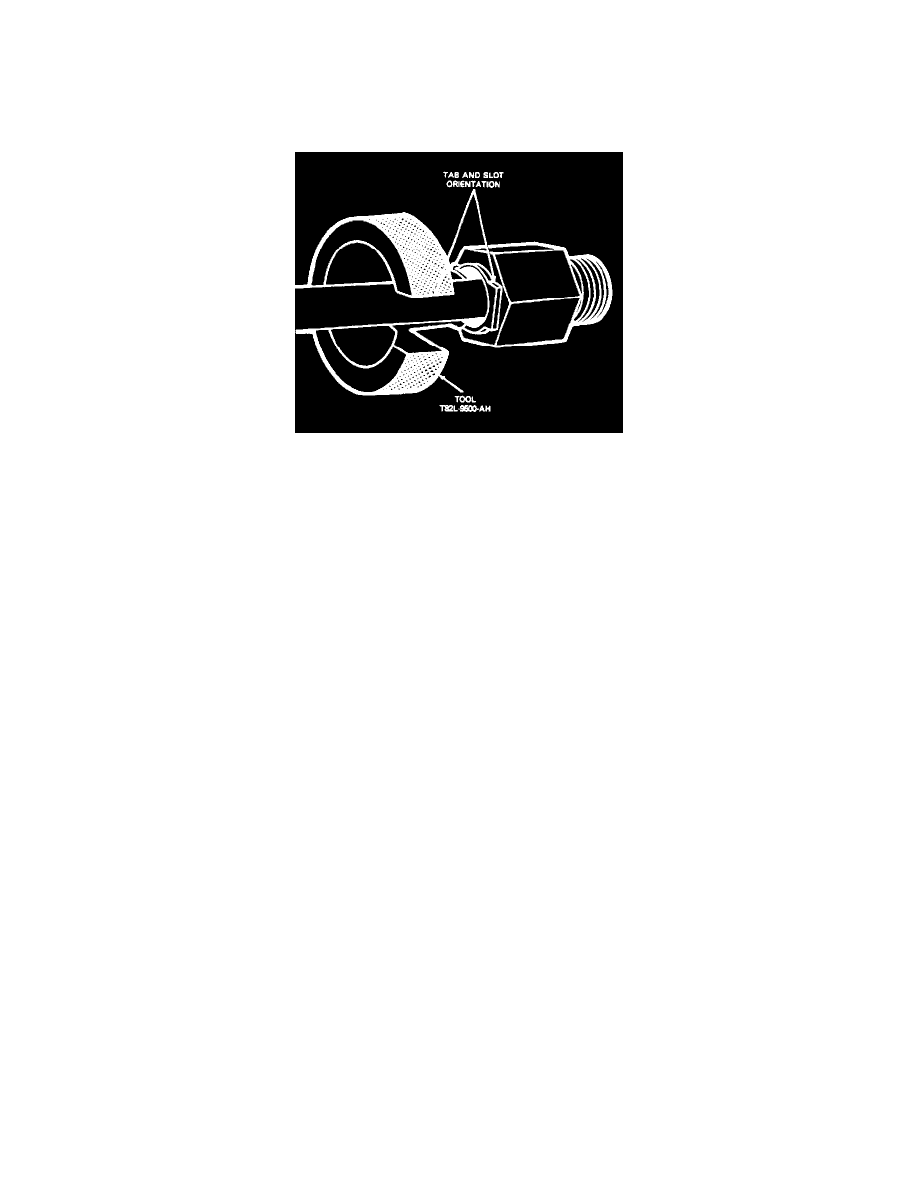
2. If lower radiator hose or upper radiator hose has been replaced, position hose on engine with index arrow in-line with mark on fitting at engine.
Position the clamps between the alignment marks on both ends of the hose and slide hose on connections.
CAUTION: Ensure the hose clamps are beyond the bead and placed in the center of the clamping surface of the connection.
Any used hose clamps must be replaced with a new clamp to ensure proper sealing at the connection.
Tighten screw clamps to 2.2-3.4 Nm (20-30 lb-in).
3. Position radiator into engine compartment and to radiator support. Insert the moulded pins at bottom of each radiator tank through slotted holes in
lower support rubber pads.
4. Inspect radiator tank upper mounting bushings for damage. Replace if damaged.
5. On 3.OL / 3.2L SHO and 3.8L engines inspect LH and RH radiator support brackets. Replace if damaged.
6. On 3.OL/3.OL FF engine only, ensure plastic pads on bottom of radiator tanks are resting on rubber pads. Install two upper retaining bolts to
attach radiator to radiator support. Tighten to 5-7 Nm (45-61 lb-in).