Taurus V6-182 3.0L FF (1995)

A/C Clutch Pulley - Installation
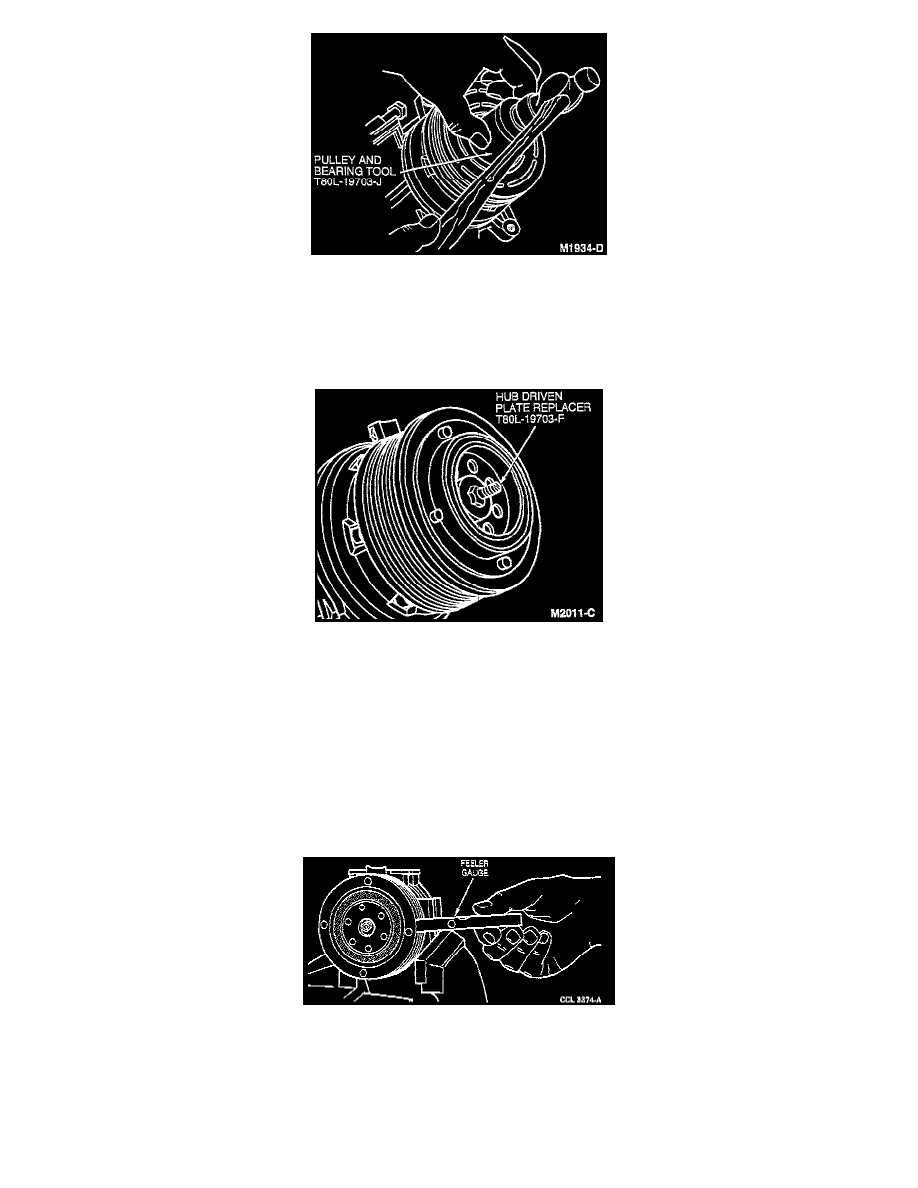
2. Install the pulley and bearing on the compressor. The bearing is a slip fit on the compressor head and, if properly aligned, it should slip on the
compressor head. If difficulty is encountered installing the pulley, gently tap the pulley on the compressor using the Pulley and Bearing Tool
T80L-19703-J. Ensure the pulley bearing is aligned with the compressor head.
3. Install the pulley retaining snap ring with the bevel side of the snap ring out.
A/C Clutch Hub - Installation
4. Install the clutch hub on the compressor shaft using the two thickest shims of the shim pack between the clutch hub and the end of the compressor
shaft. Ensure the shaft key is aligned with the keyway of the clutch hub. Use the Hub Driven Plate Replacer T80L-19703-F or equivalent to press
the hub on the compressor shaft, if necessary.
CAUTION: Do not attempt to drive the hub on the compressor shaft as damage to the compressor will result. Use only the specified tool if the
hub will not easily slide on the compressor shaft.
5. Install the hub lock washer and the retaining nut on the compressor shaft. Tighten the nut to 13-20 Nm (10-14 ft lb).
CAUTION: Do not use air tools.
A/C Clutch Air Gap Check
6. Check the air gap between the hub and the mating pulley surface in three locations equally spaced around the pulley. Record the air gap readings.
7. Rotate the compressor pulley one-half turn (180 degrees) and again check the air gap in three equally spaced locations. The smallest air gap must
be within 0.53-0.91 mm (0.021-0.036 inch). Add or remove shins between the hub and the compressor shaft end as necessary until the smallest air
gap is within specification.
