
Taurus V6-183 3.0L VIN U FI (1993)
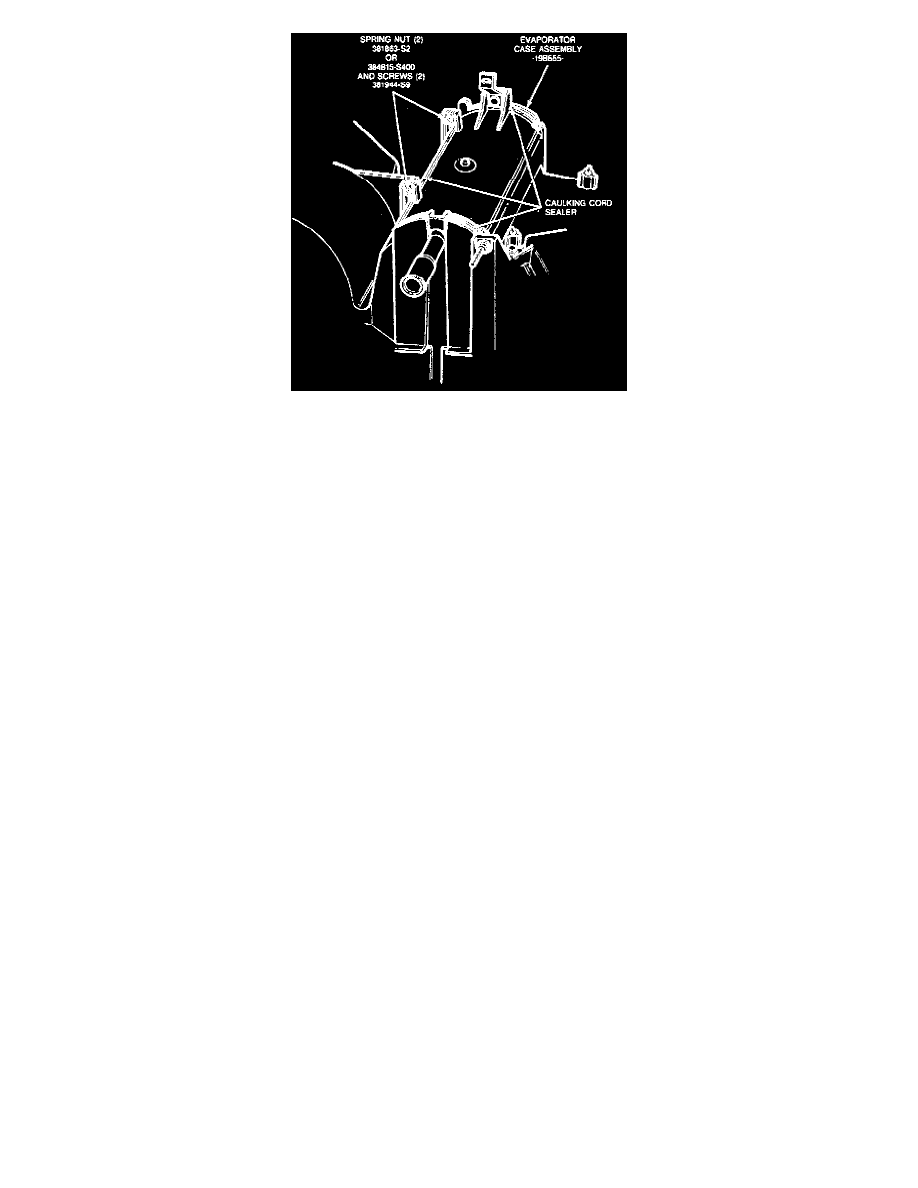
Fig 25 Caulking Cord Installation
4. Install Caulking Cord D6AZ-19560-A (ESB-M4G32-A) or equivalent to seal the A/C evaporator housing against leakage along the cut line.
5. Install the air inlet duct to the A/C evaporator housing and tighten the two screws.
6. Install the recirculating duct to the A/C evaporator housing and tighten the six screws.
7. Install the electrical connector bracket to the recirculating duct with one screw.
8. Install the blower motor speed controller connector to the bracket.
9. Attach the A/C electronic door actuator motor to the A/C evaporator housing and tighten the three screws. Install the electrical connector to the
bracket. Attach the temperature control lockout valve and switch by snapping the spring clip in place on the outermost heater core tube.
10. Install the vacuum harness to the A/C evaporator housing.
11. Install the foam seals over the evaporator tubes.
12. Assemble the support bracket to the A/C evaporator housing.
13. Install the A/C evaporator housing assembly, please refer to Heating and Air Conditioning/Evaporator Case/Service and Repair/ See: Evaporator
Case/Service and Repair