
Taurus V6-195 3.2L DOHC SHO (1994)
Brake Rotor/Disc: Service and Repair
Rear
Installation
NOTICE: If rotor is being replaced, remove protective coating from new rotor with carburetor degreaser.
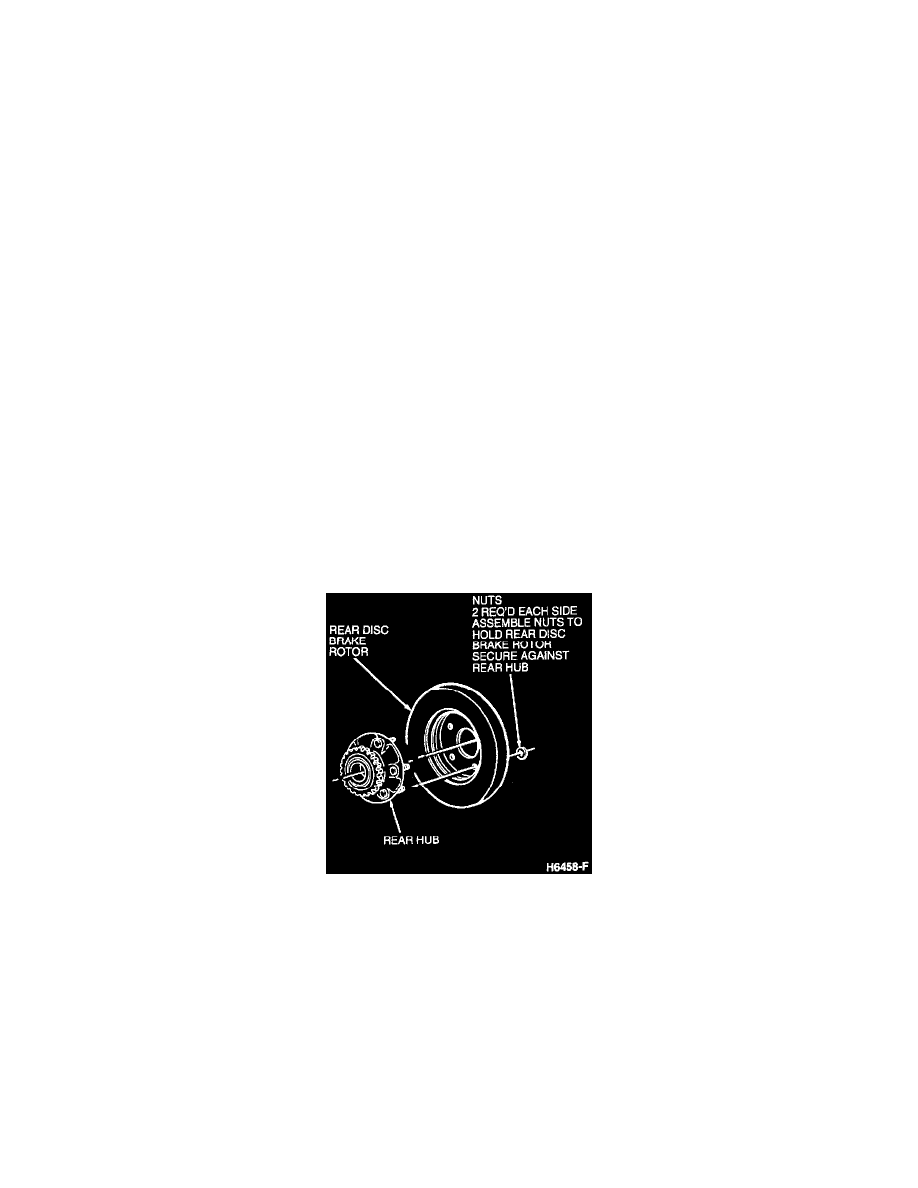
1. Lubricate the hub pilot diameter with multi-purpose grease to ease future rotor removal.
2. Install rotor on hub. Install two new retaining nuts securely.
3. Clean all foreign material and locking compound residue from the attaching bolts and mating surfaces of brake adapter and anchor plate.
4. Position anchor plate on brake adapter. Add one drop of Threadlock and Sealer E0AZ-19554-A or equivalent to each bolt and attach the anchor
plate to the brake adapter. Tighten to 87-119 Nm (64-88 ft lb).
NOTICE: Anchor plates are not interchangeable from right to left.
5. Install pad and lining assemblies. See Brake Pad / Service and Repair. See: Brake Pad/Service and Repair
6. Install caliper assembly. See Brake Caliper / Service and Repair. See: Brake Caliper/Service and Repair
7. Install wheel and tire assembly. Torque lug nuts to 115-142 Nm (85-105 ft lb).
8. Pump brake pedal prior to moving vehicle to position brake linings.
WARNING: Before moving vehicle, pump brake pedal several times to be sure it is firm. Do not move vehicle until a firm pedal is
obtained.
9. Road test vehicle.
Removal
1. Raise and support vehicle.
2. Remove wheel and tire assembly.
3. Remove caliper. See: Brake Caliper/Service and Repair
4. Remove the upper and lower anchor plate to brake adapter mounting bolts.
5. Remove anchor plate.
Brake Rotor
6. Remove the two rotor retainer nuts and slide rotor off hub.