
Taurus V6-195 3.2L DOHC SHO (1994)
7. On all engines position LH and RH support bracket over radiator and radiator support. Align holes in bracket with corresponding holes in radiator
support and secure with two screws. Tighten screws to 12-24 Nm (9-17 lb-ft).
8. Install upper radiator hose and lower radiator hoses to radiator. Position hose on radiator tank connector so that index arrow on hose is in line with
mark on connector. Position the clamps between the alignment marks on both ends of the hose and slide hose on connections
CAUTION: Ensure the hose clamps are beyond the bead and placed in the center of the clamping surface of the connection.
Any used hose clamps must be replaced with a new clamp to ensure proper sealing at the connection.
Tighten screw clamps to 2.2-3.4 Nm (20-30 lb-in).
On vehicles with automatic transaxies, connect transmission oil cooler lines using Pipe Sealant with Teflon D8AZ-1 9554-A (ESG-M4G194-A)
or equivalent oil resistant sealer.
9. Install radiator electric motor/fan blade I fan shroud assembly by connecting radiator electric motor wiring and positioning on lower retainer clips.
Attach top of fan shroud to radiator with bolt and nut. Tighten bolt to 2.6-3.7 Nm (23-33 lb-in). Tighten nut to 8-12 Nm (71 - 106 lb-in).
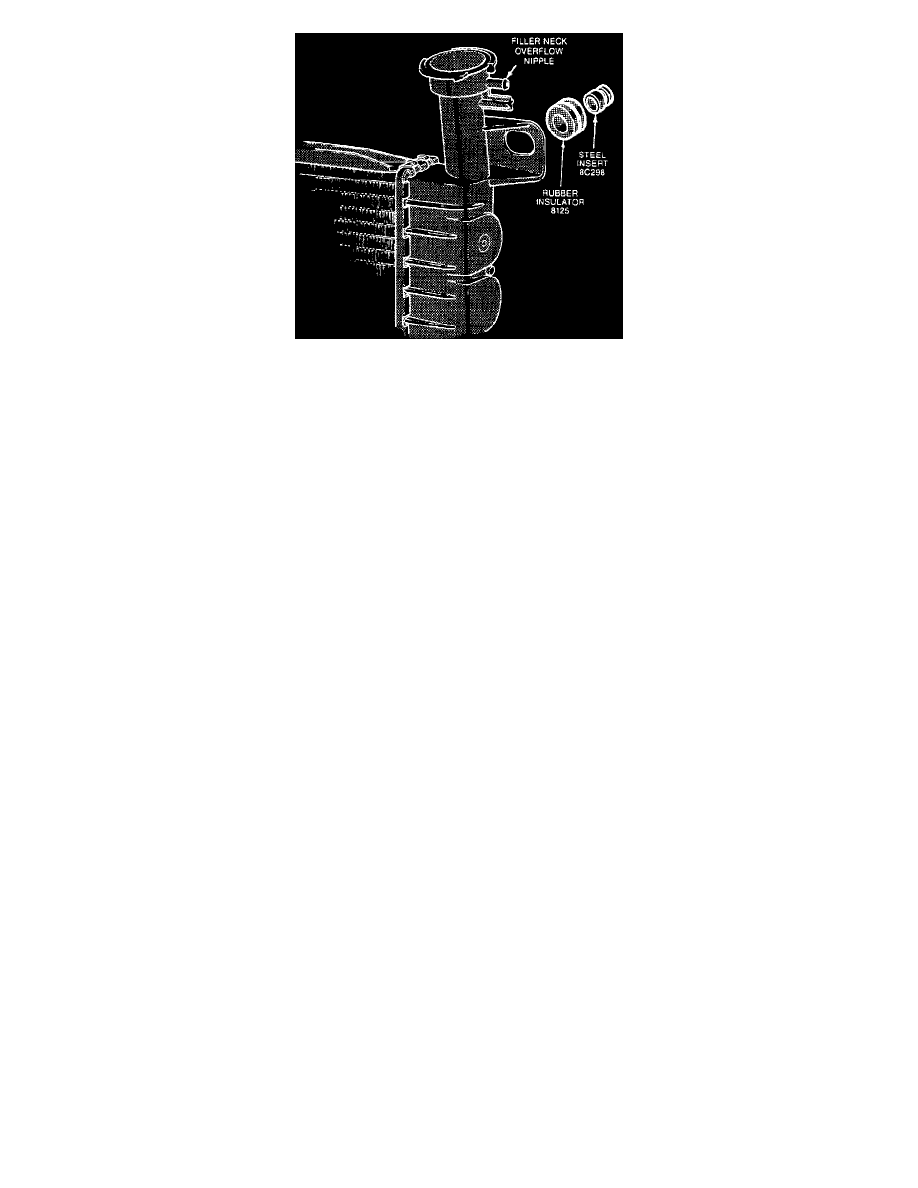
10. Attach radiator overflow hose to radiator filler neck connector and radiator coolant recovery reservoir.
On 3.OL/3.2L SHO, install radiator coolant recovery reservoir and connect radiator overflow hose.
11. Install new 50/50 mixture of water and anti4reeze solution. Operate engine for 15 minutes. Check engine coolant level and bring it to within 38mm
(1 - 1/2 inch) of radiator filler neck.
12. Connect battery ground cable.